Using our mailer
Mailcoach can send emails through our own infrastructure. Behind the scenes, we use a major email service with a good track record of sending emails reliably at scale.
On this page:
Mailcoach can send emails through your account on a 3rd party service such as Amazon SES, Mailgun, or Postmark (among others). In many cases, this is the most affordable option to send email, but there’s slightly more setup work involved.
Getting started
When creating a new team, choose “Let us handle sending”.
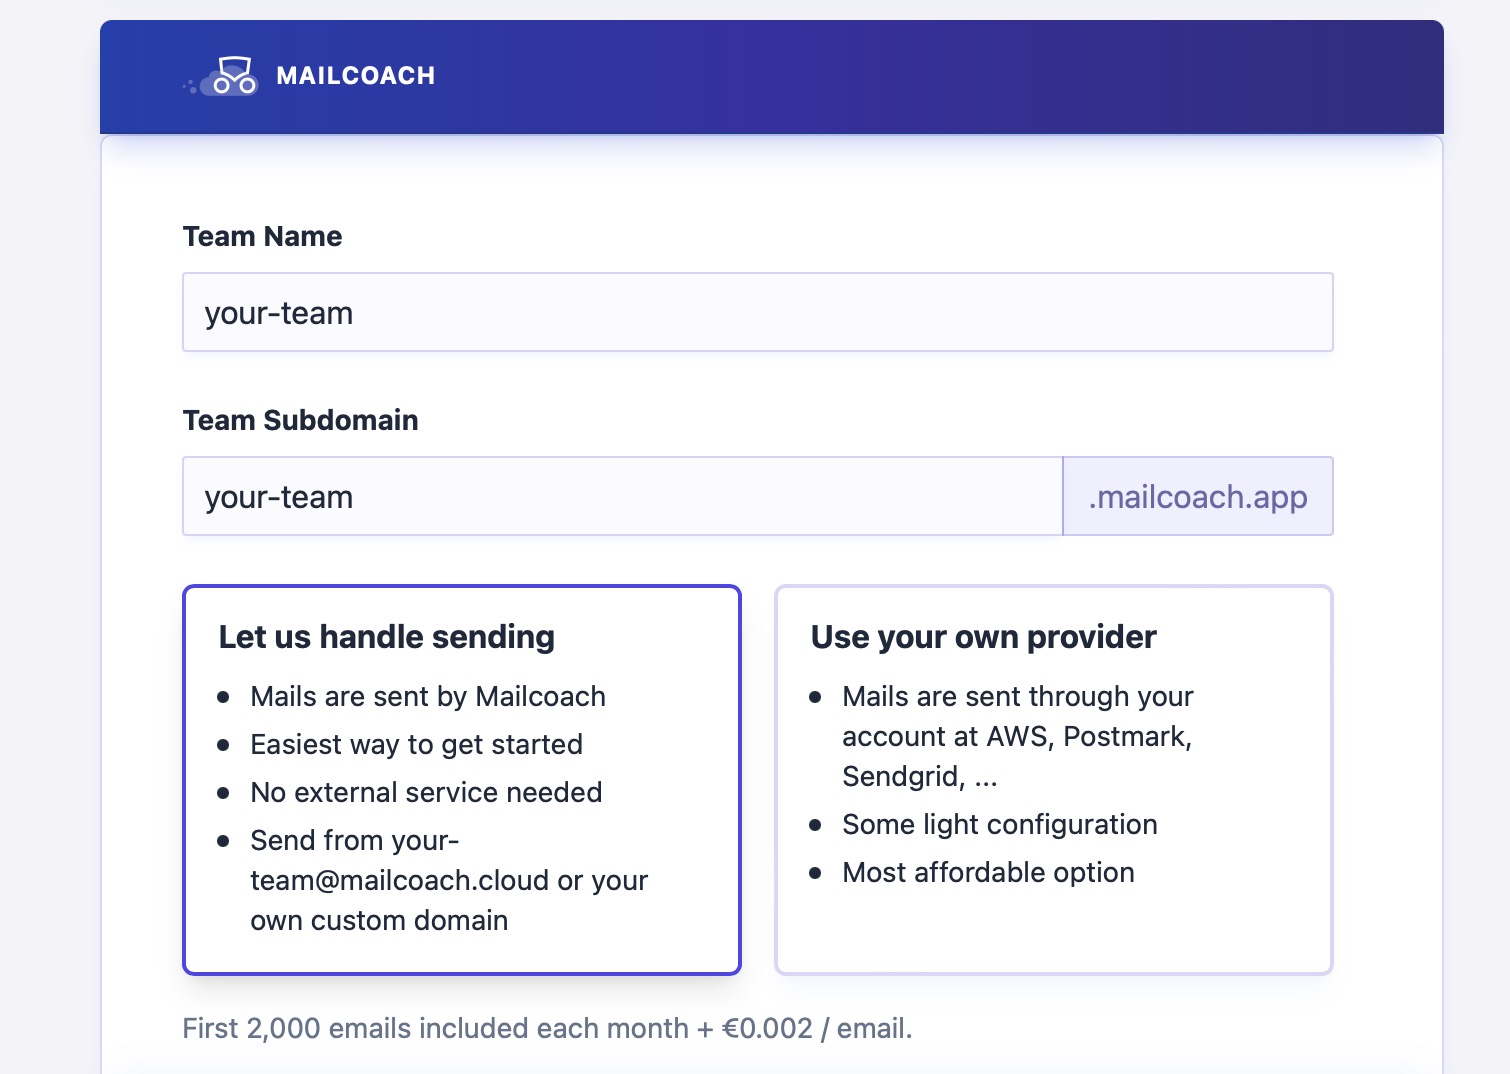
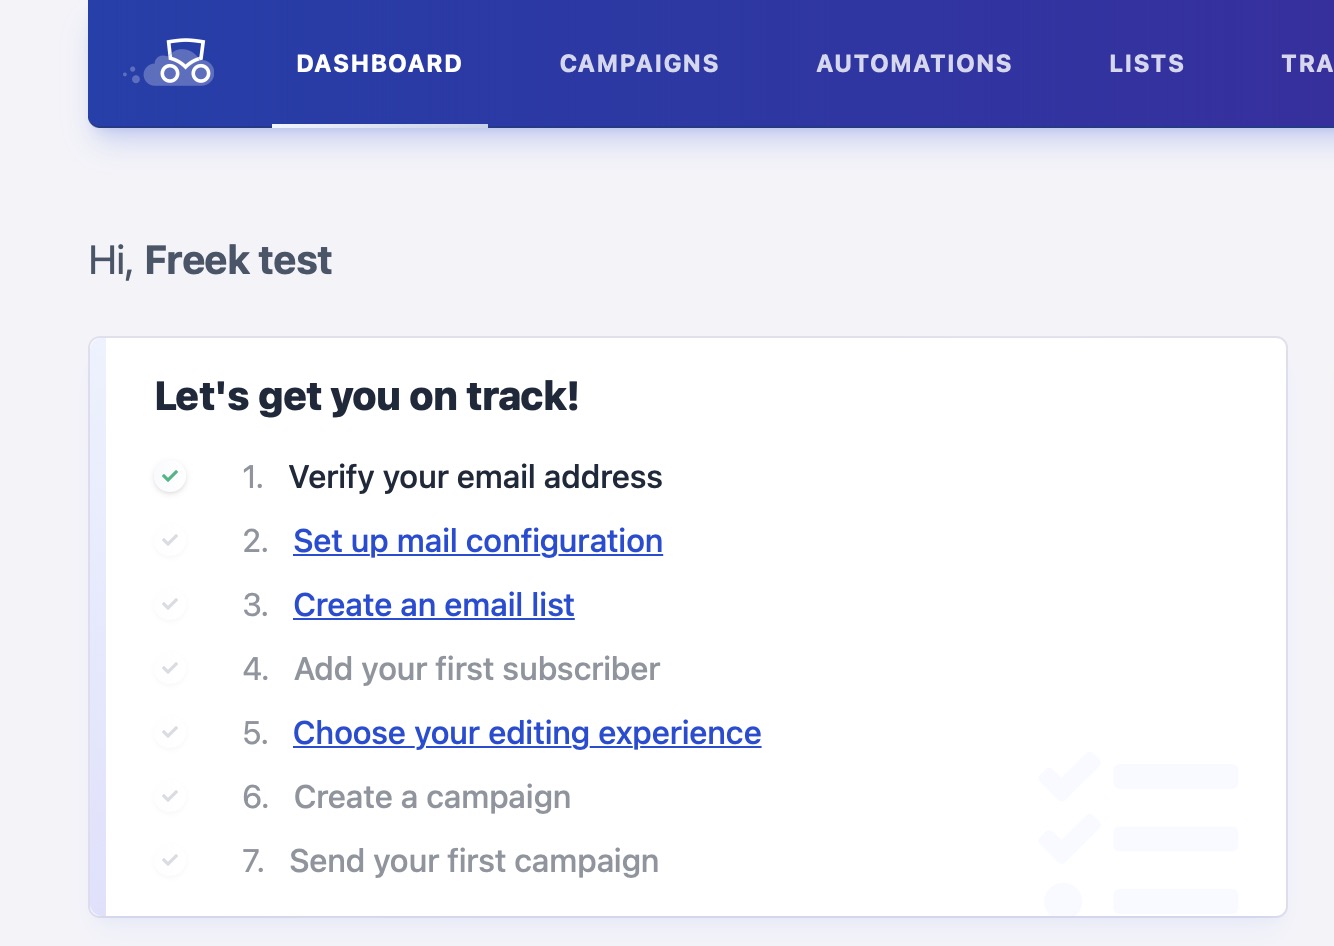
We will guide you through the entire process using a little checklist.
Set up email configuration
On the mail settings screen, you can see that we automatically have set up a <your-team-name>@mailcoach.com address for you that you can use to send emails from.
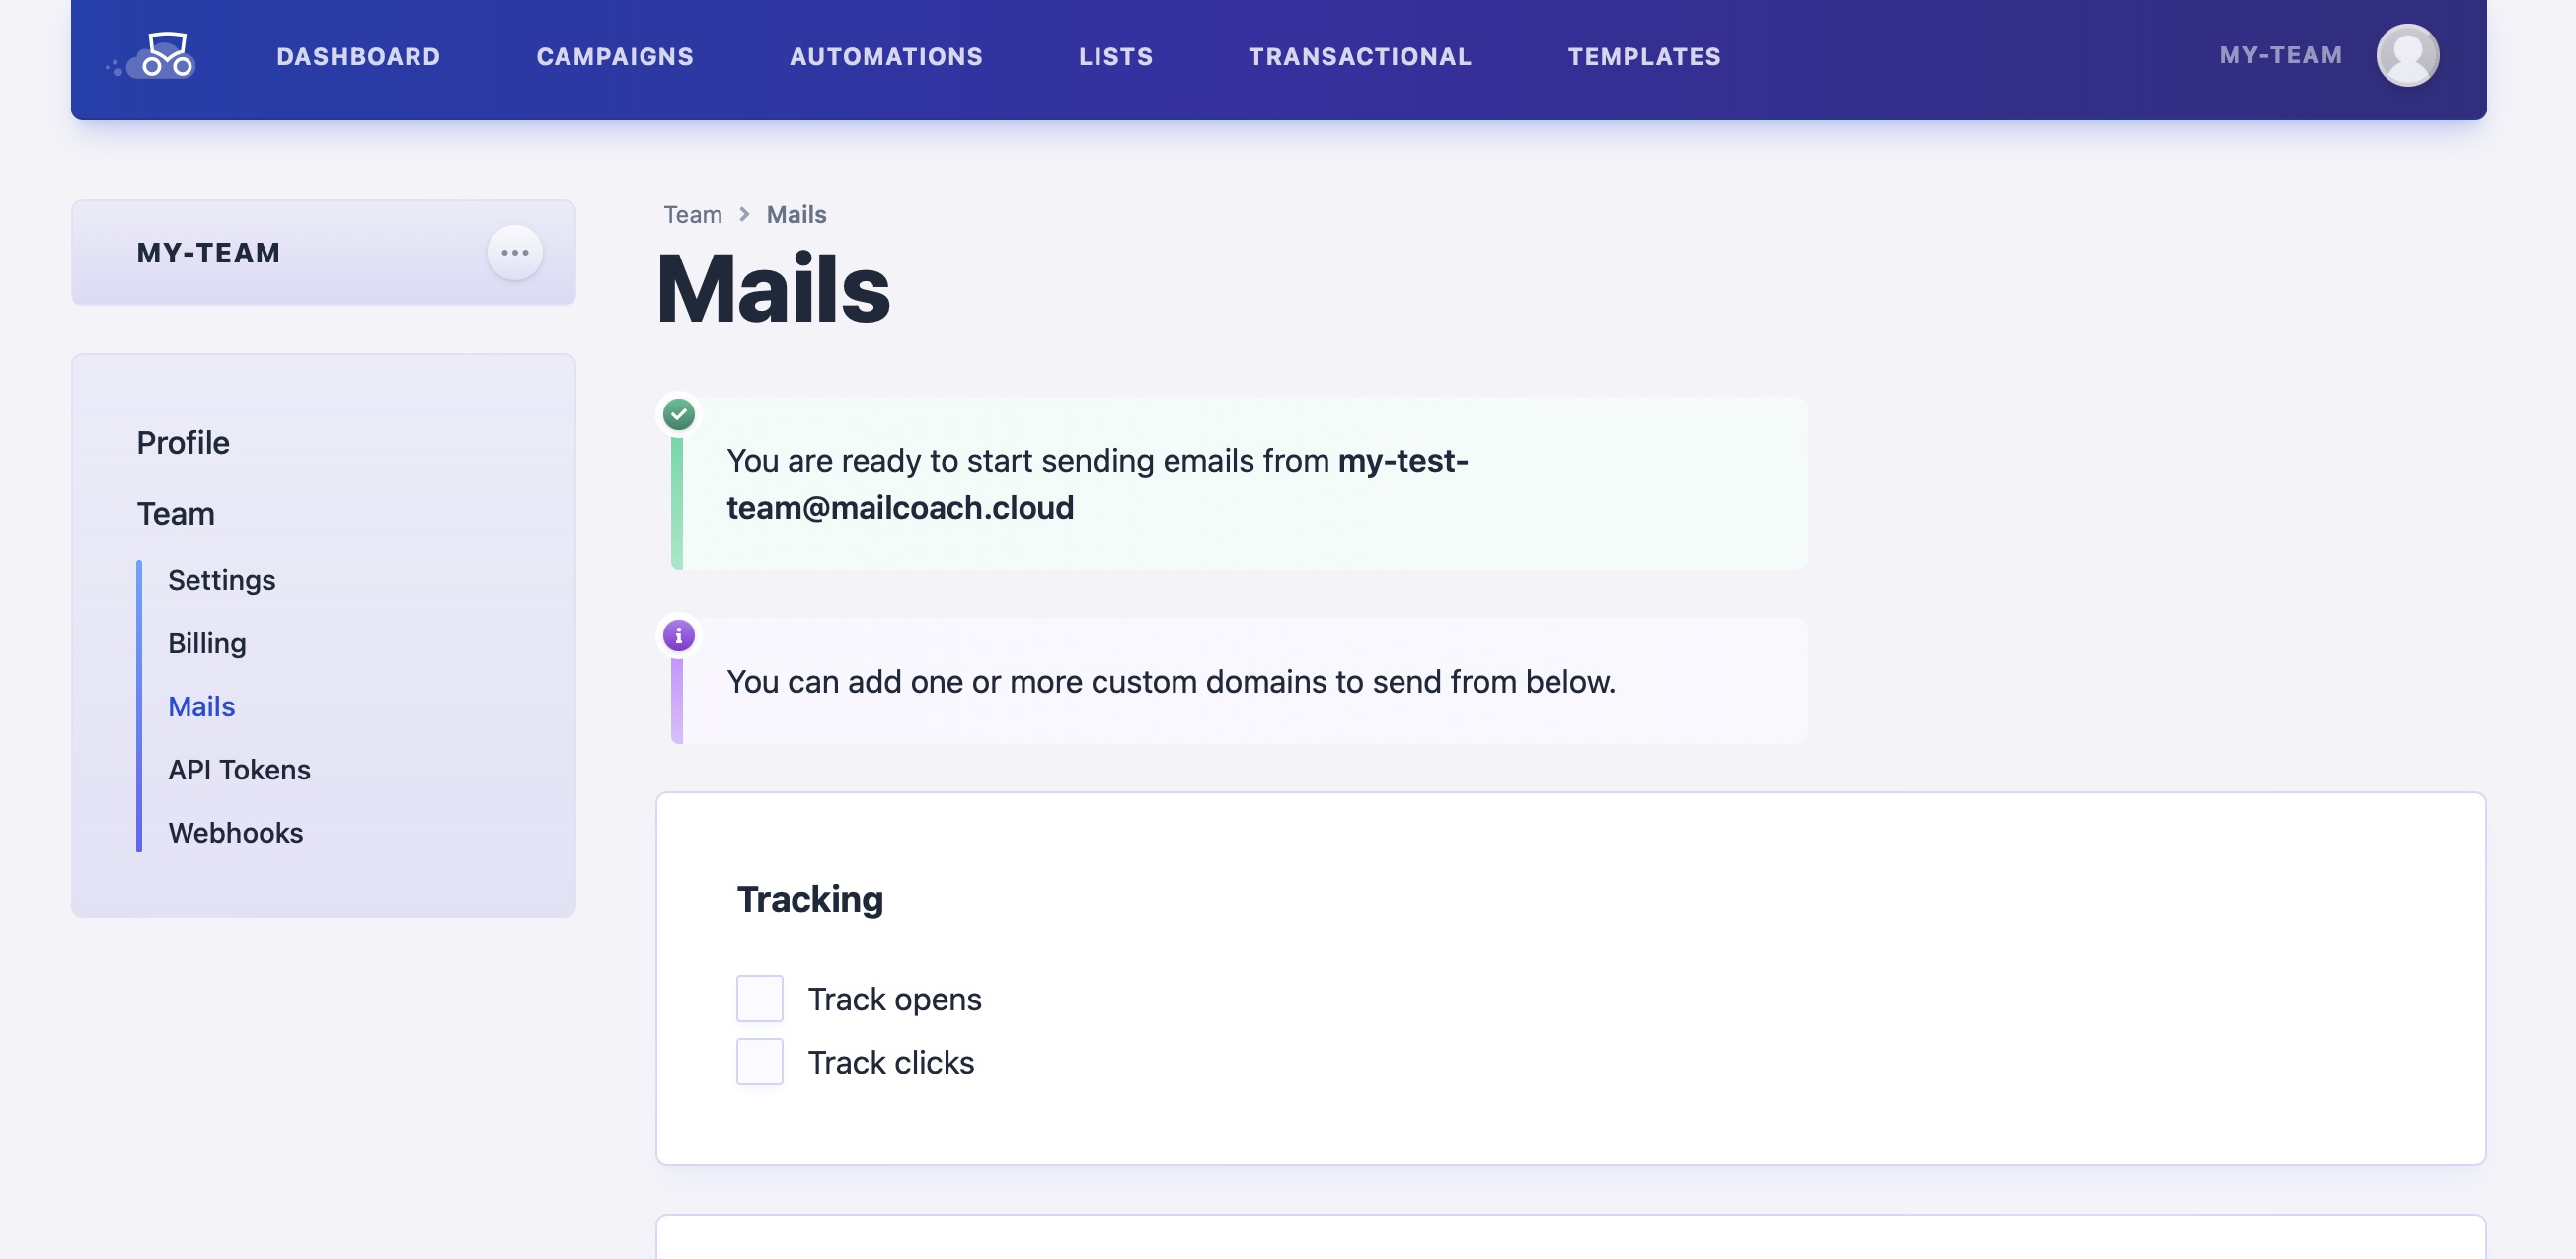
Optionally, you can activate open- and/or click-tracking.
If you own your own domain, you can send emails from it. This will make your emails look more professional and will improve your deliverability.
To use your domain to send emails form, specify your domain in the “Add sending domain field”. You’ll be presented with a set of DNS records that you should add to your domain. These records prove that you own the domain and make sure emails will get sent reliably.
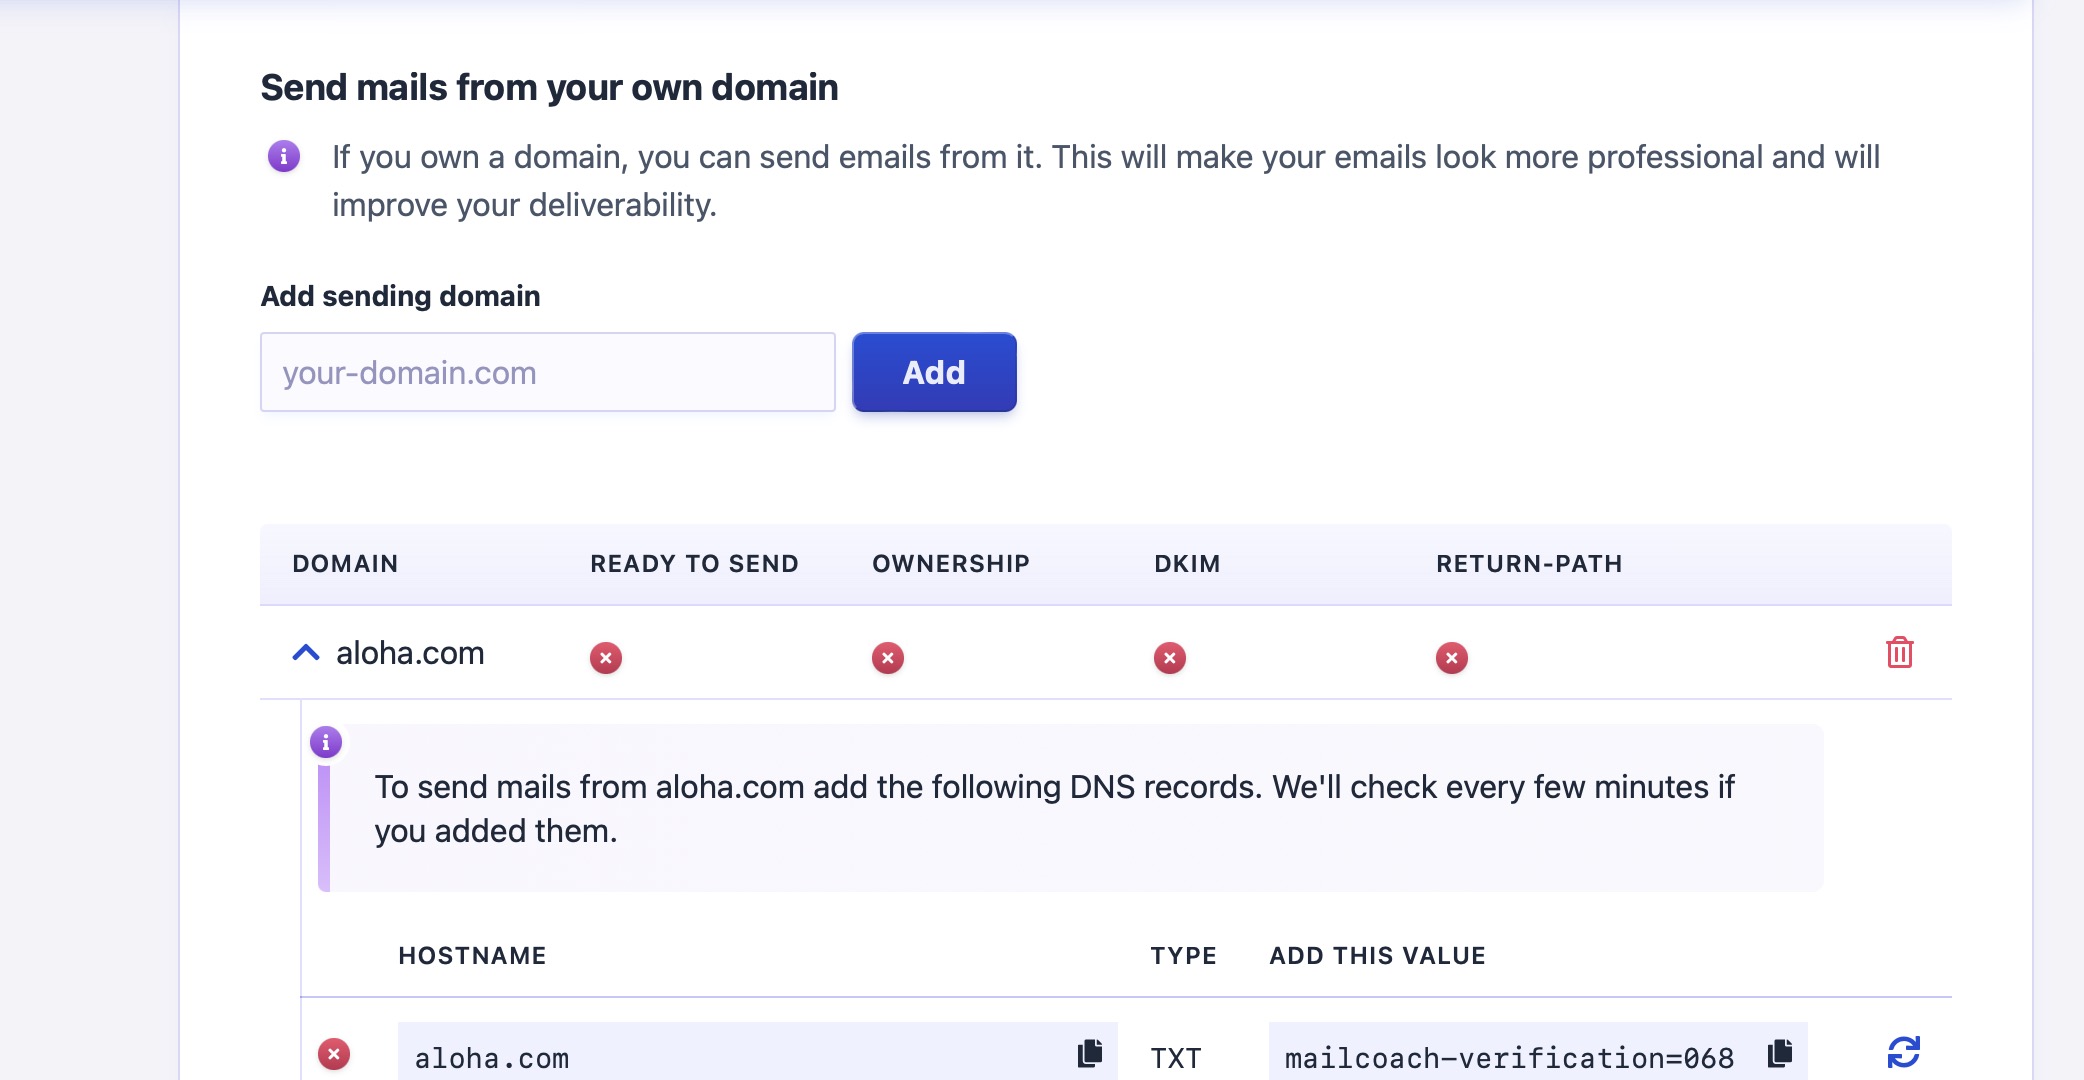
After you’ve added these DNS records and the records are verified at our end, you can use the “Send test email” button to send a little test email to yourself.
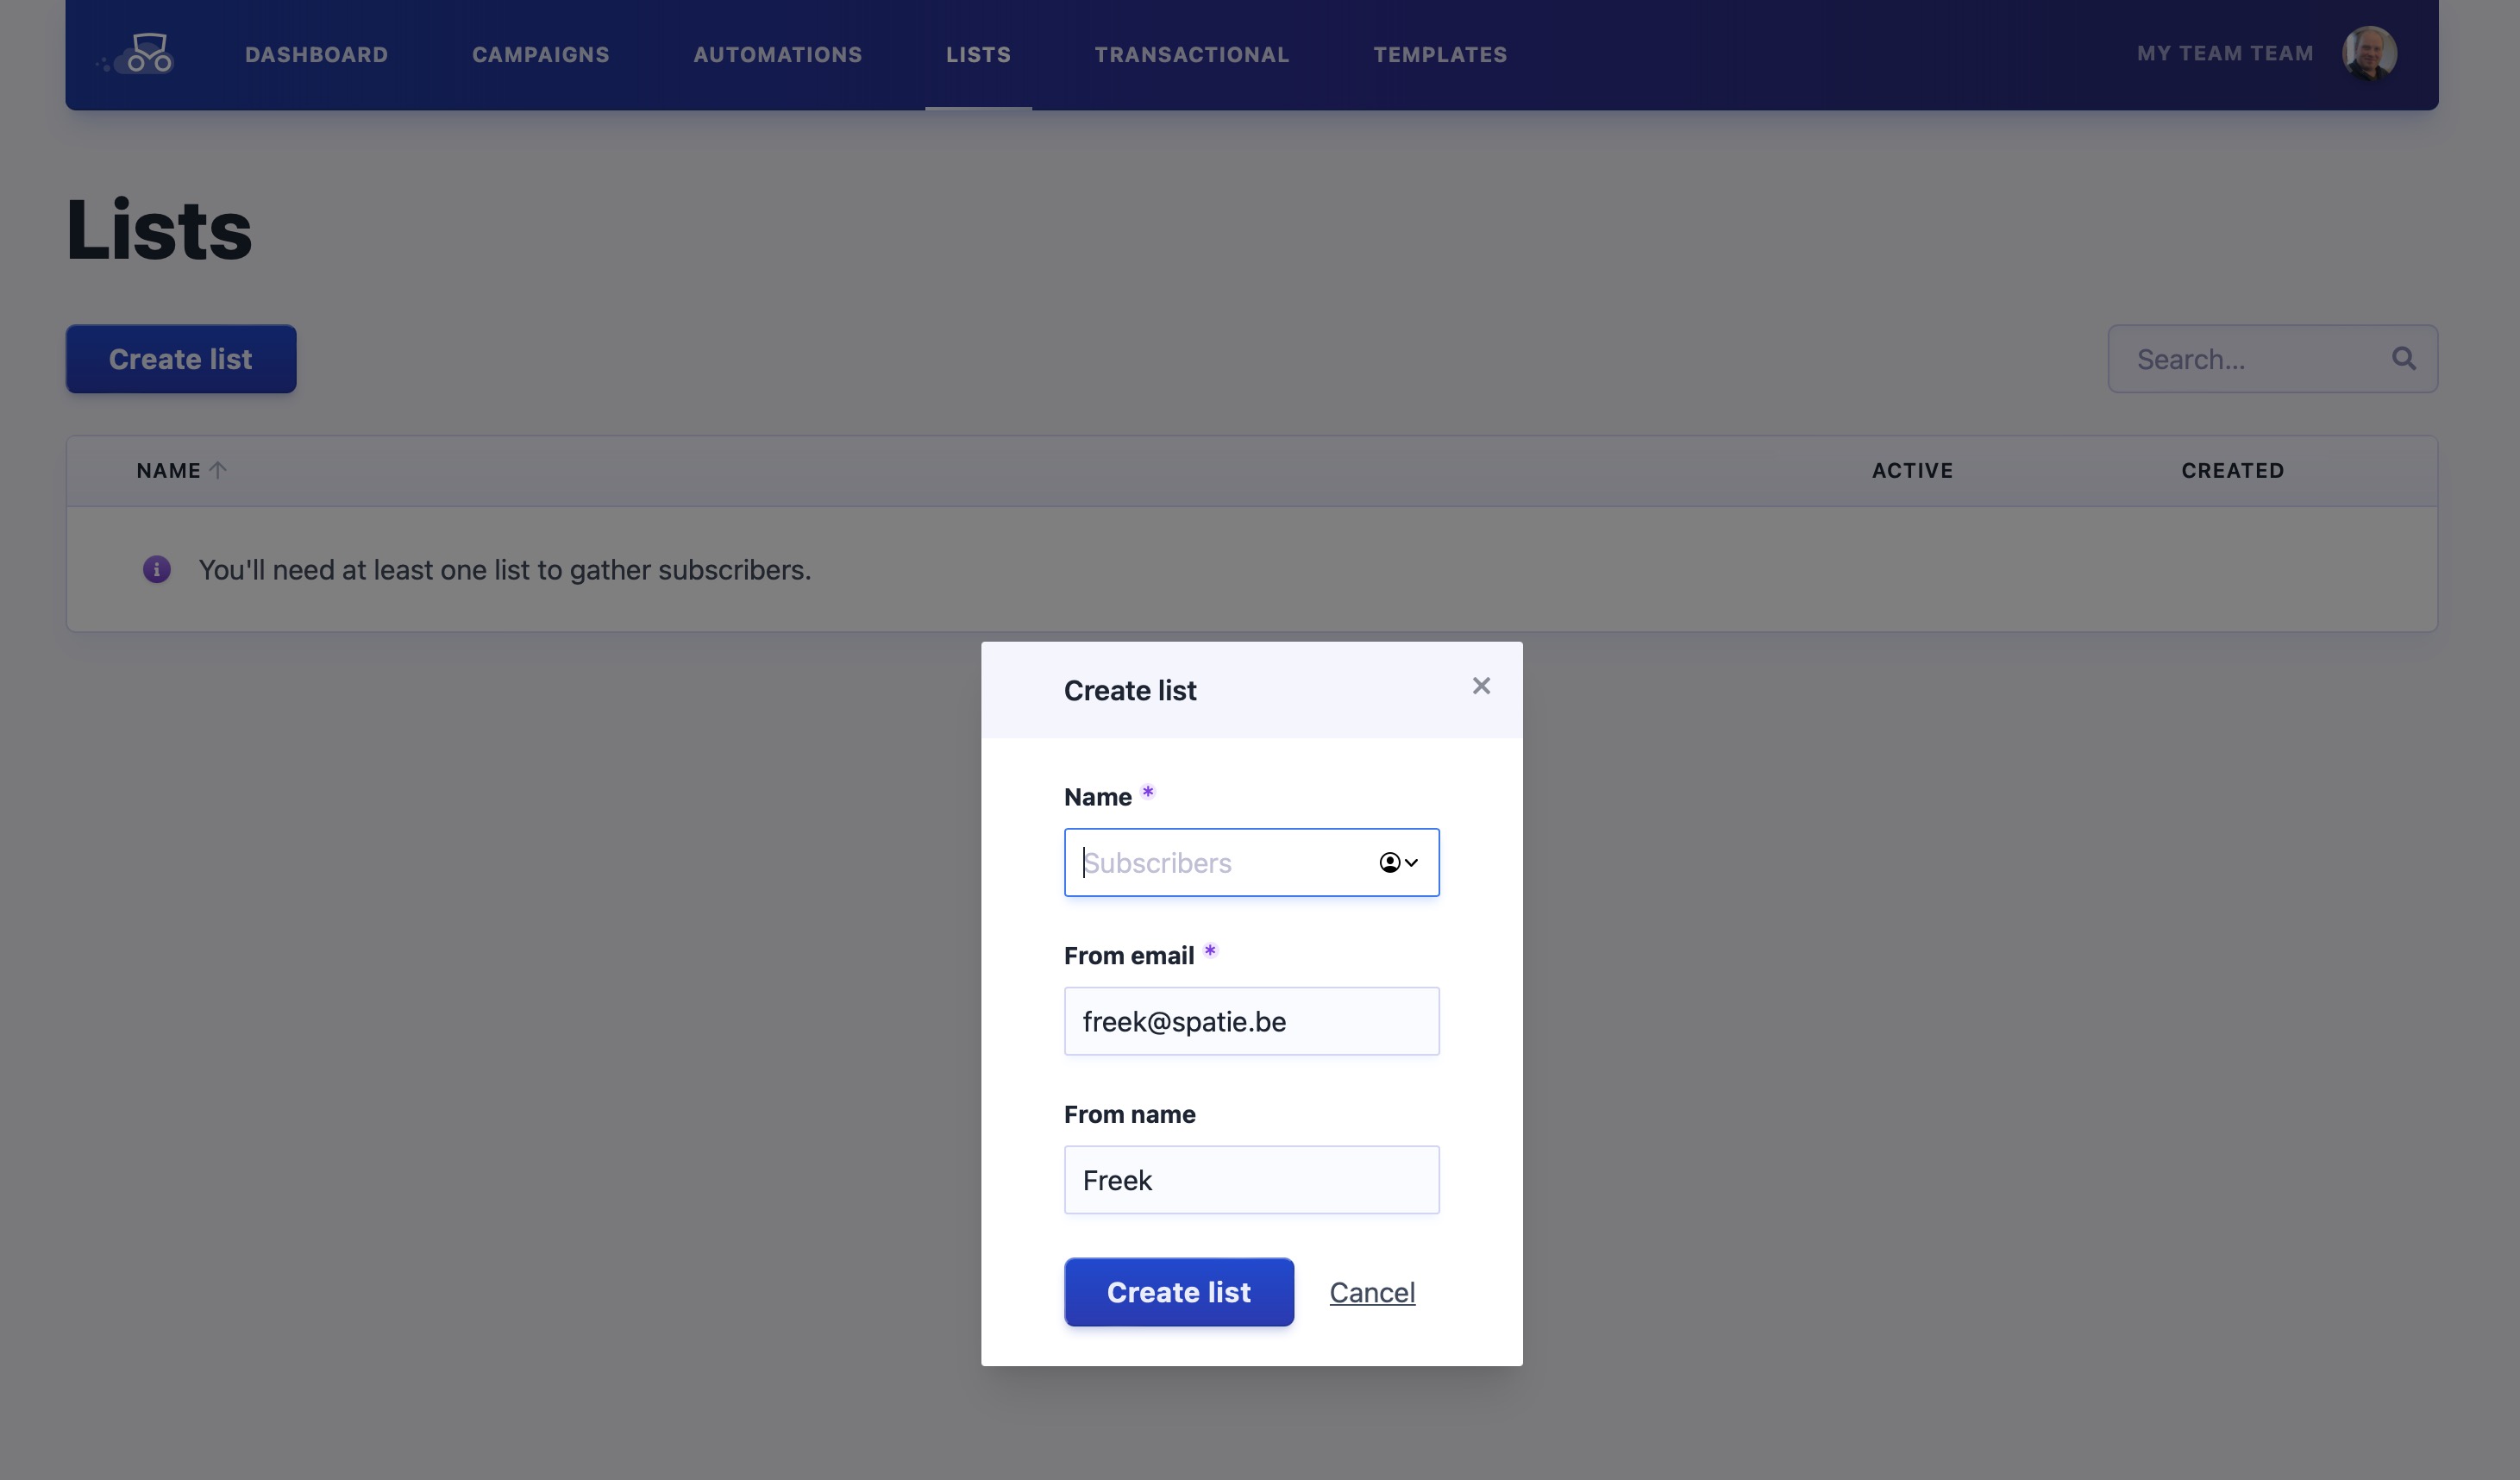
Creating an email list
You can create an email list in the “List” section. An email list is a collection of email addresses you will send a campaign to. When creating a list, you must specify a name and the email address from which you’re going to send emails. In most cases, you’ll want to use the same address you used to set up the mailer.
You’ll probably want to add actual subscribers to your list. You can do this in various ways:
Creating a campaign
With all that setup work all done, we can start creating a campaign. When you create a campaign, you’ll have to name it, specify the email list you want to send it to, and the template you want to use.
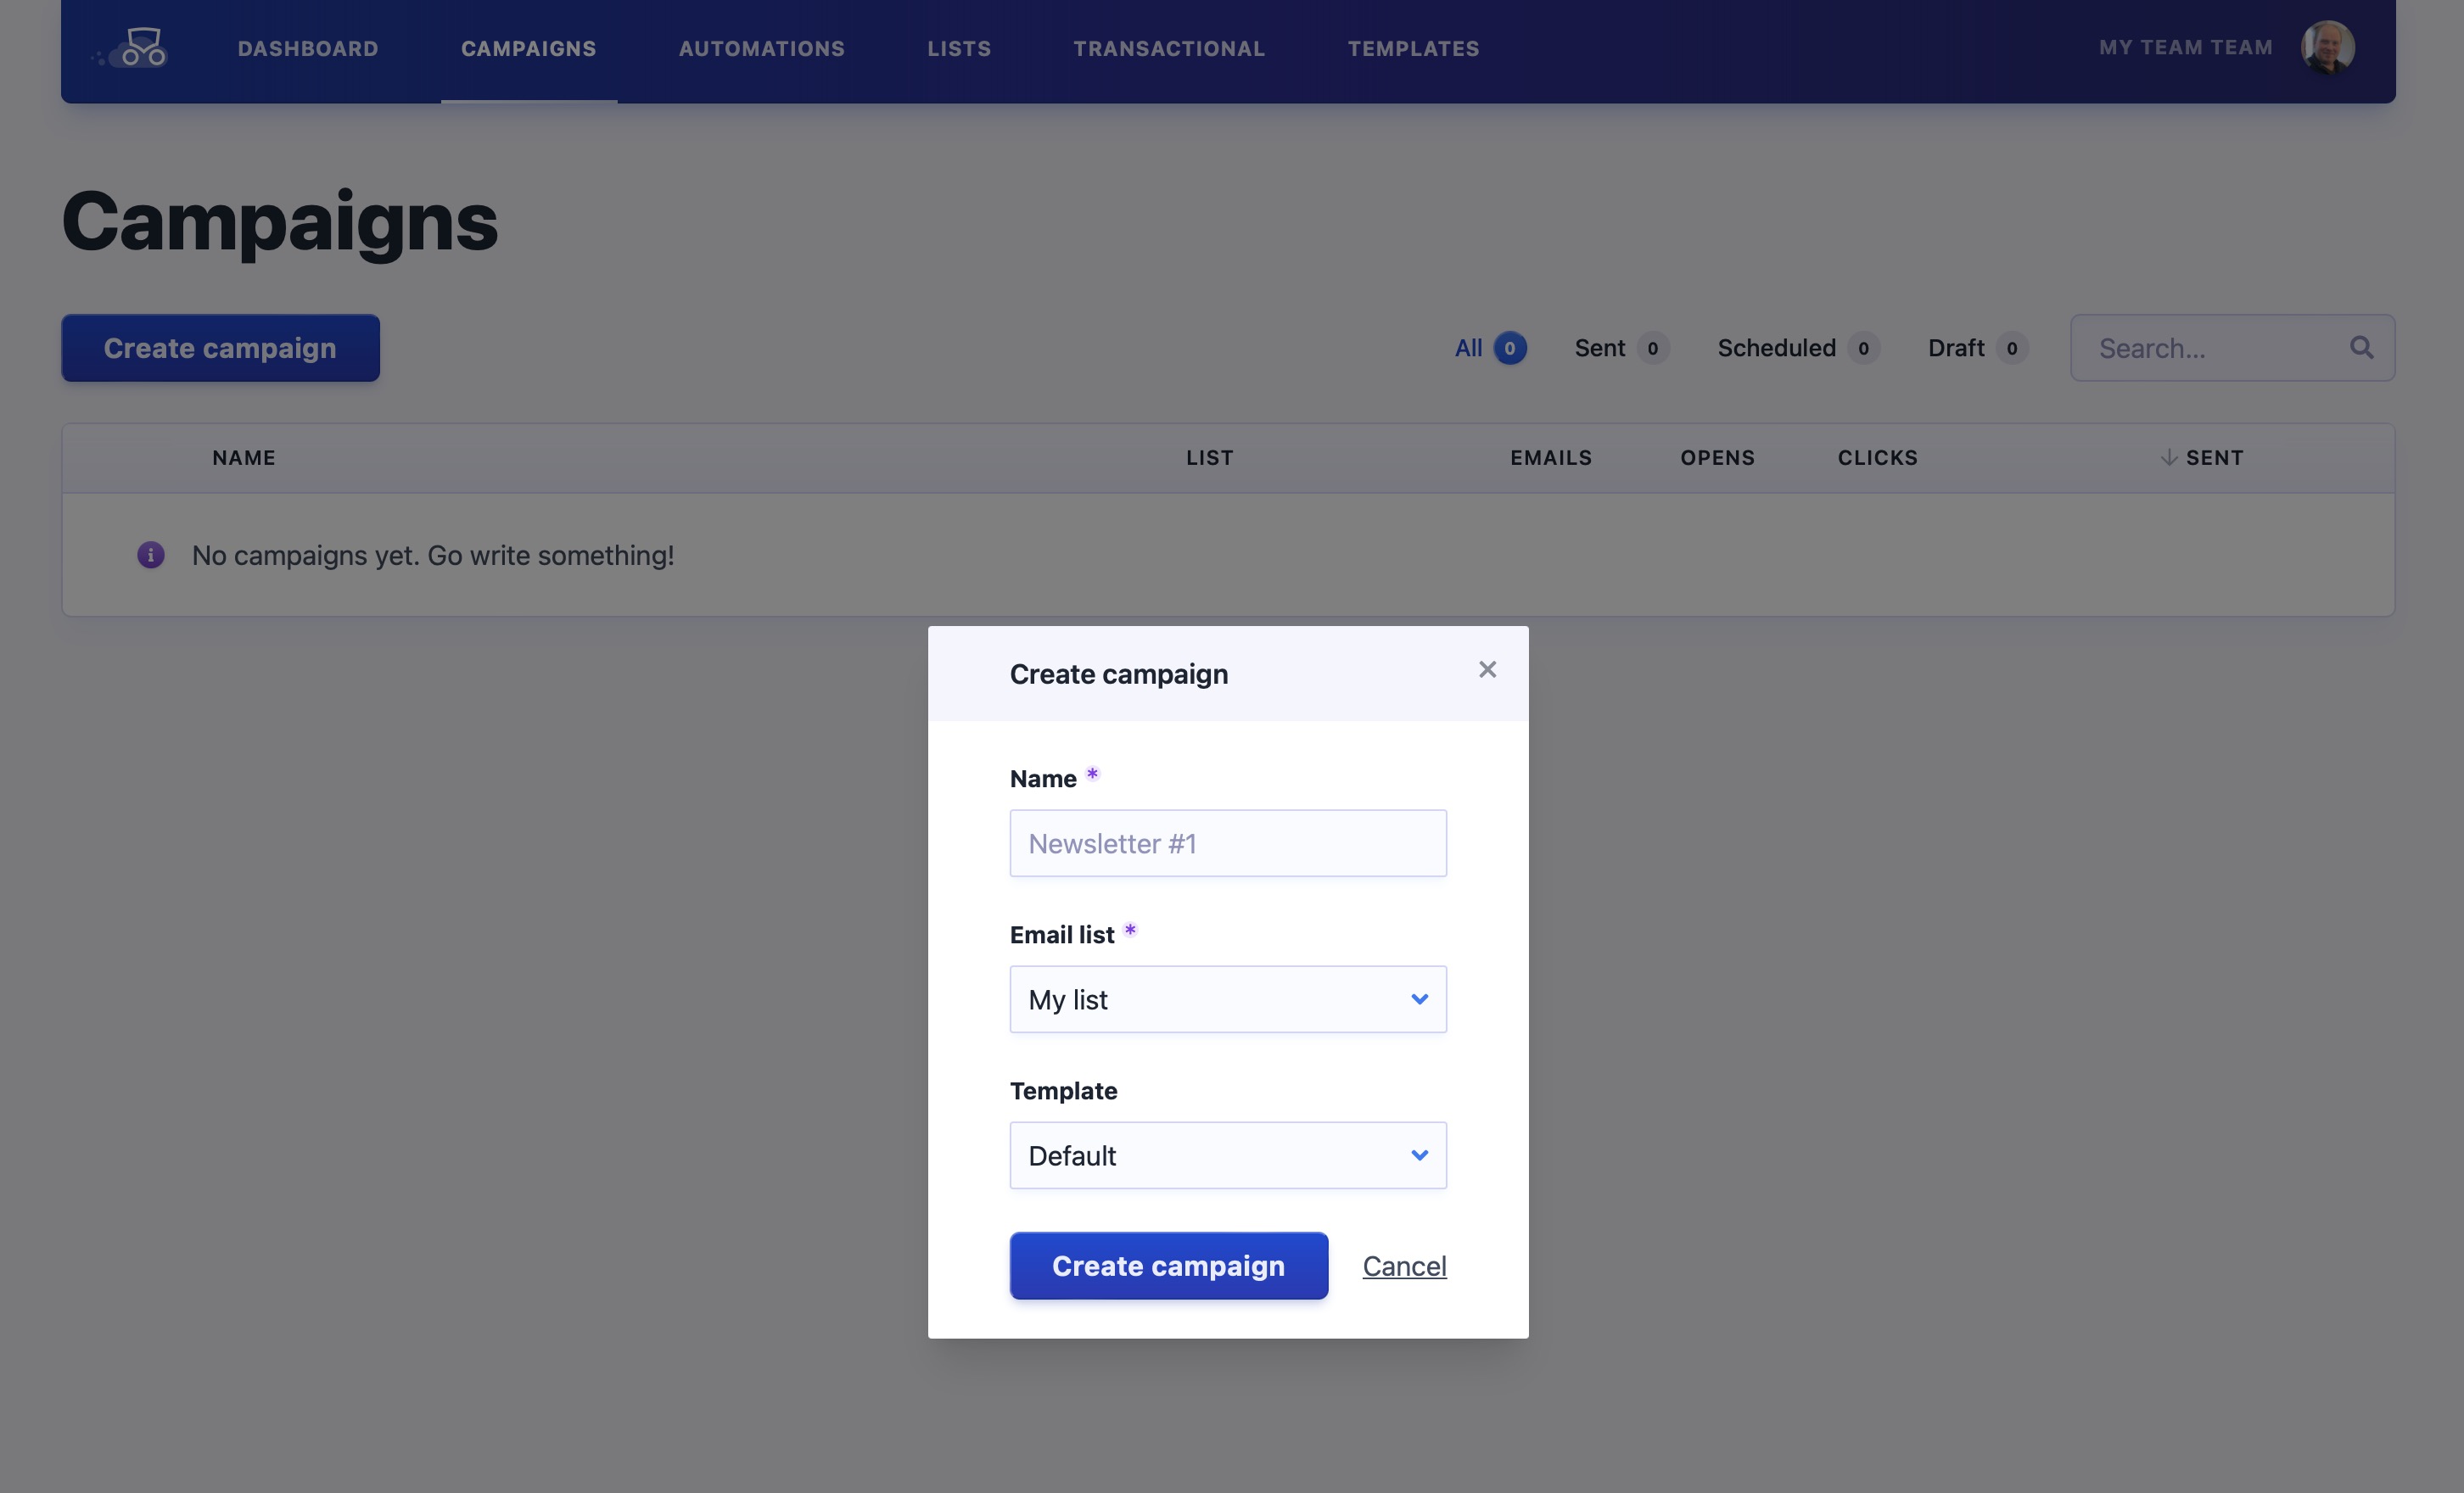
By default, you’ll get our “Default” template, ensuring that all basic styling looks nice. You can learn more about templates in the dedicated section.
After creating the campaign, you’ll be on the settings screen. The settings have some defaults; you can learn more about each setting here. The only thing that you might want to customize now is the “Subject” field, which will be used as the subject of your campaign.
On the content screen, you can start writing the content of your campaign. In this screenshot, you’ll see the Markdown editor being used.
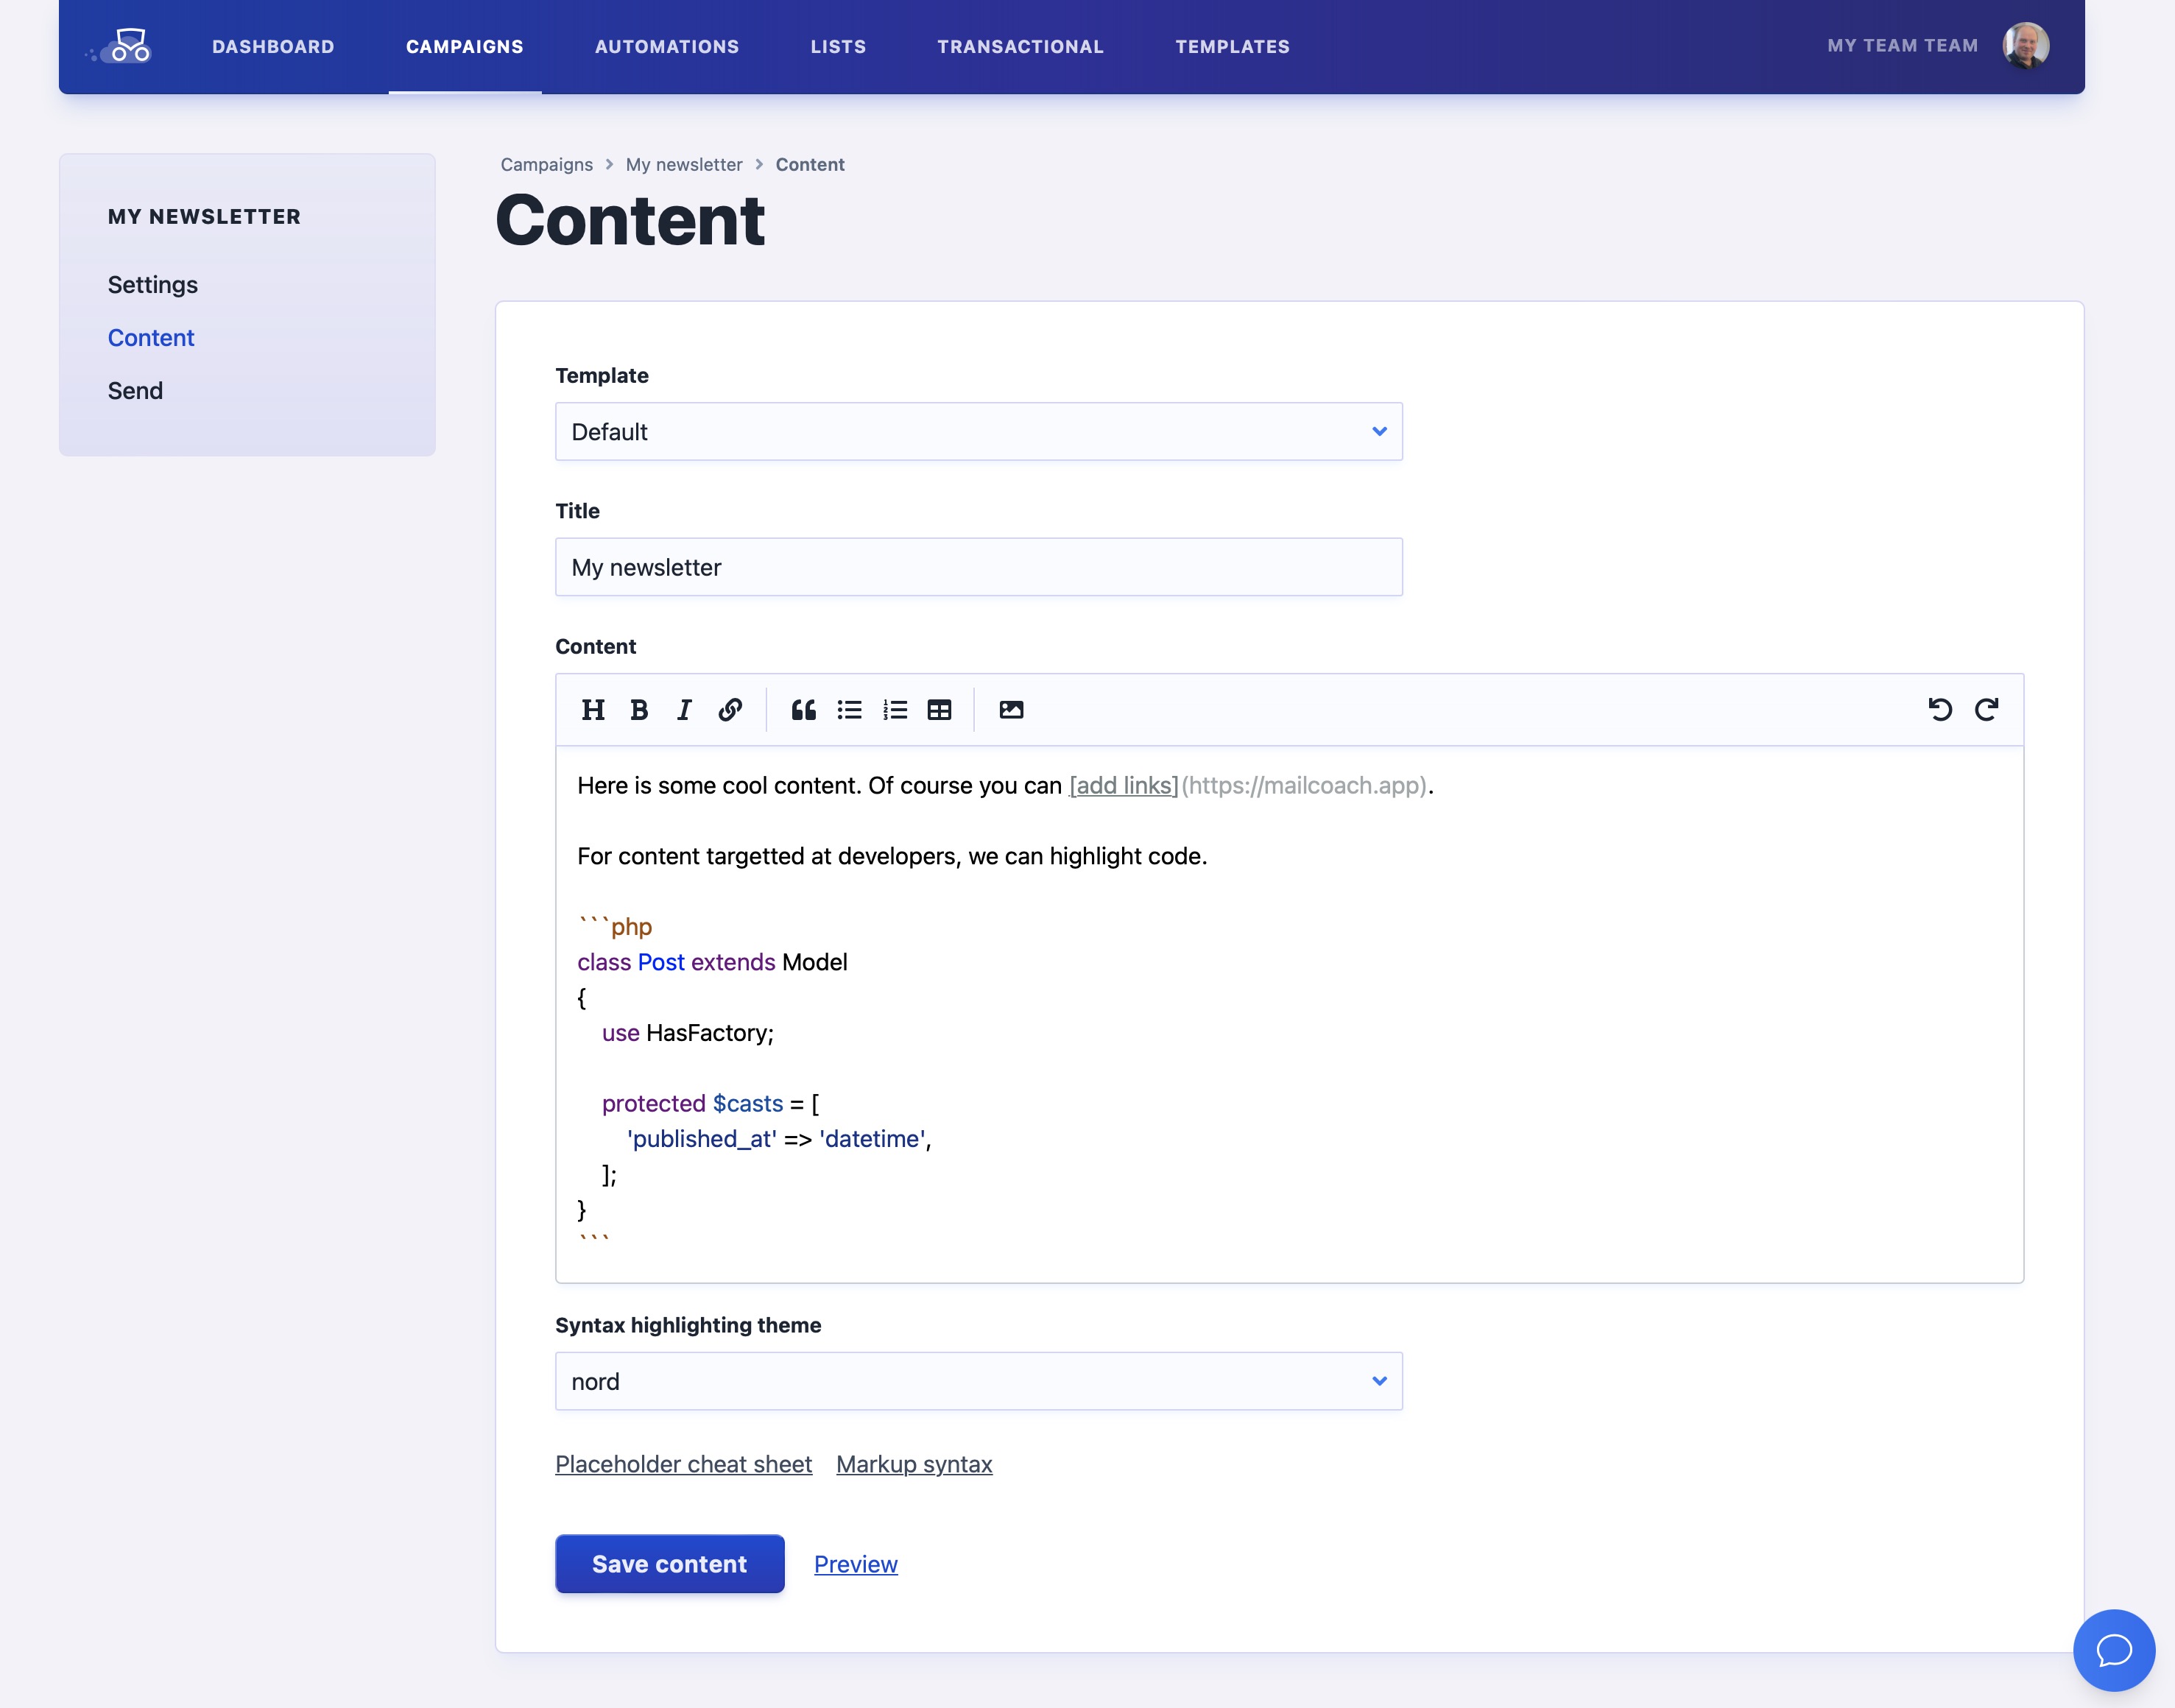
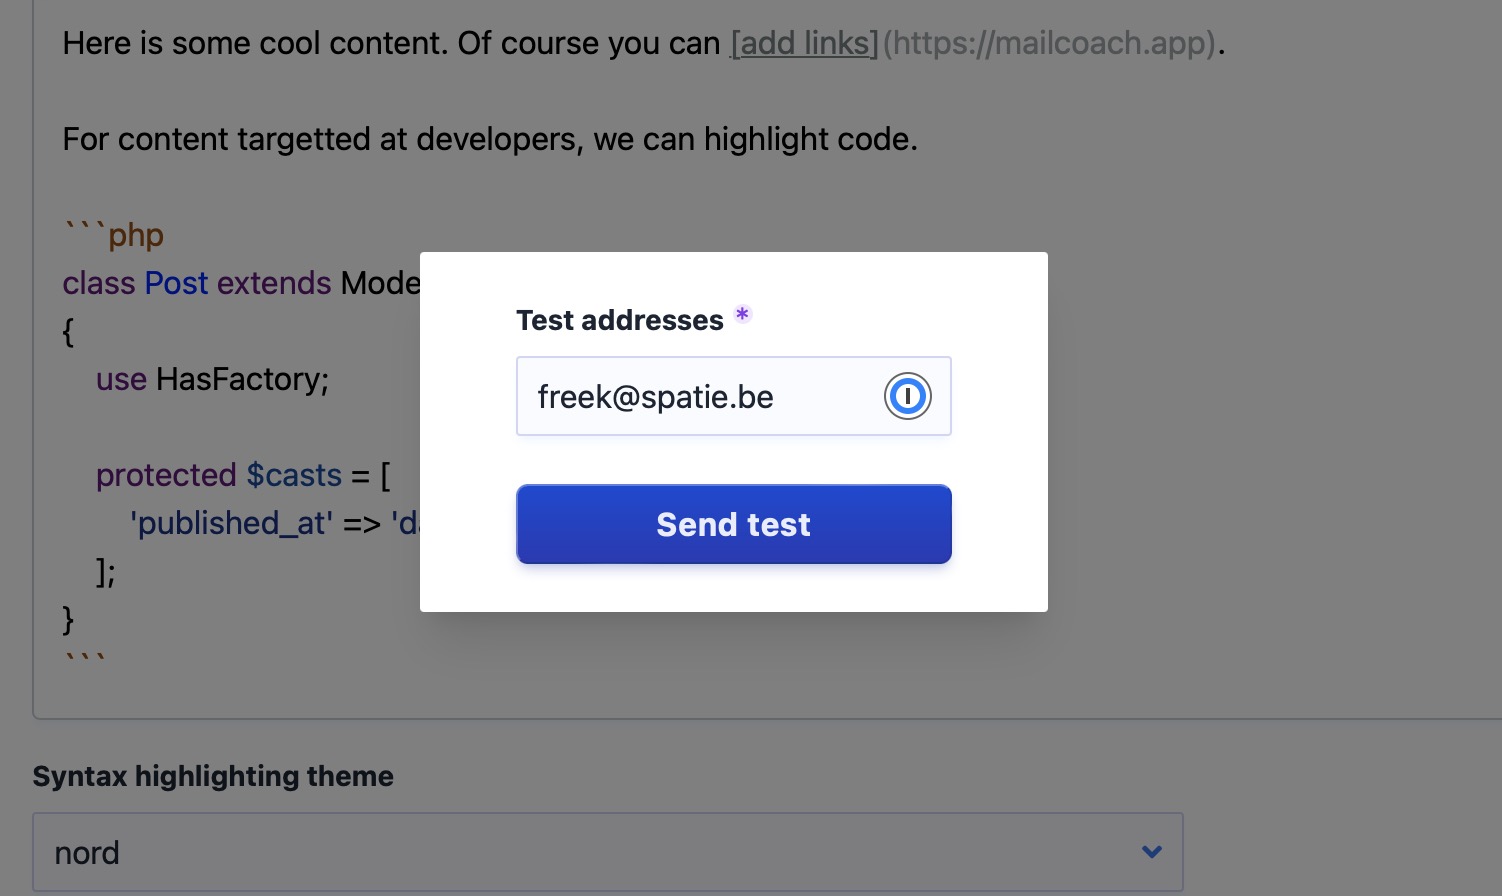
You can click “preview” to see a preview of the content in your browser. Click “Save and send test” to send a test email to an email address so you can see what it looks like in an actual email client.
Next, we come to the highlight of the show: sending a campaign.
On the “Send” screen, you get the final summary of your campaign. In the timing section, you can opt to send your campaign at a later date.

Click “Send now”, and confirm, and we’ll send your content to all your list subscribers.
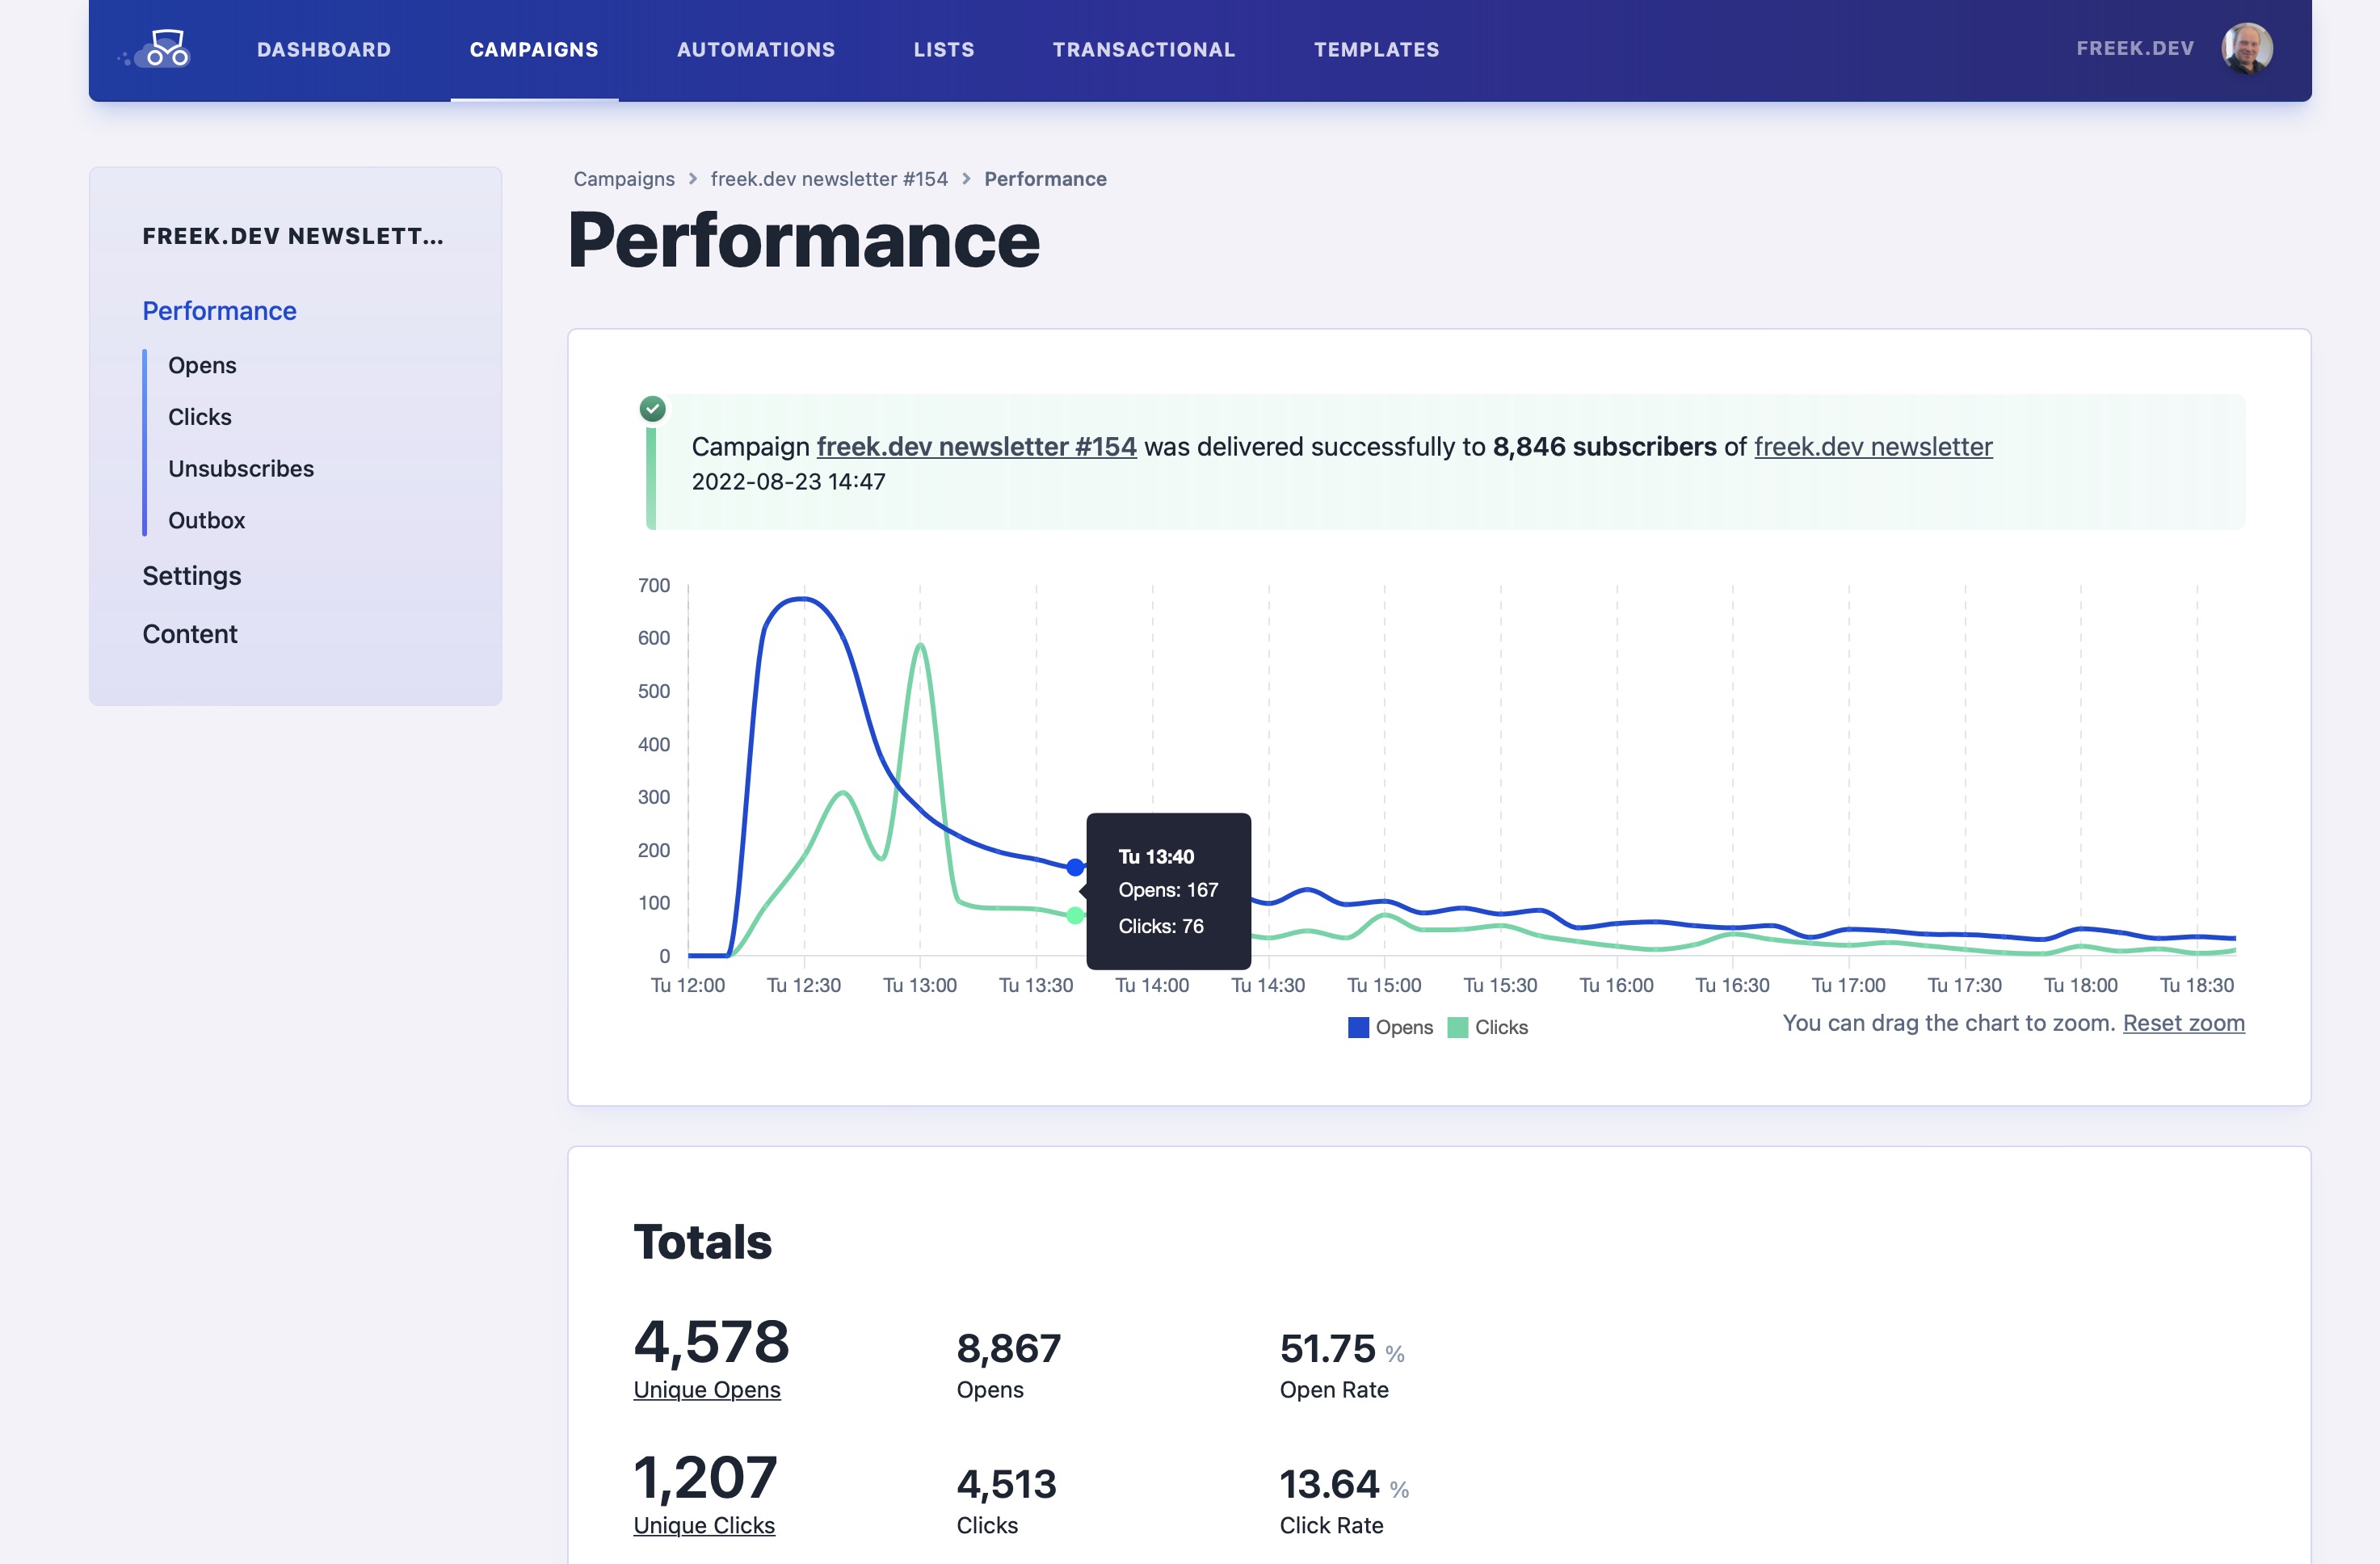
Sending a campaign can take a couple of minutes. After that, you’ll see the statistics of your campaign. Here’s a screenshot from an actual campaign we sent.
Next steps
This page only covered setting up Mailcoach and sending a campaign. Mailcoach can do a lot more:
- sending drip campaigns
- transactional emails
- and much more
We also offer an extensive API. Most things you can do in the user interface, you can do via the API as well.