Sending your first campaign
Follow along on how to get started with Mailcoach and send your first campaign.
On this page:
- Verify your email address
- Setting up a mailer
- Creating an email list
- Creating a campaign
- A word to the wise
- Inviting users to your app
Verify your email address
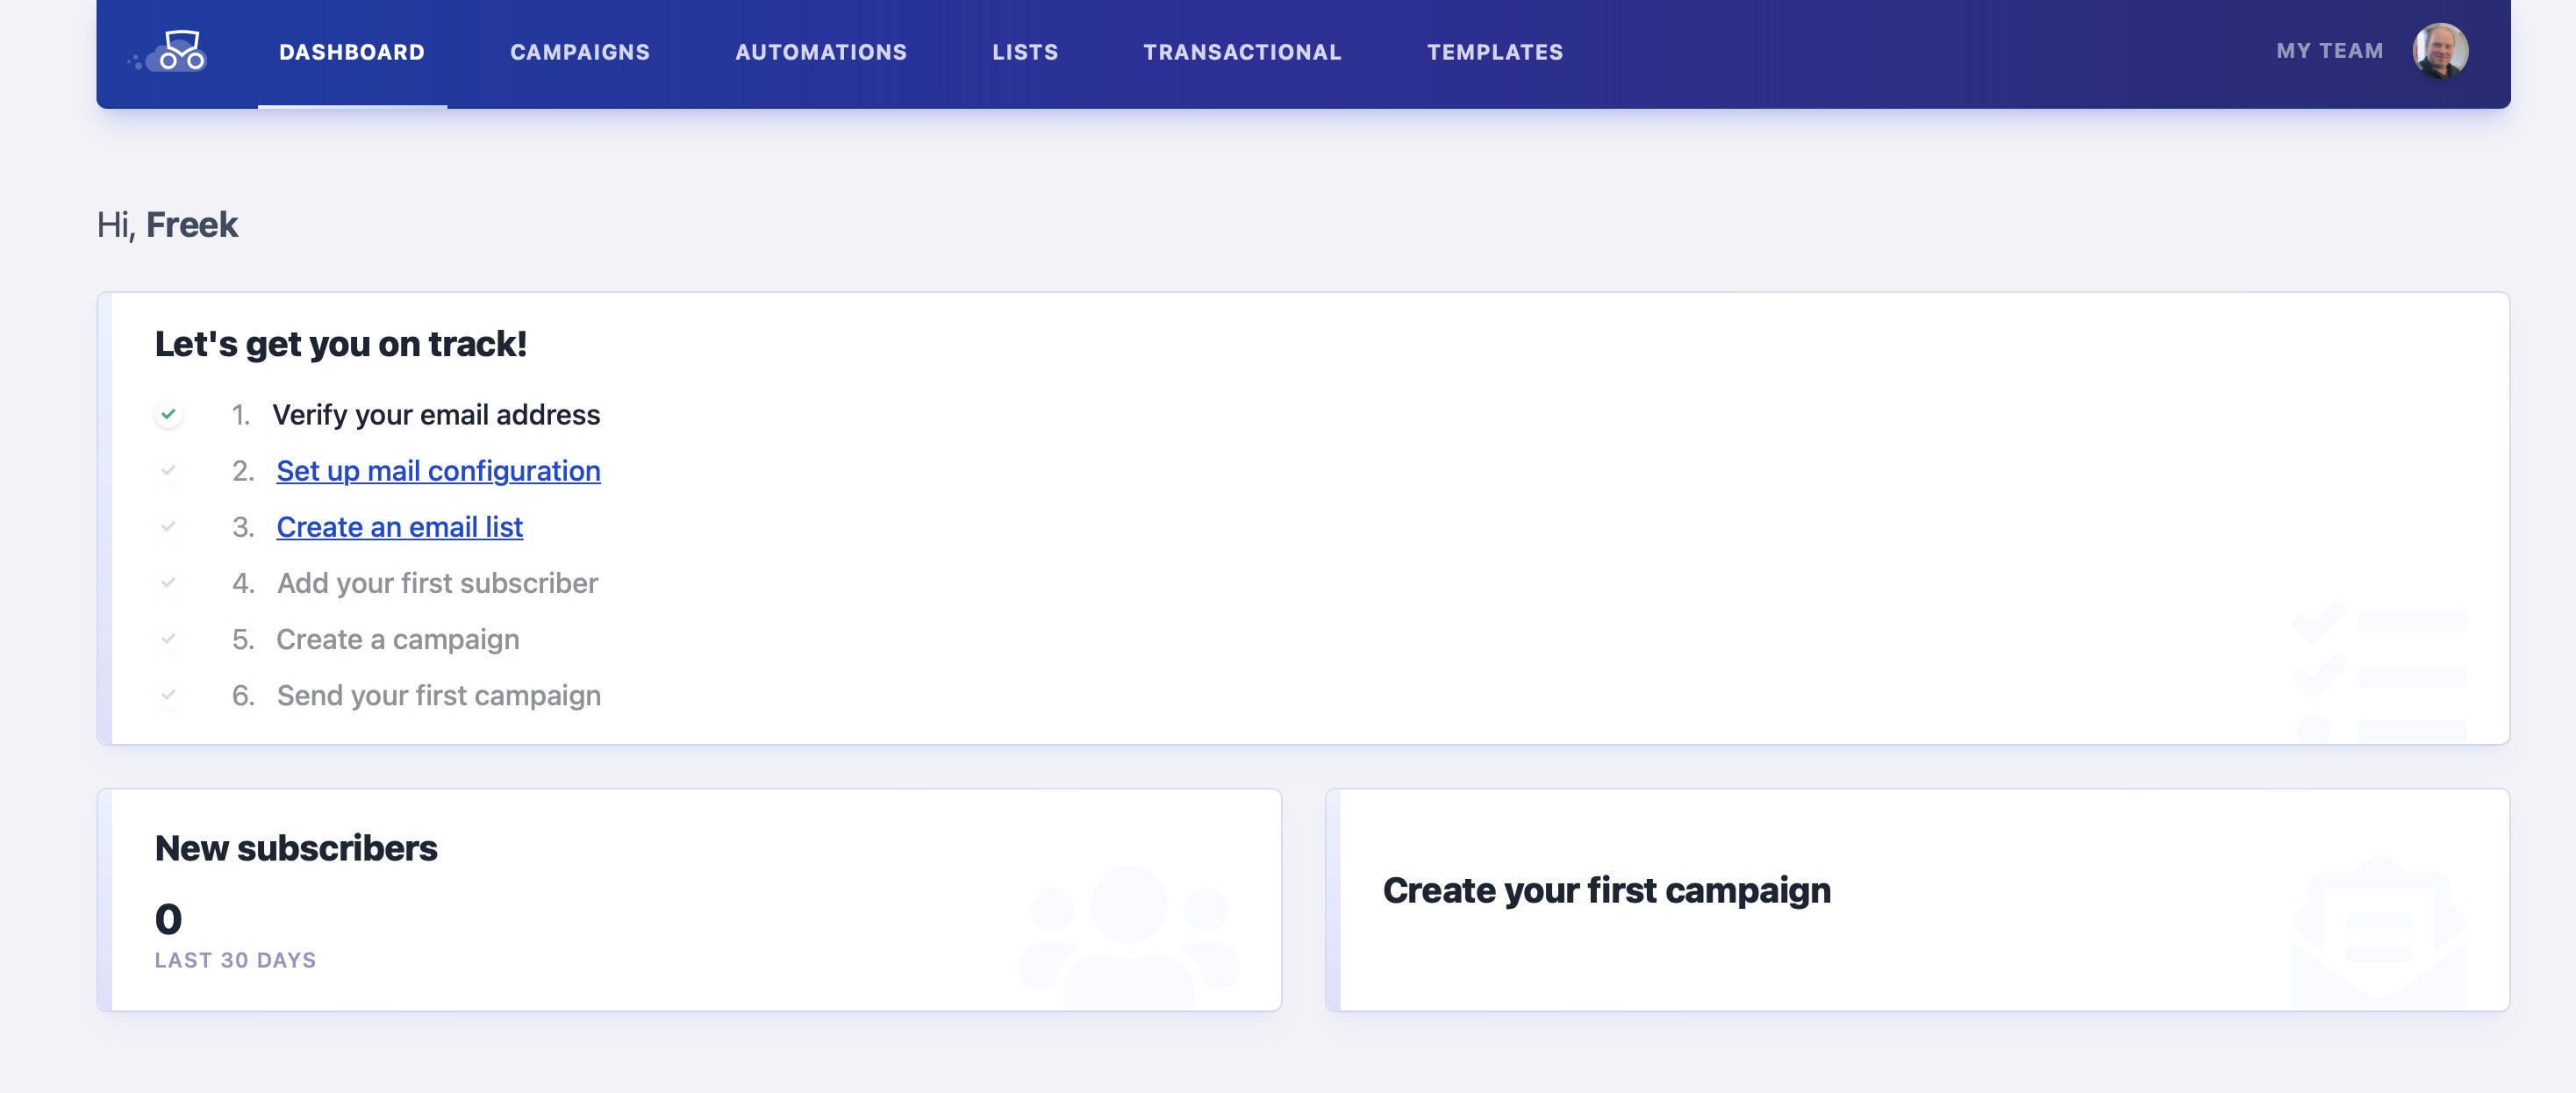
The first thing that we require is that you verify your email address. We’ll send you a mail that contains a link that you should click. That’s it!
Getting started with Mailcoach is easy. In the UI, we’ll guide you through the entire process using a little checklist.
Setting up a mailer
Mailcoach sends all emails through your account of an email sending service such as Amazon SES, Mailgun, Postmark, …
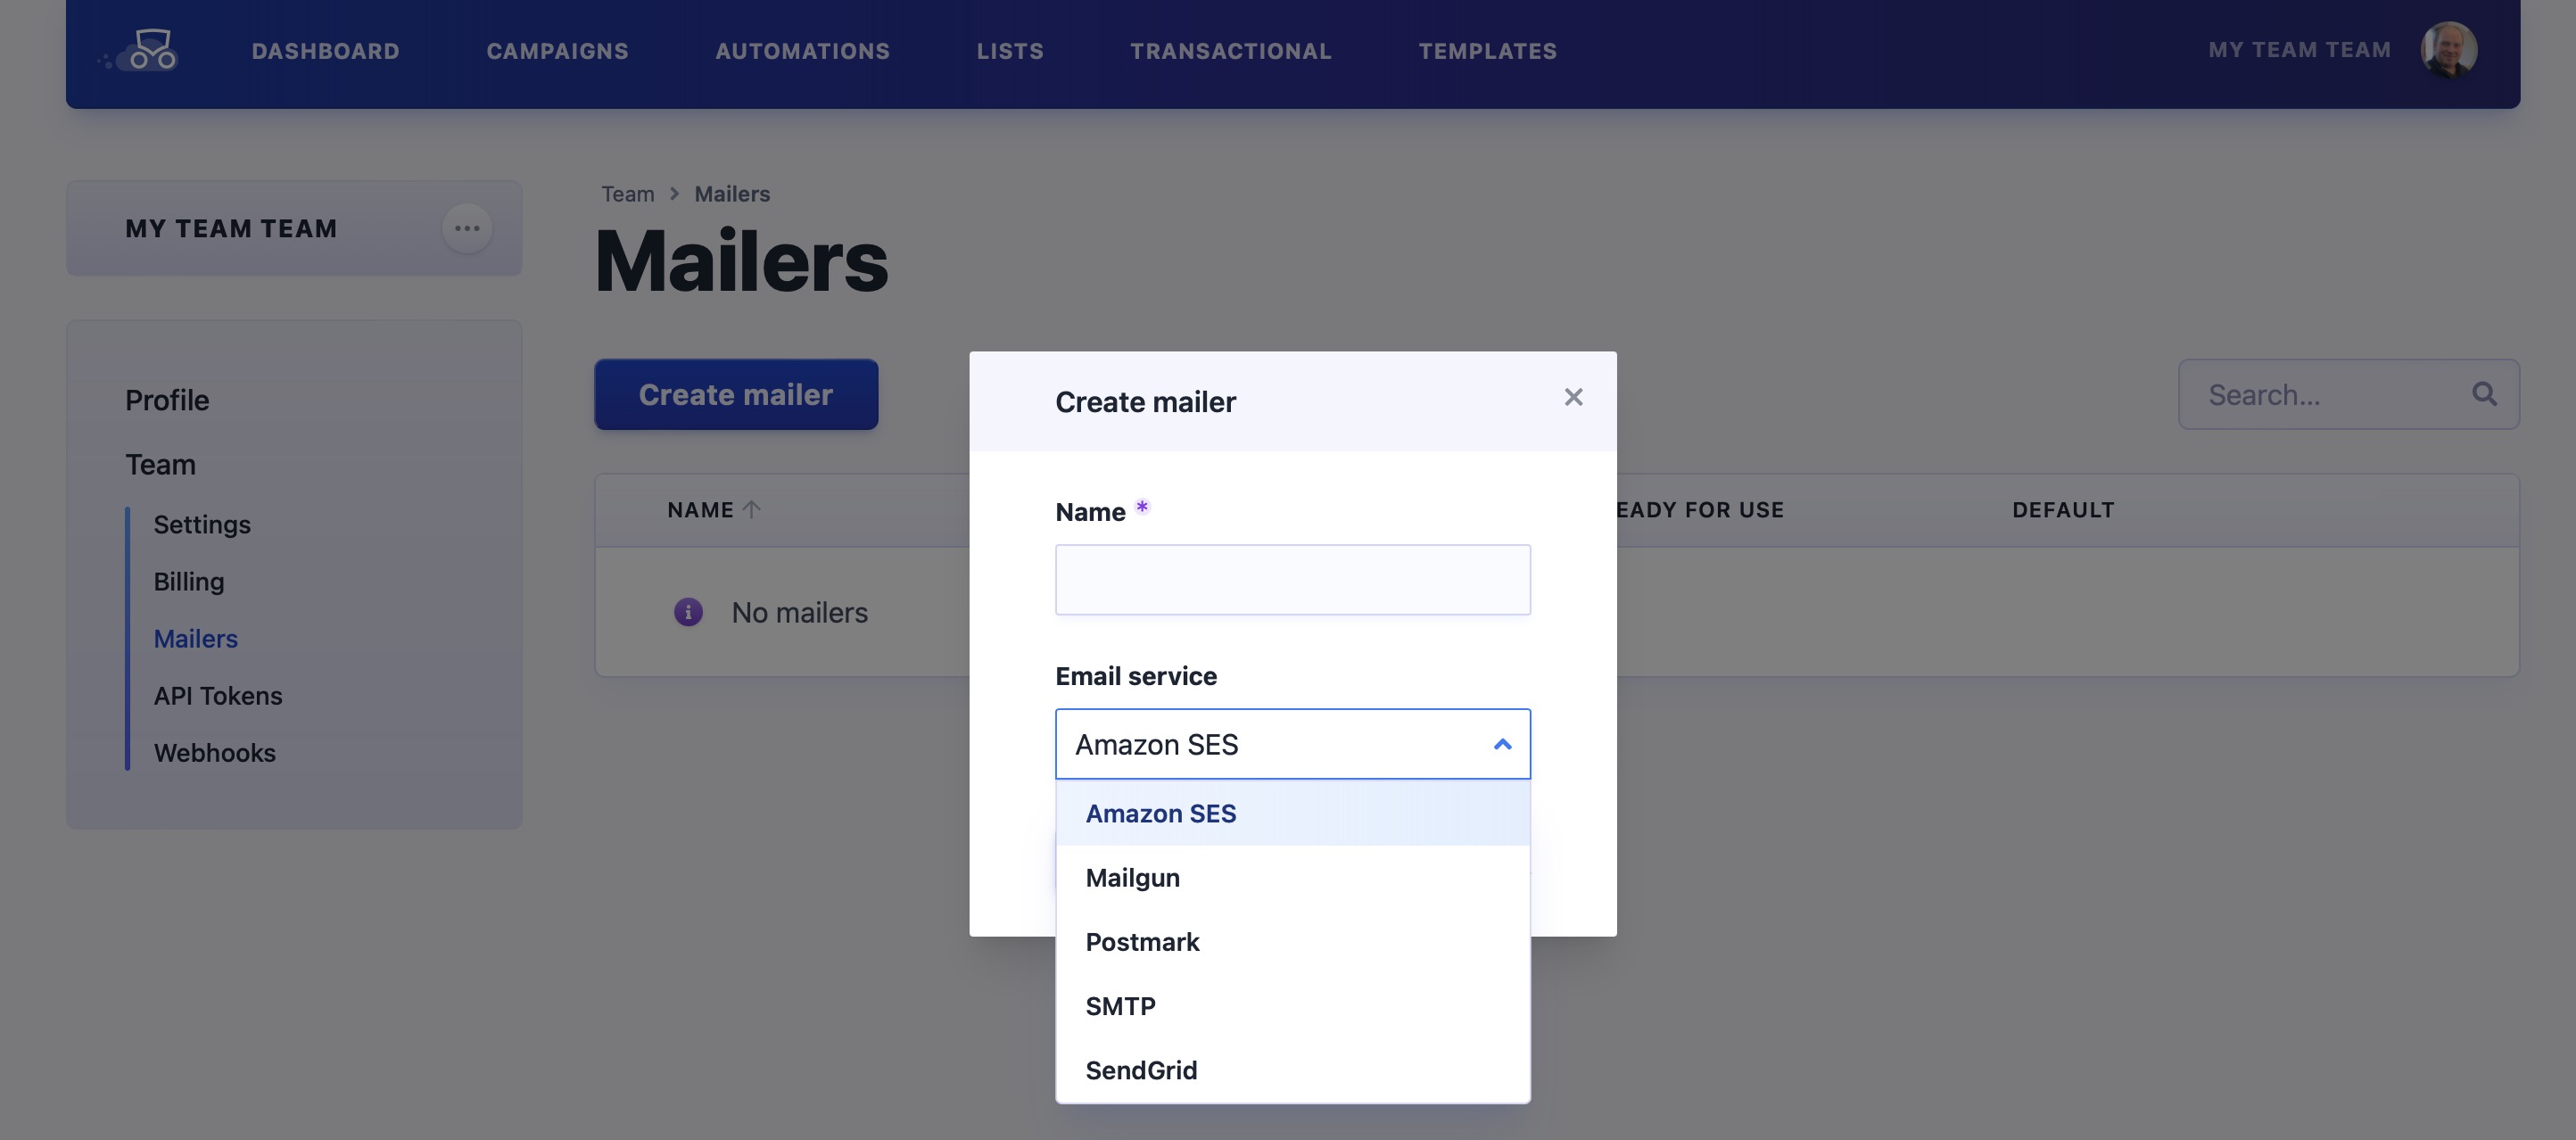
In our UI, you can connect your email sending service account to Mailcoach by creating a mailer in Configuration > Settings > Mailers.
When creating a Mailer, you’ll have to give it a name and choose the email service you want to use.
After a mailer has been created, it should be configured. You can follow the steps of the wizard shown.
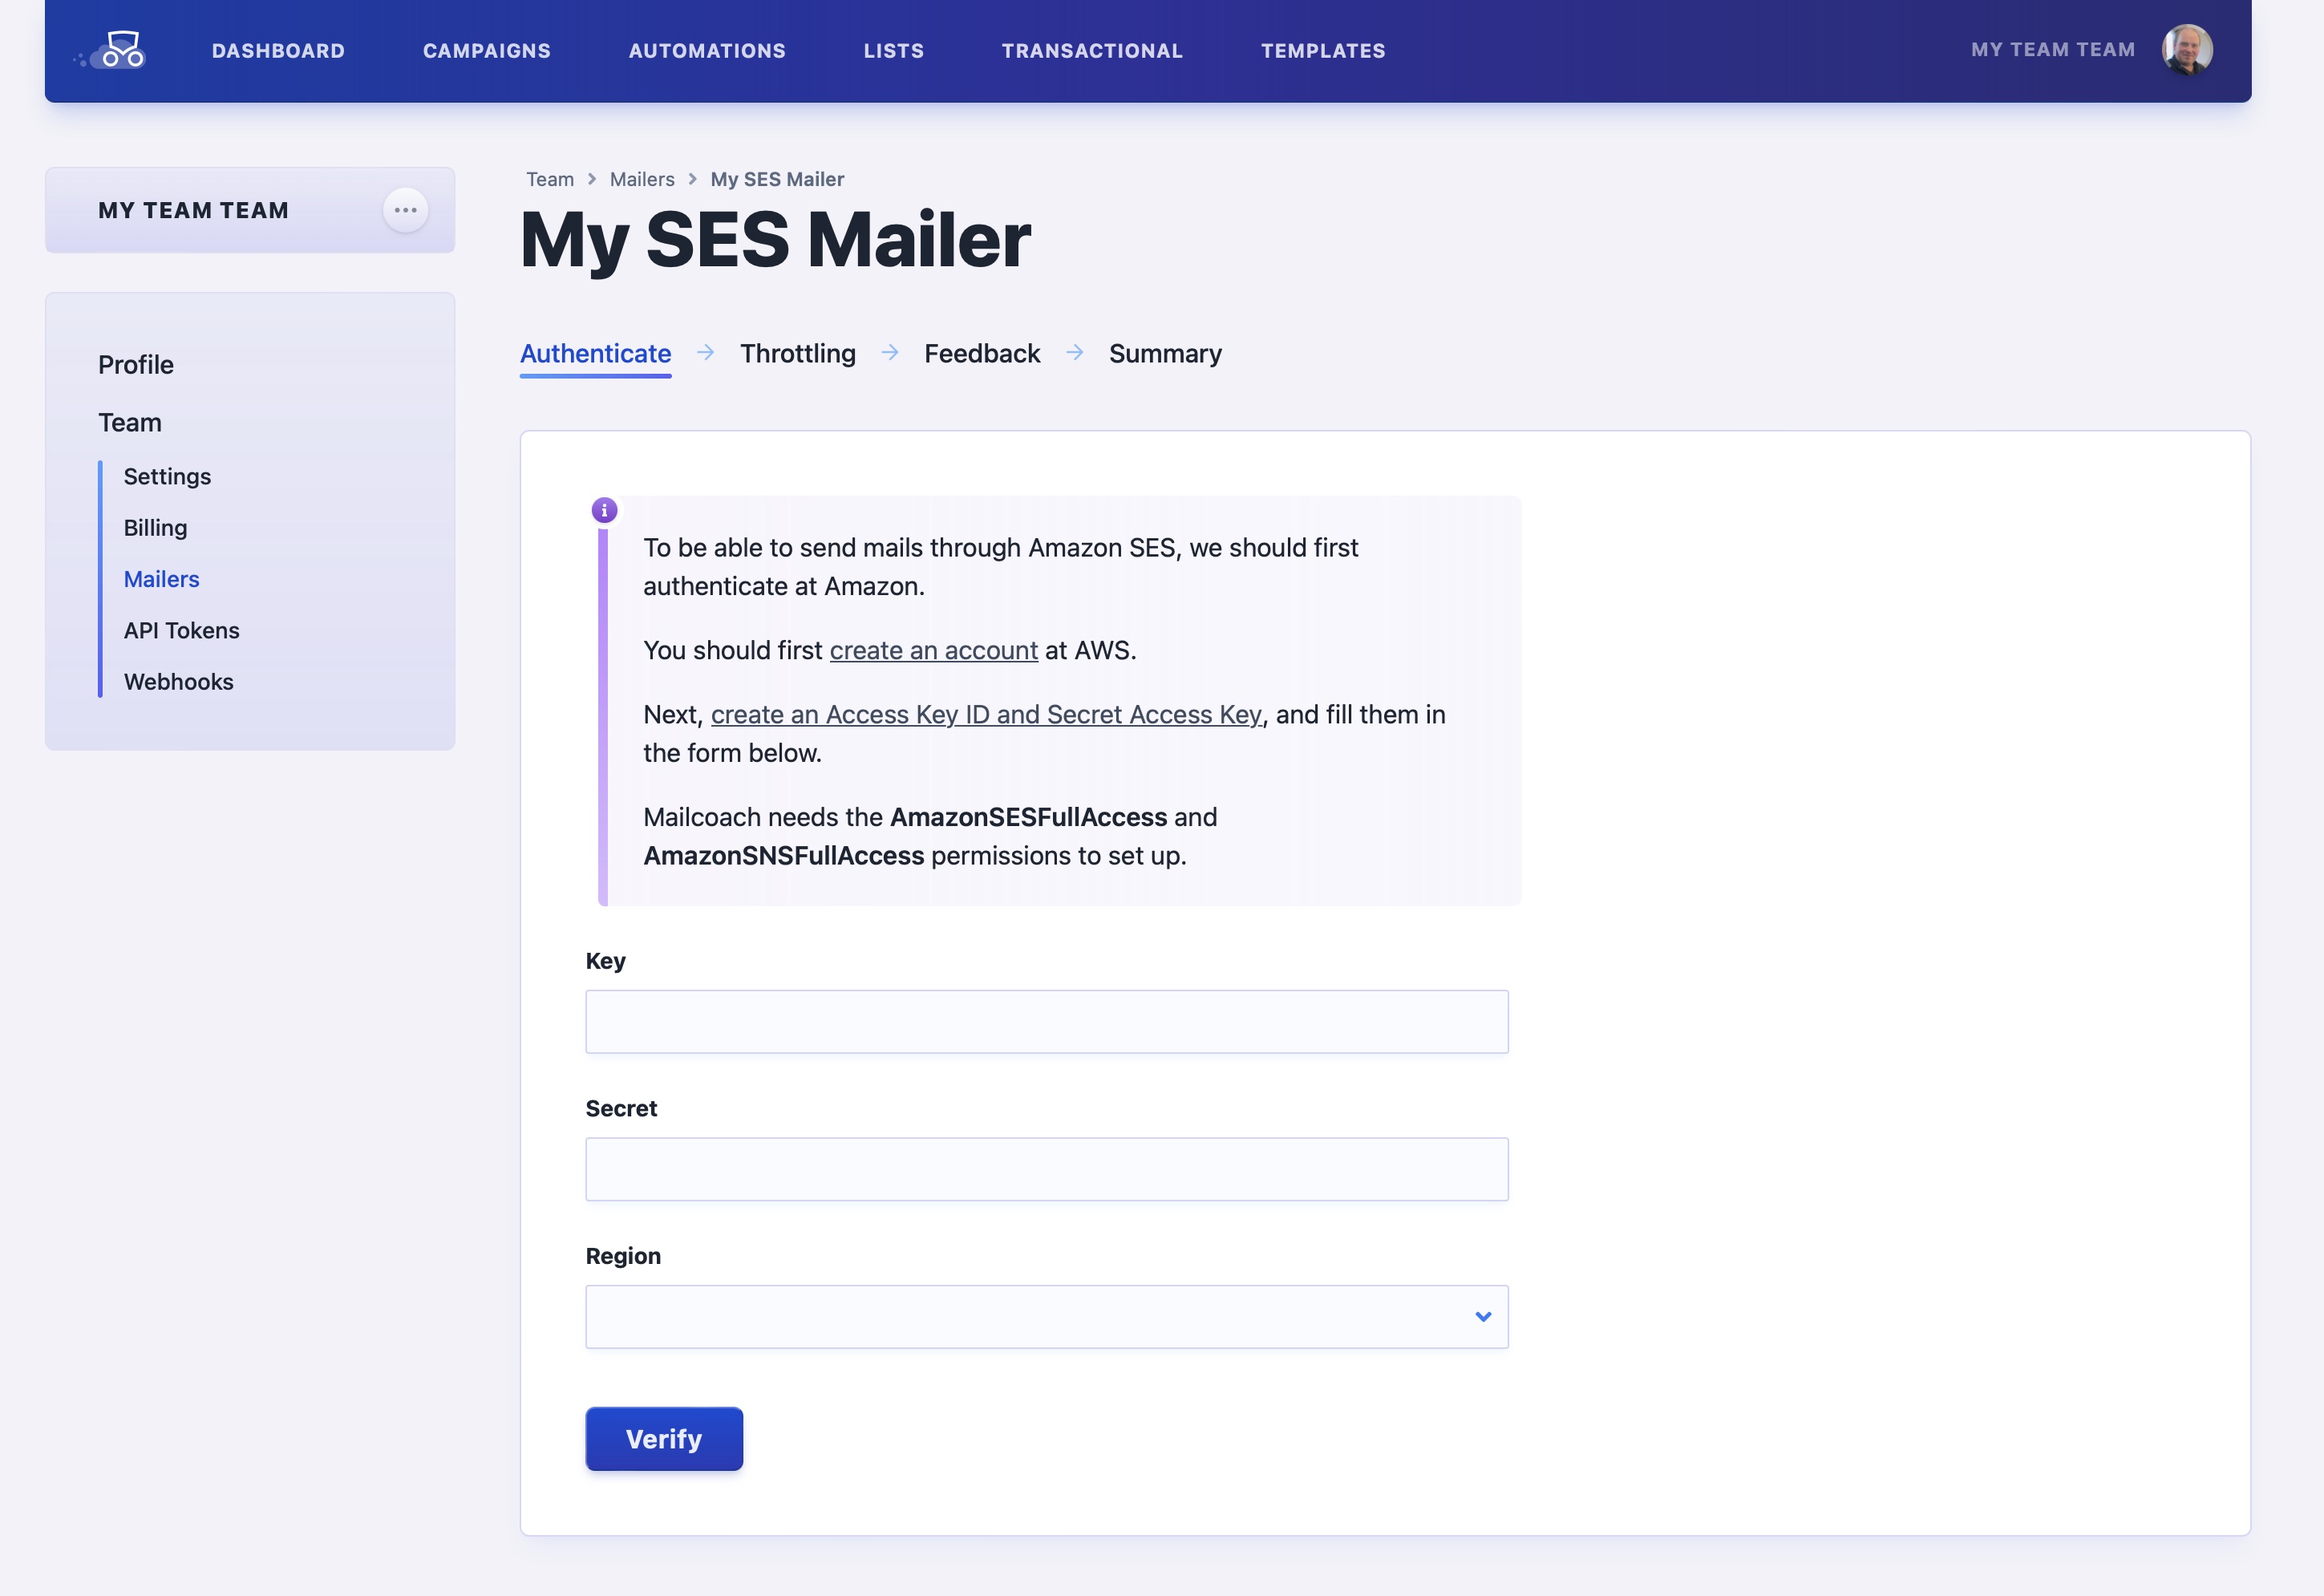
There’s a dedicated wizard for each particular email service. All these wizards will ask to create an API key that we will use to automatically configure your external account for use with Mailcoach. We’ll guide you through the process, and no deep technical knowledge is needed.
Most email services can track opens and clicks. In our wizard, you can optionally turn on this feature. When enabled, the email sending service will report open and clicks to Mailcoach. We’ll present them in a nice graph.
Creating an email list
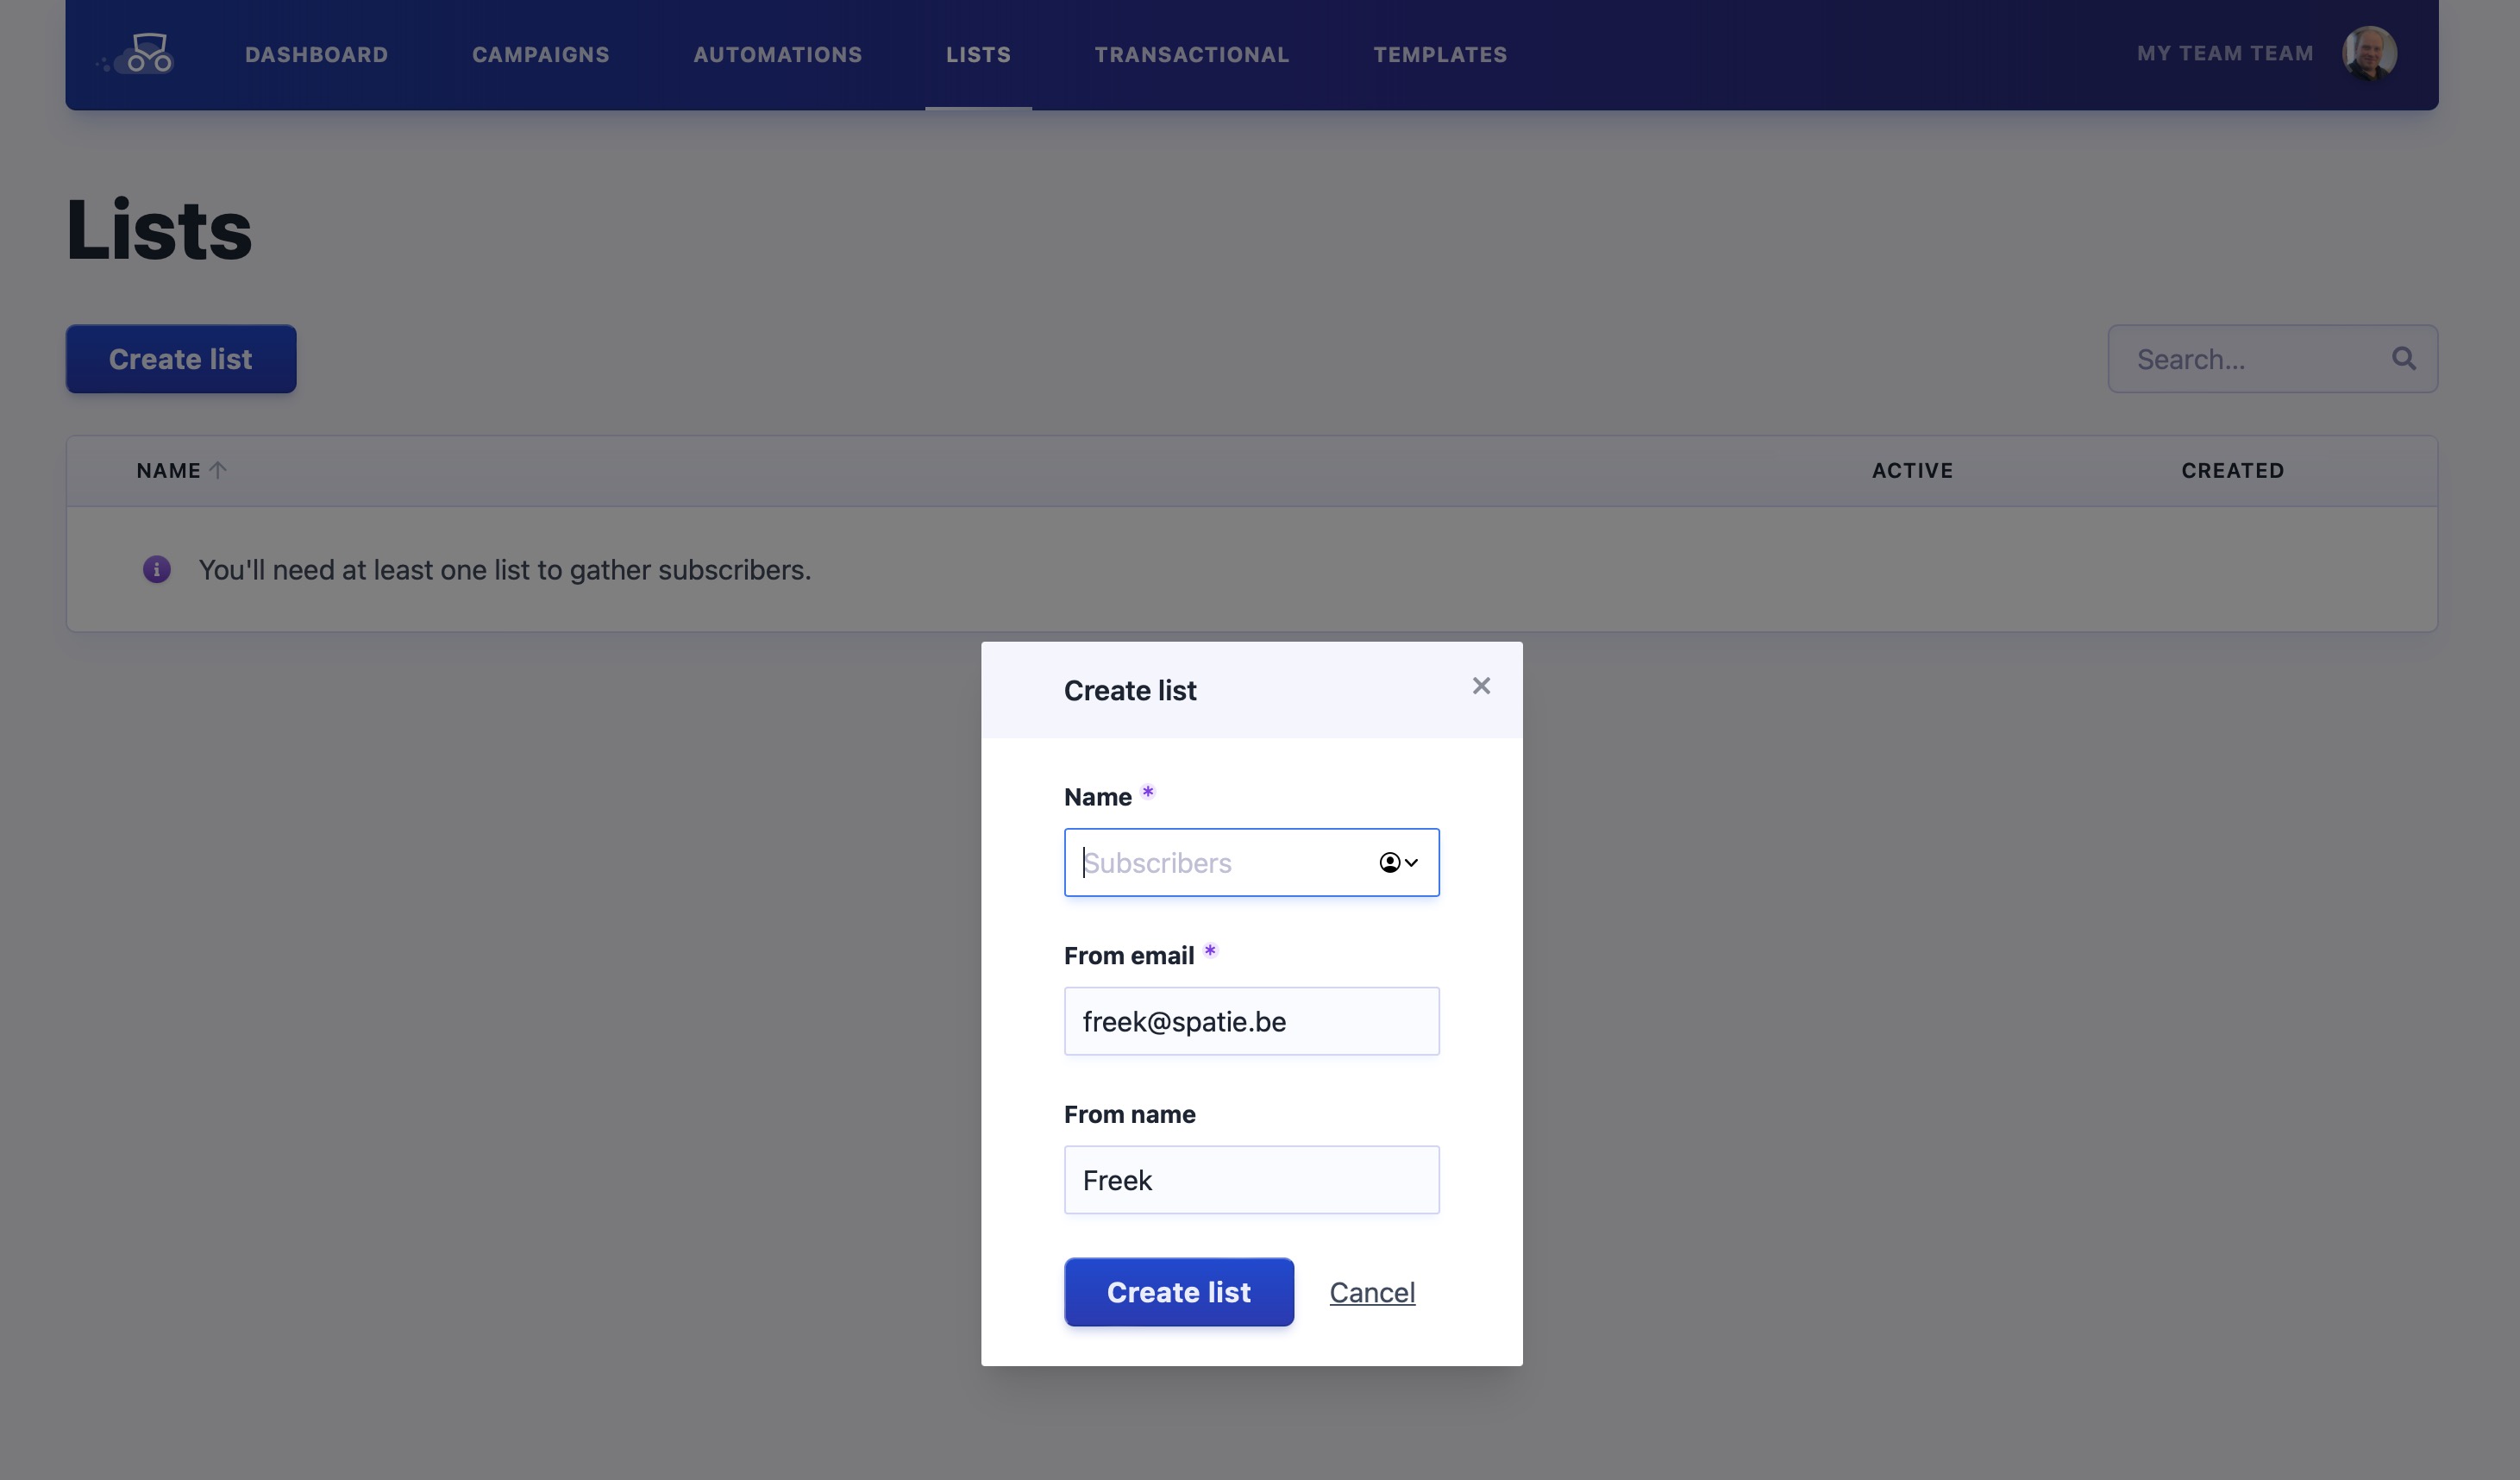
After creating a mailer, you can create an email list in the “Audience” section. An email list is a collection of email addresses you will send a campaign to. When creating a list, you must specify a name and the email address from which you’re going to send emails. In most cases, you’ll want to use the same address you used to set up the mailer.
You’ll probably want to add actual subscribers to your list. You can do this in various ways:
Creating a campaign
With all that setup work all done, we can start creating a campaign. When you create a campaign, you’ll have to name it, specify the email list you want to send it to, and the template you want to use.
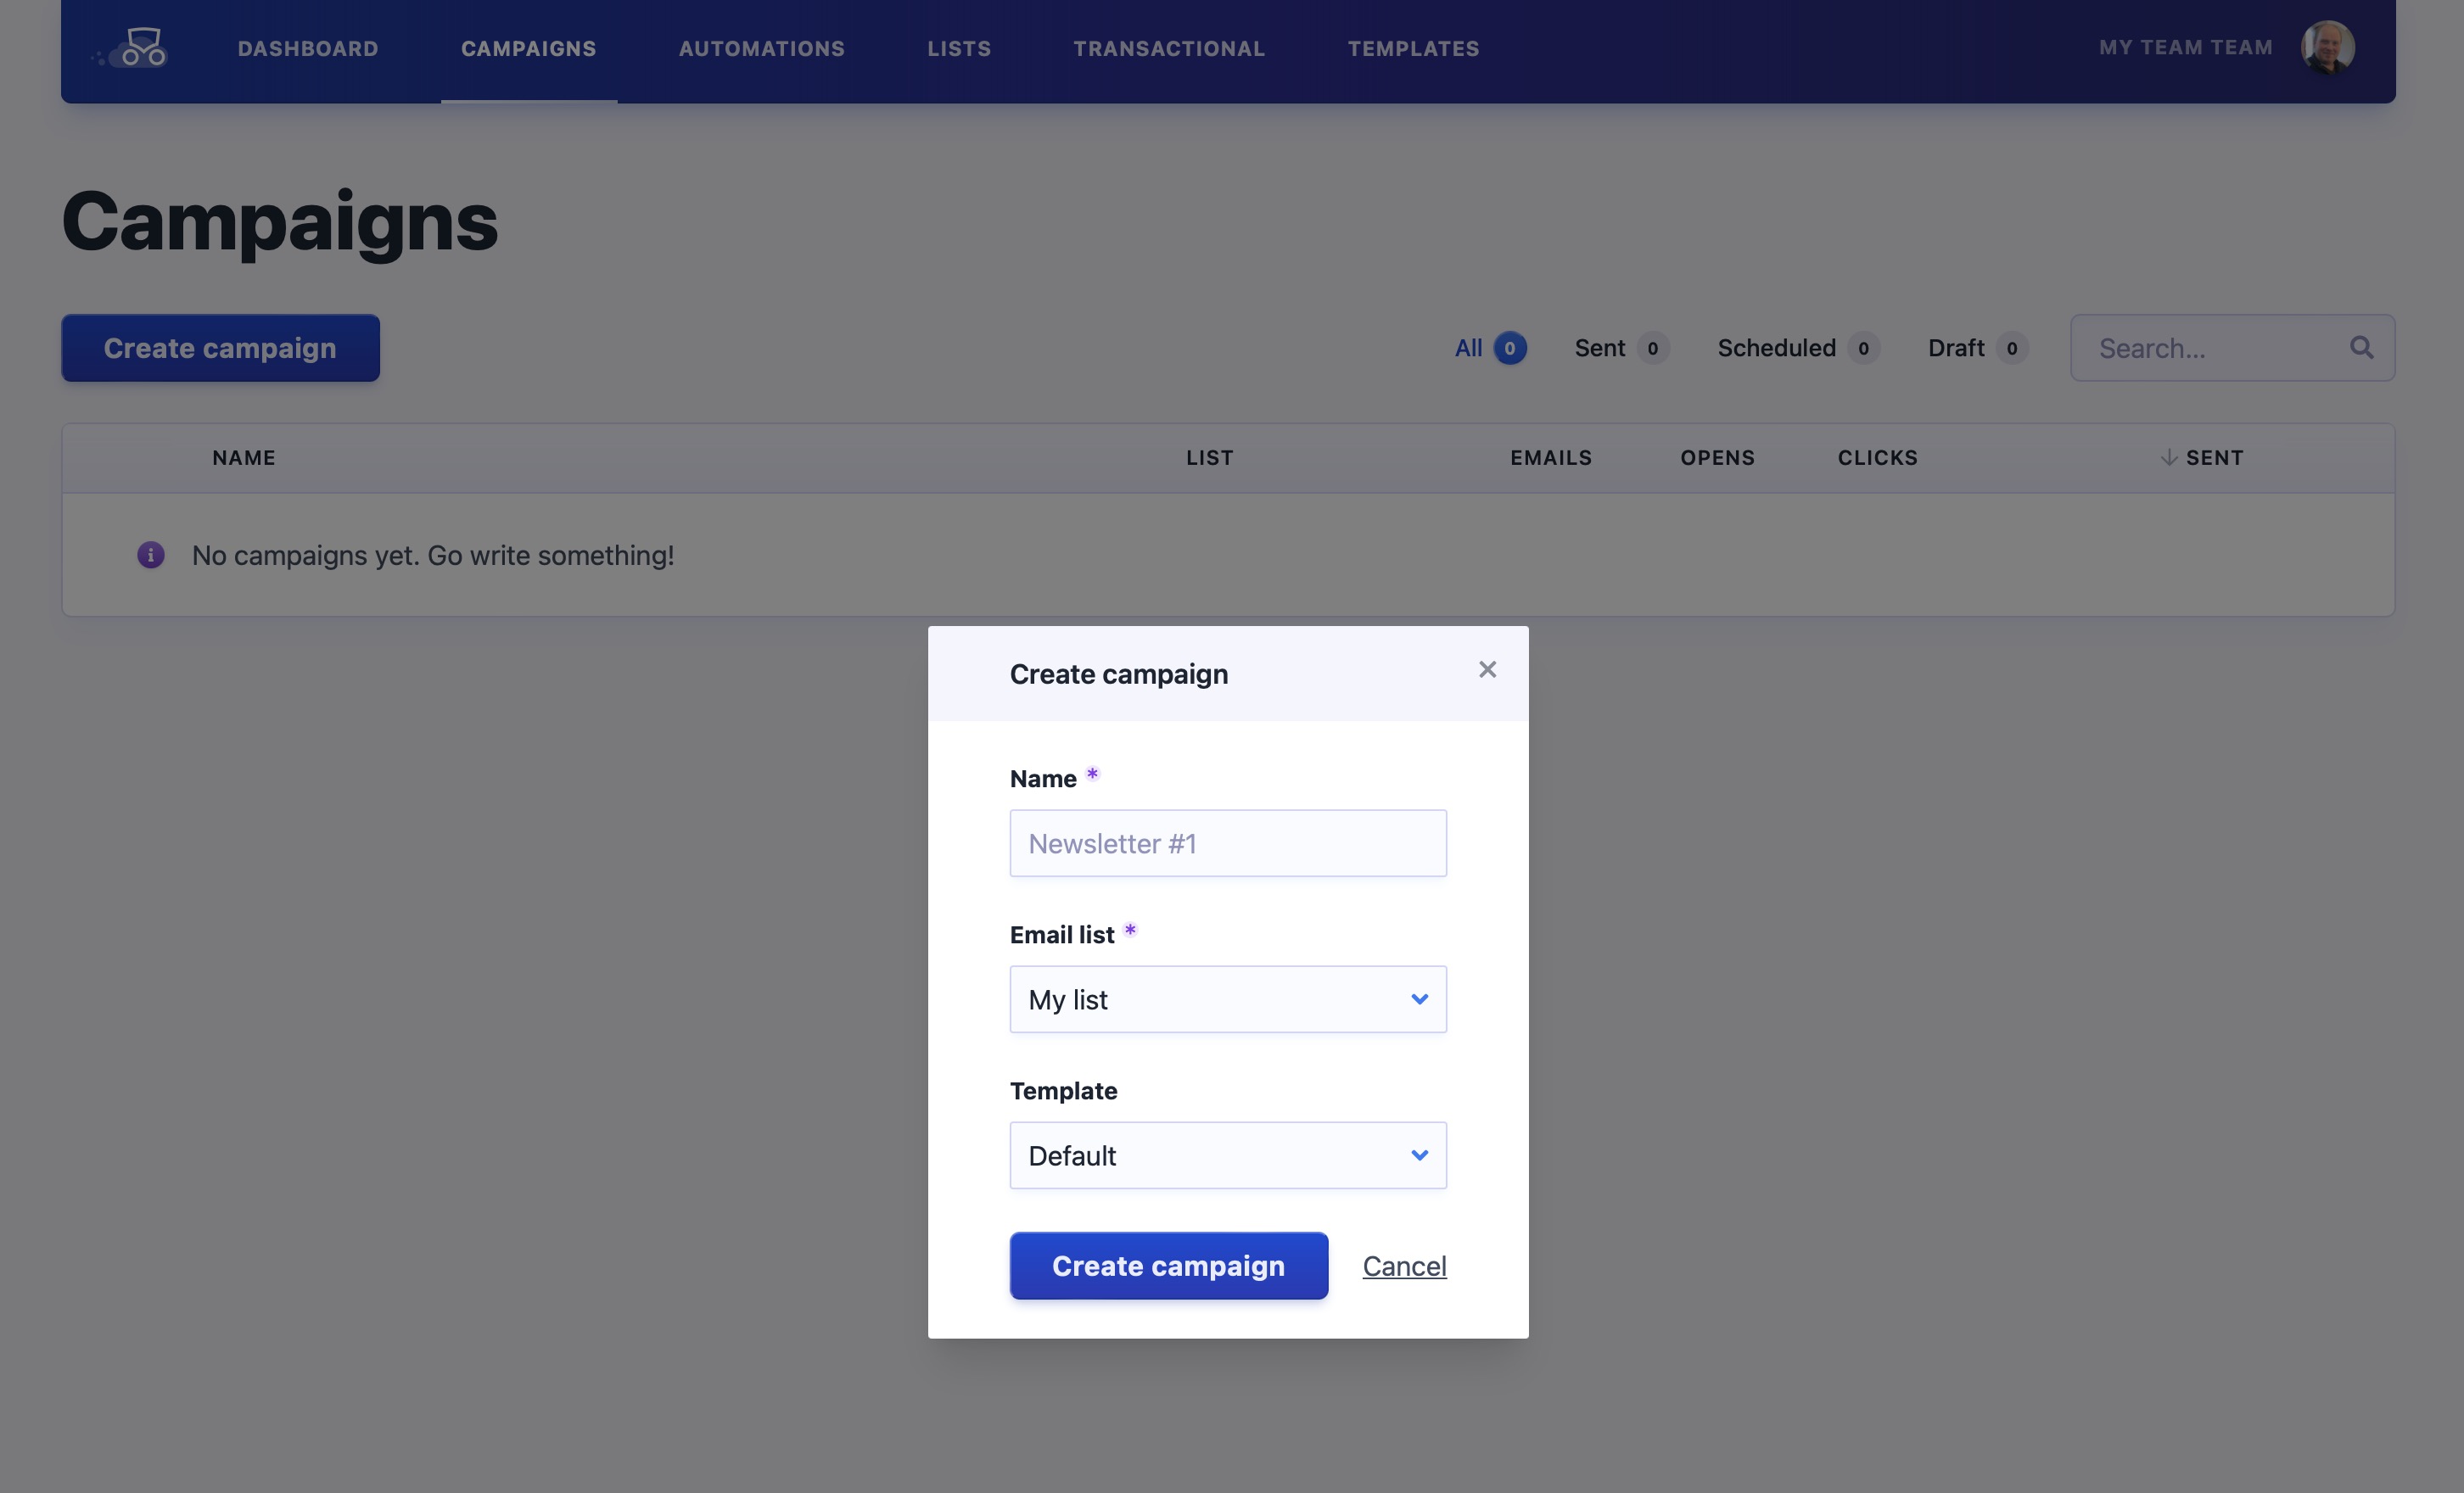
By default, you’ll get our “Default” template, ensuring that all basic styling looks nice. You can learn more about templates in the dedicated section.
After creating the campaign, you’ll be on the settings screen. The settings have sane defaults; you can learn more about each setting here. The only thing that you might want to customize now is the “Subject” field, which will be used as the subject of your campaign.
On the content screen, you can start writing the content of your campaign. In this screenshot, you’ll see the Markdown editor being used.
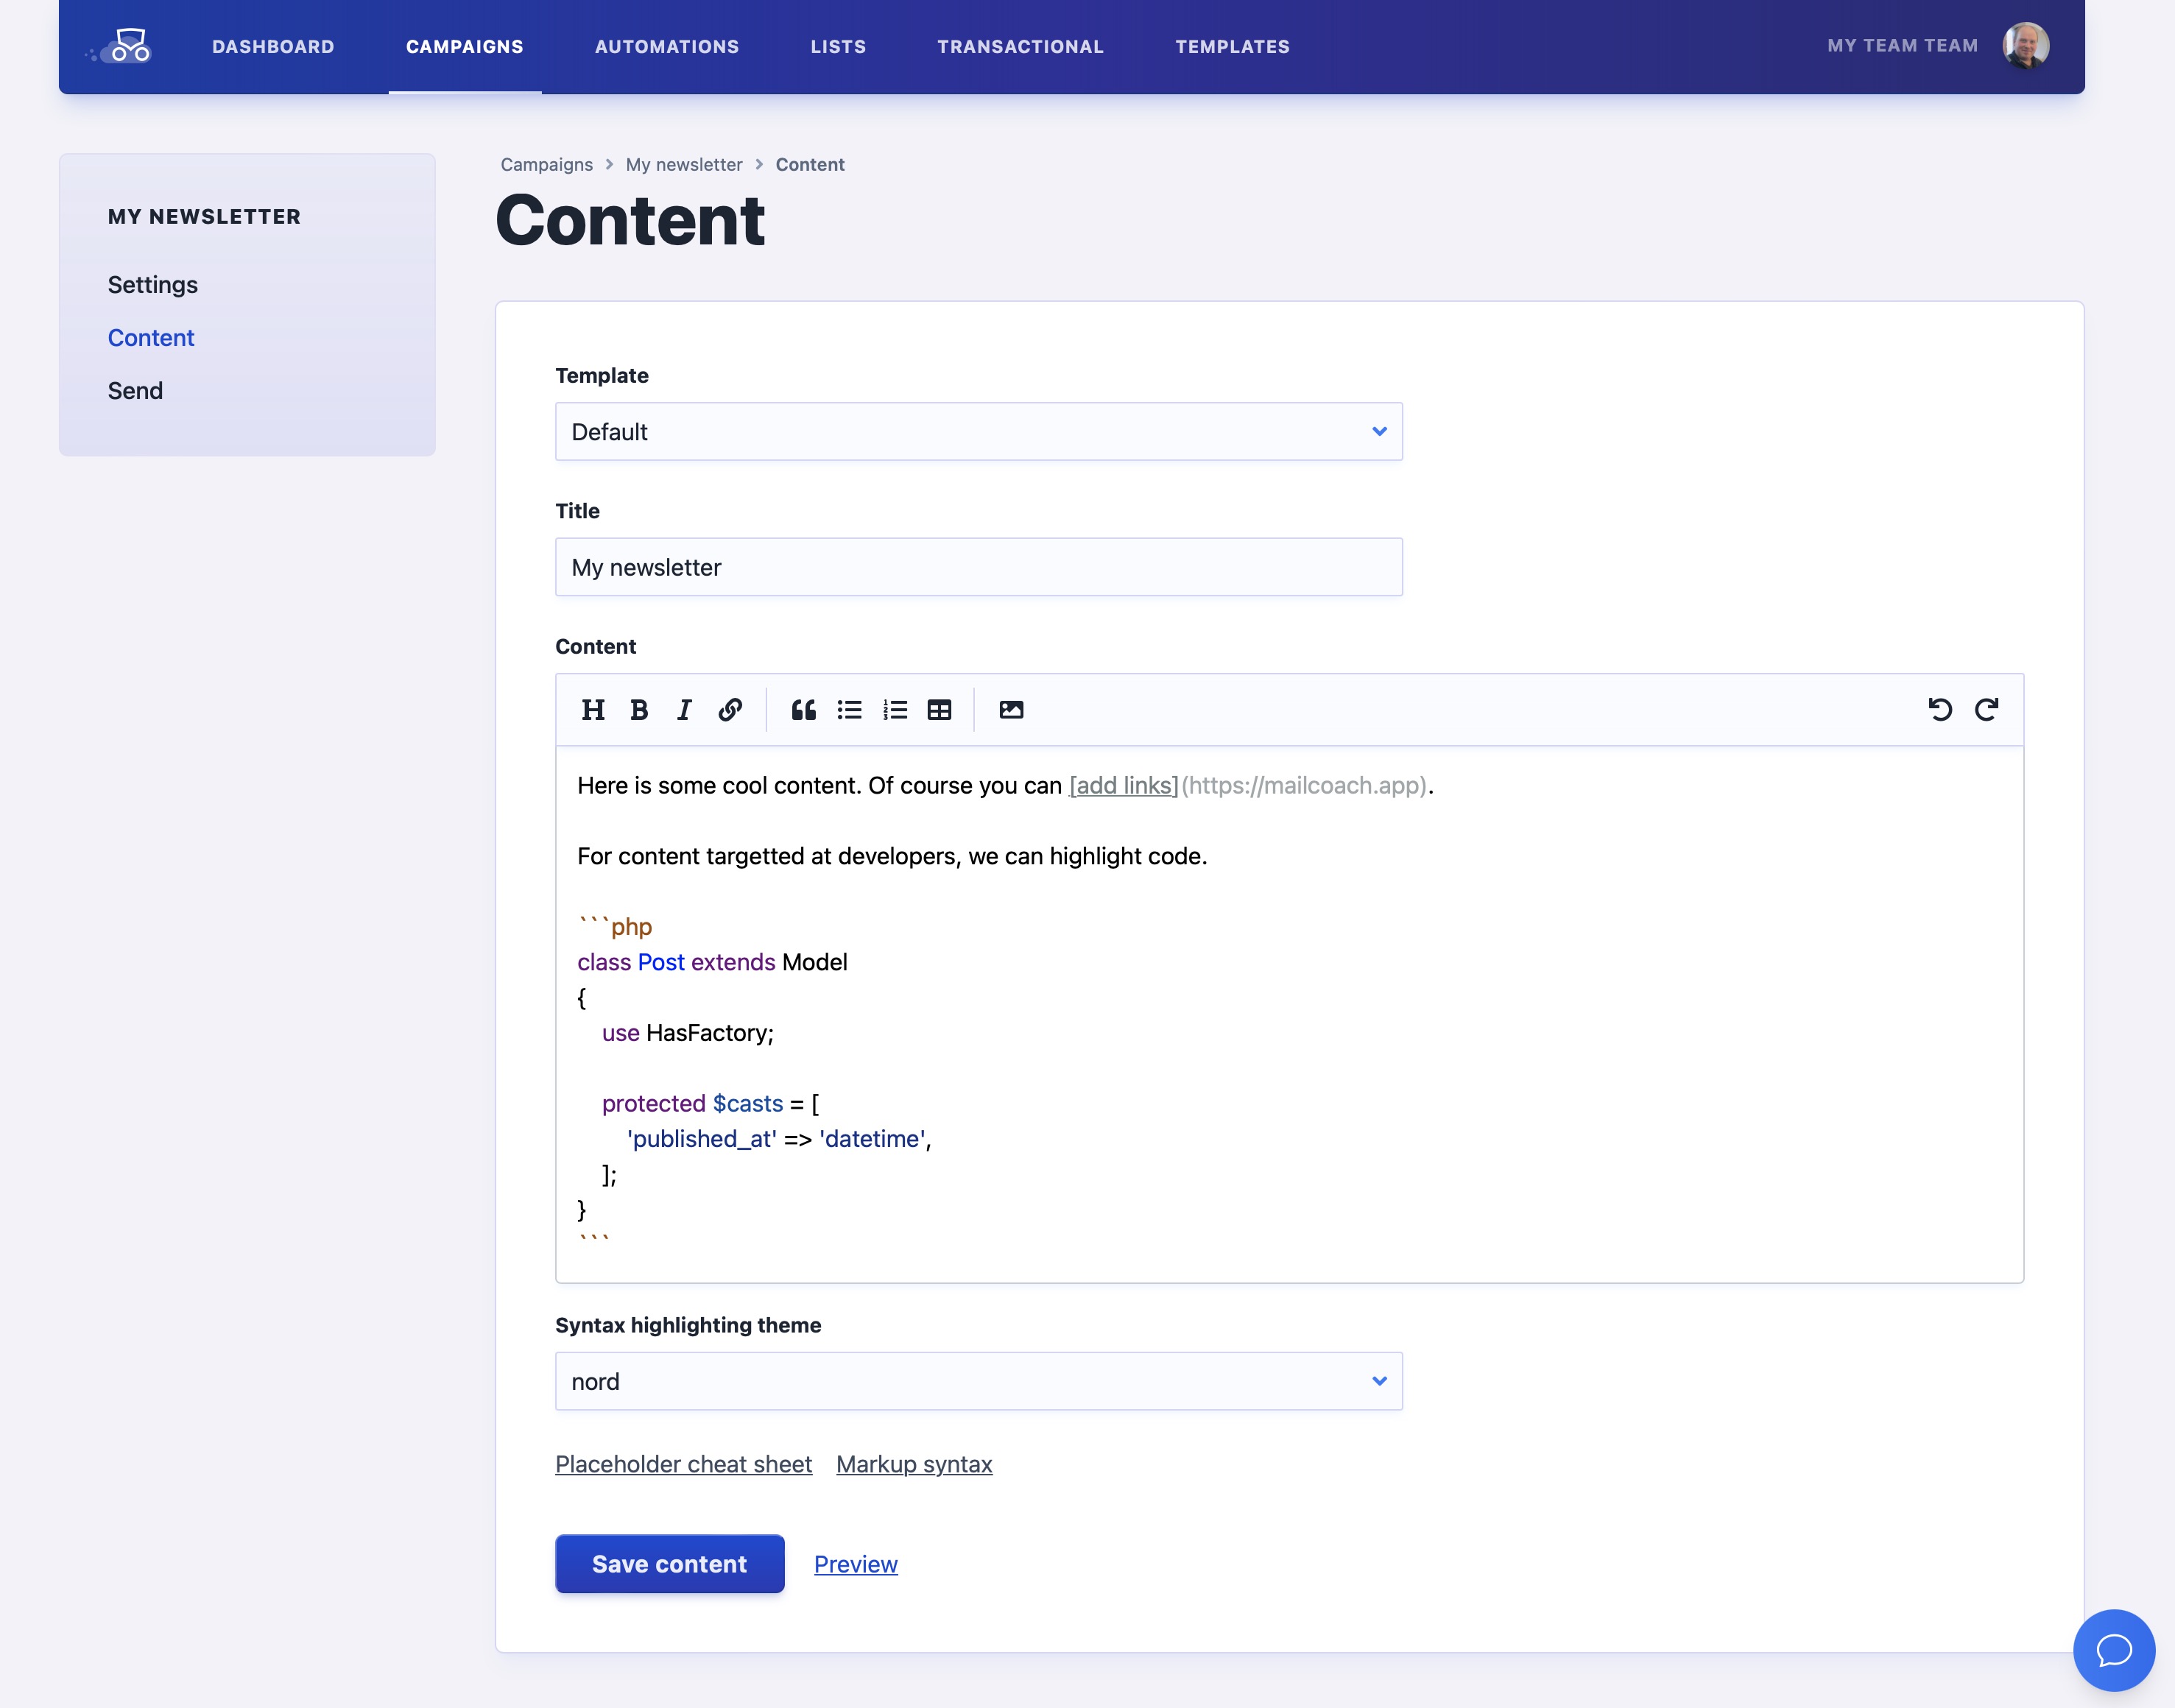
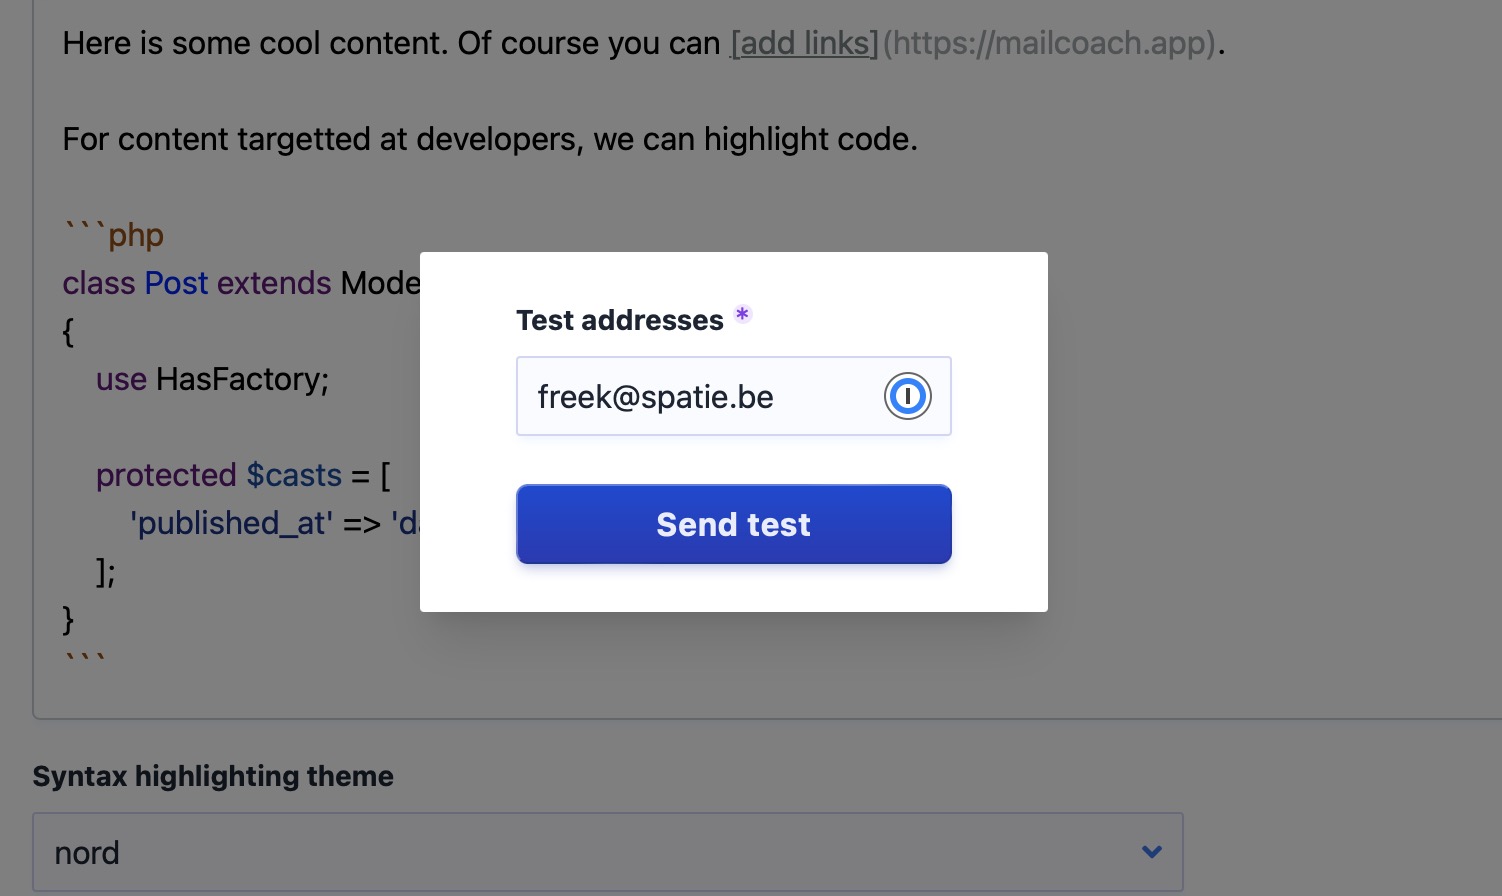
You can click “preview” to see a preview of the content in your browser. Click “Save and send test” to send a test mail to an email address so you can see what it looks like in an actual email client.
Next, we come to the highlight of the show: sending a campaign. On the “Send” screen, you can get a final summary of your campaign. In the timing section, you can opt to send your campaign at a later date.
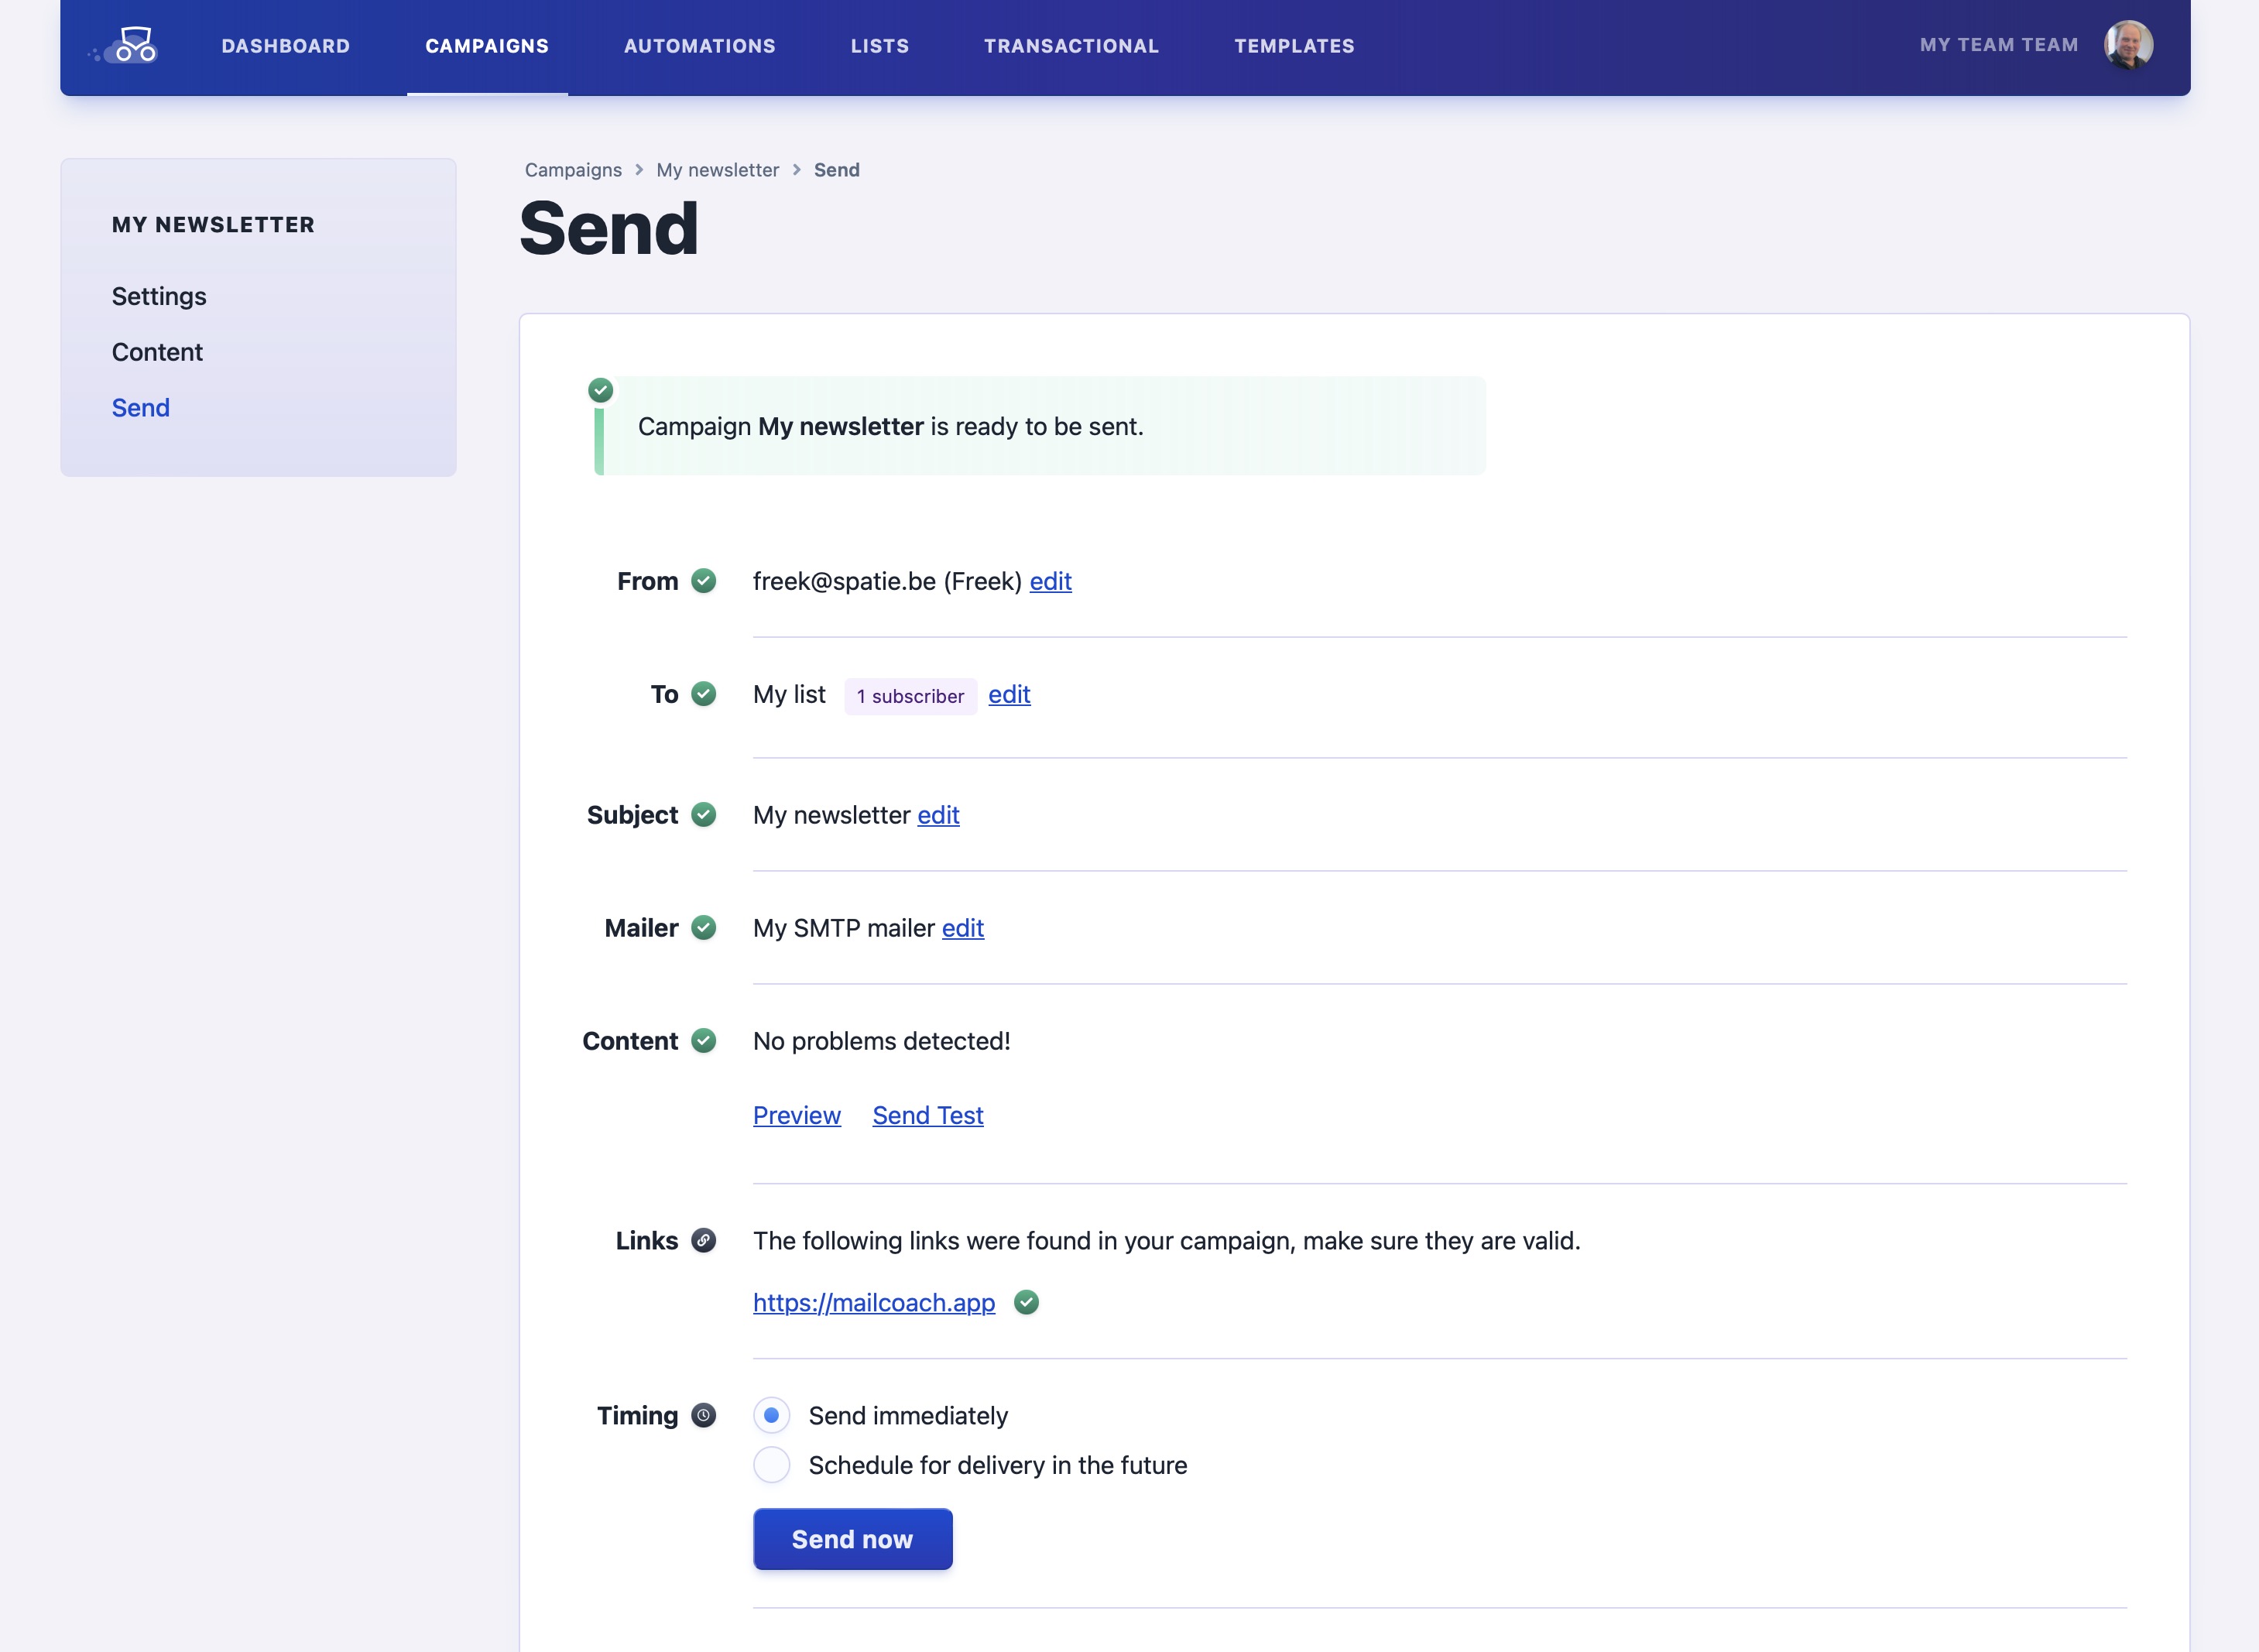
Click “Send now”, and confirm, and we’ll send your content to all your list subscribers.
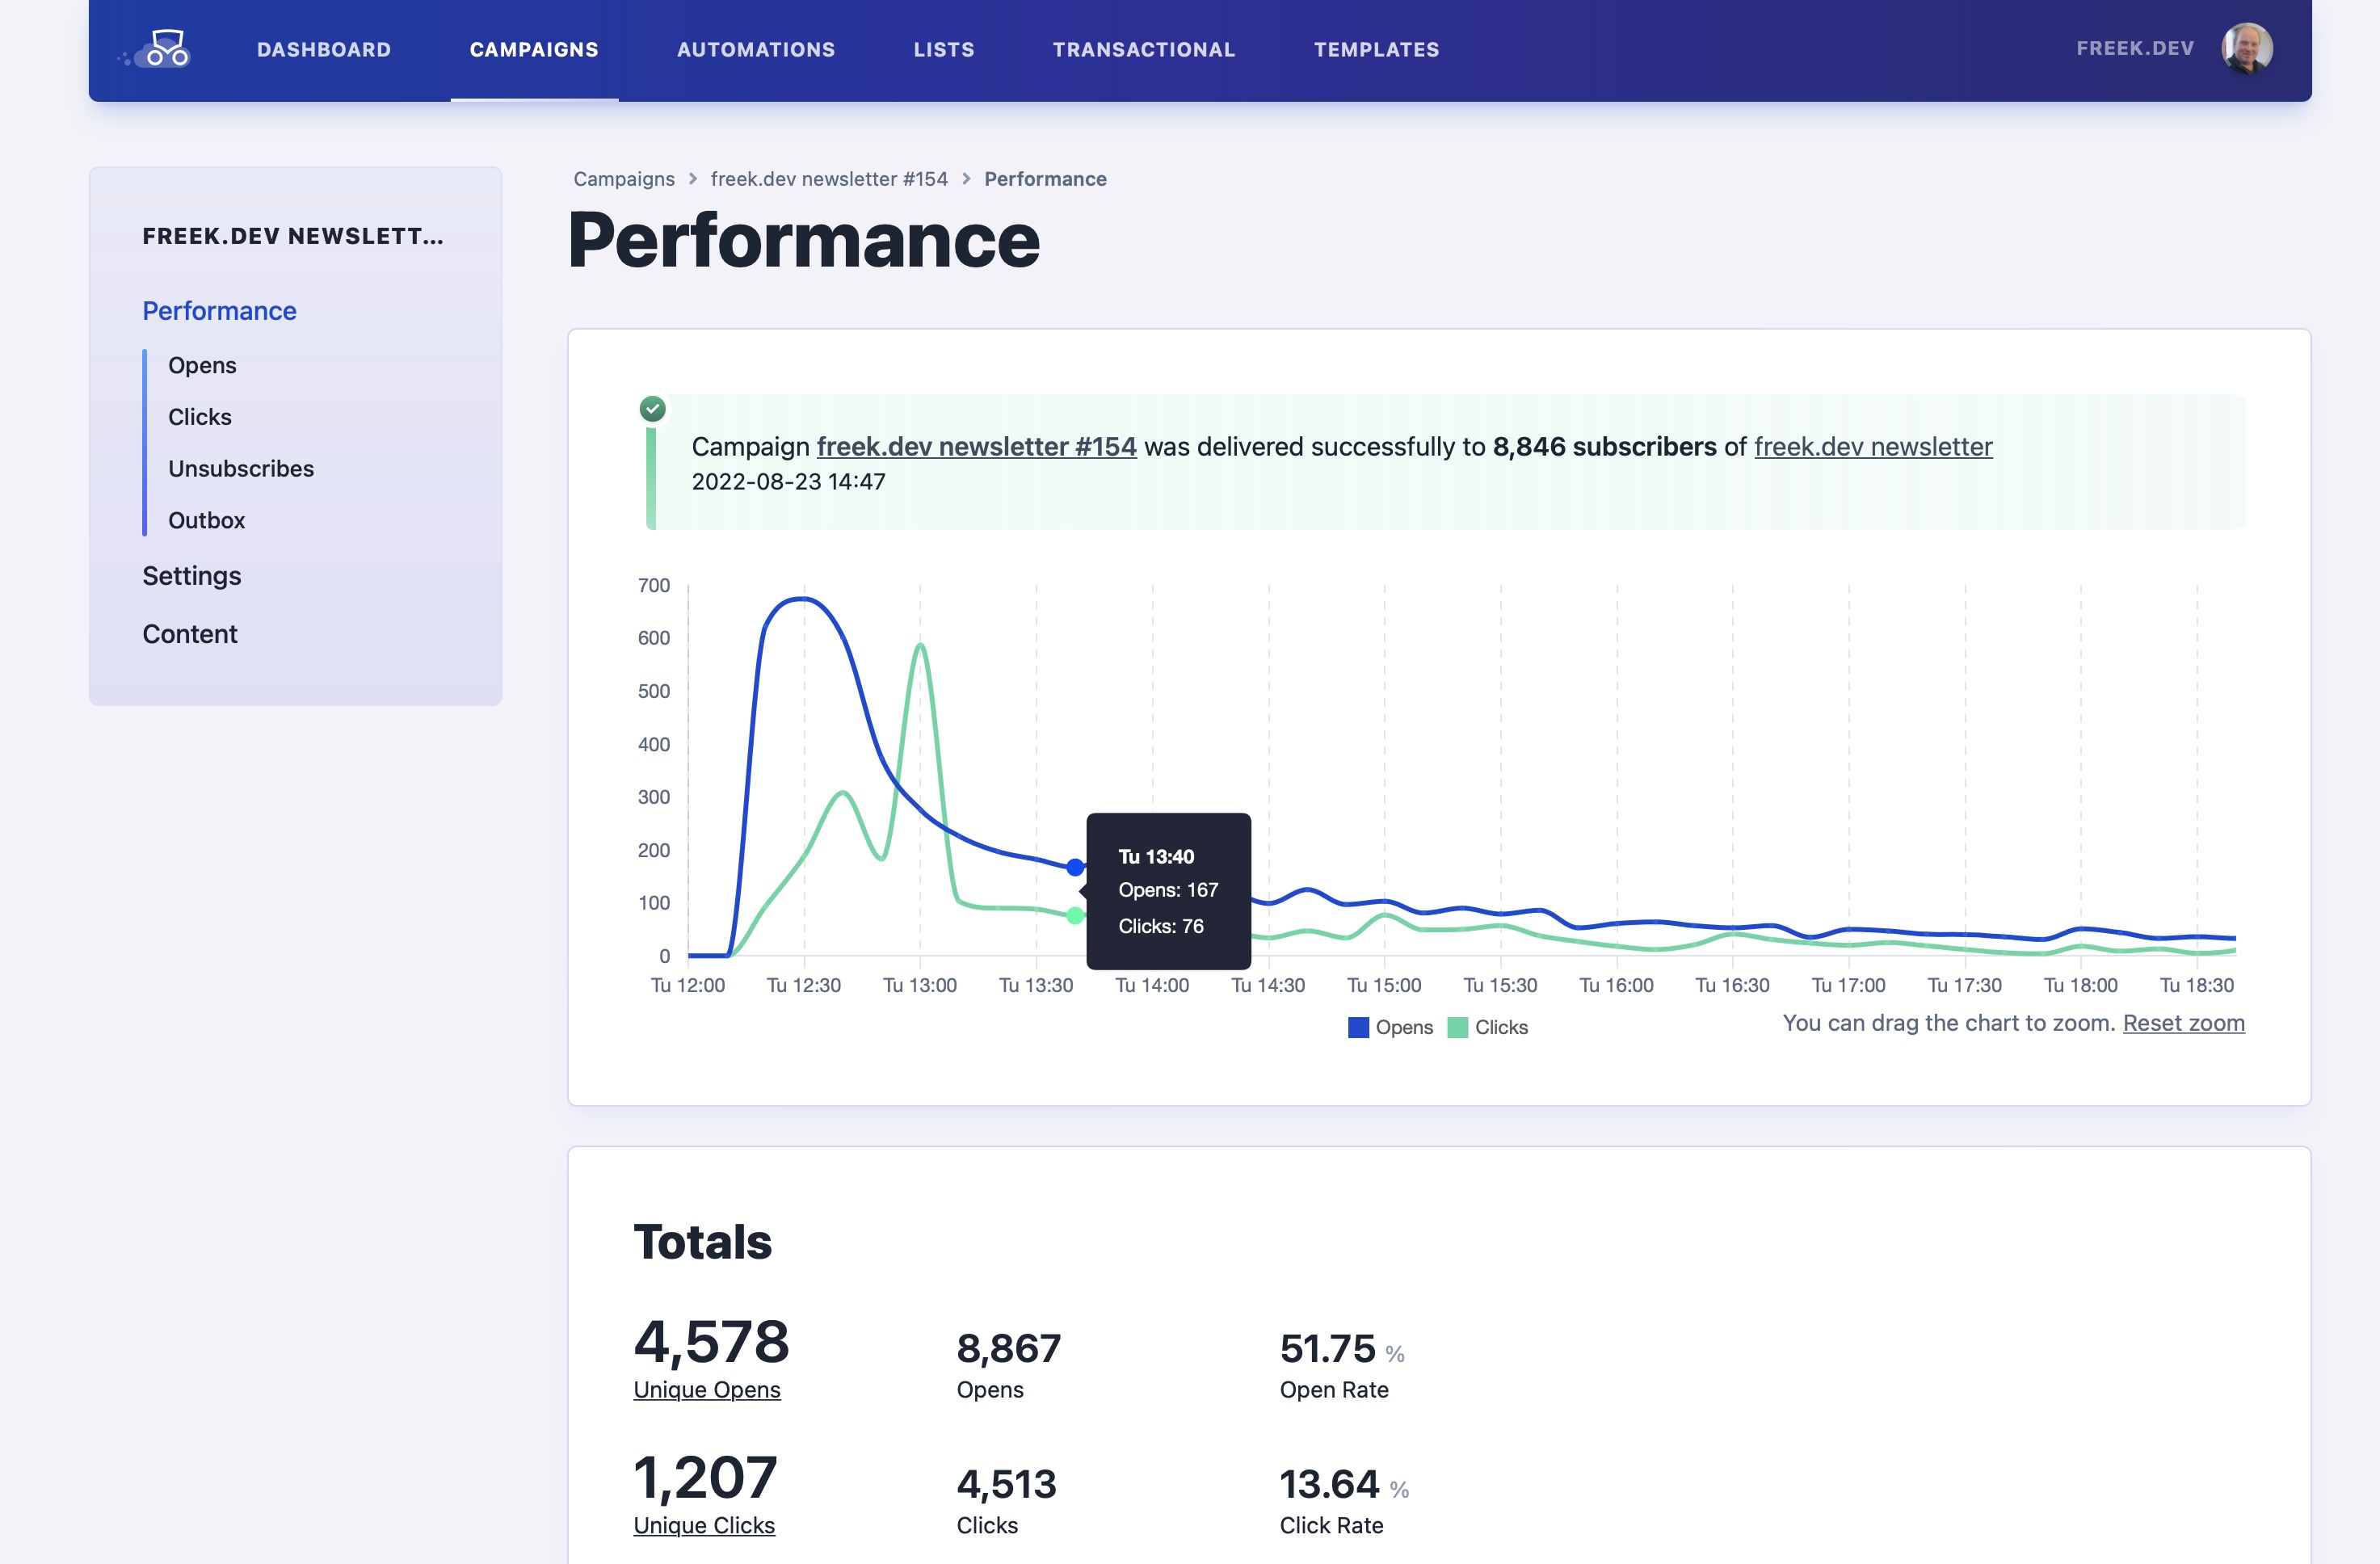
Sending a campaign can take a couple of minutes. After that, you’ll see the statistics of your campaign. Here’s a screenshot from an actual campaign we sent.
A word to the wise
To ensure that all settings are correct, we highly recommend that you create an email list with only yourself on it after having set up a mailer. Send a campaign to that list first, and check if the email is correctly coming your way and that the optional open and click tracking is working.
Inviting users to your app
Mailcoach has a basic built-in user management system. You can manage and invite users by going to Configuration > Users when running Mailcoach Self-Hosted or in your Account settings when using our hosted service.