Email lists
A list is a collection of subscribers that have opted into receiving your emails. You may have a list containing the followers of your blog.
On this page:
- What is a list?
- Creating a list
- Adding subscribers
- Adding subscribers using the API
- Double opt-in
- Using a website
- Adding custom attributes
What is a list?
A list is a collection of subscribers that have opted into receiving your emails. You may have a list containing the followers of your blog.
There are different ways to add subscribers to your list:
- Add them manually through the interface
- Set up a subscription form
- Add subscribers using the CSV import
- Add subscribers through the API
With Mailcoach self-hosted or Mailcoach, there is no limits on the amount of lists or subscribers.
Creating a list
A list is a collection of subscribers that have opted in to receiving your emails.
To create your list, start from the Dashboard and go to the Lists section. There you can click the “Create list” button to start setting up your list.
Creating a list is important because without any list you won’t be able to start creating your campaigns.
Pick a good name for your list, so you can easily identify where your campaigns will be sent to.
[[[x-callout]]]
Your list does not have to be very detailed, you can easily use segmentation later.
Read more about segmentation.
[[[/x-callout]]]
If you don’t have any subscribers yet, it’s a good idea to add your own email address to your list, this way you can start testing campaigns.
Adding subscribers
You can add subscribers to your list using different methods:
Importing
The fastest way to add a lot of subscribers, for example when moving from a different email marketing service, is to import them from a CSV file.
You can easily import a list of subscribers into an existing list. Upload a CSV file with these columns: email, first_name, last_name and tags, and Mailcoach will start importing these into the list. Additional columns will be added as extra attributes.
When you want to attach multiple tags to a subscriber, use ; as the delimiter. You can follow the progress of the import, see any errors that occurred during the process, and download the uploaded file by using the action menu.
Email addresses that have the unsubscribed status will not be resubscribed when running an import. Confirmation mails will not be sent out to users, even if you have enabled double opt-in for this list. Imported email addresses that had not already unsubscribed, will receive the Confirmed status and will receive any subsequently sent campaigns.
Because these lists can get quite large and an import might take a while, we email you to inform you when Mailcoach has finished importing the subscribers.
Manually
You can manually add subscribers through the interface by clicking the “Add subscriber” button on your list’s subscribers overview.
Forms
You can accept email list subscriptions coming from external sites by adding a subscription form to that site.
In order to accept incoming form subscriptions you check the “Allow POST from an external form” checkbox on your list’s onboarding settings.
Here’s an example form you can embed on an external site to accept subscriptions:
<form method="POST" action="::tenantUrl::/subscribe/<uuid-of-emaillist>">
    <div>
        <label for="email">Email</label>
        <input name="email">
    </div>
   <!-- optionally you can include the first_name and last_name field
    <div>
        <label for="first_name">First name</label>
        <input name="first_name">
    </div>
    <div>
        <label for="last_name">Last name</label>
        <input name="last_name">
    </div>
    -->

    <!-- Optionally, you can override the confirmation pages -->
    <input type="hidden" name="redirect_after_subscribed" value="::tenantUrl::/subscribed"  />
    <input type="hidden" name="redirect_after_already_subscribed" value="::tenantUrl::/already-subscribed"  />

    <!-- only required if your list has double opt-in enabled
    <input type="hidden" name="redirect_after_subscription_pending" value="::tenantUrl::/redirect-after-pending"  />
    -->
    <div>
       <button type="submit">Subscribe</button>
    </div>
</form>
Adding tags
You can specify one or more tags in an input field named tags that should be attached to the subscriber when it gets created.
<!-- somewhere in your form -->
<input type="hidden" name="tags" value="tagA;tagB">
Make sure to add these tags to the allowed subscriber tags in your onboarding settings
[[[x-callout]]]
We highly recommend that you turn on double opt-in for email lists that allow form subscriptions. This will keep your list healthy. Also consider adding a honeypot or spam protection to the form to avoid bots from trying to subscribe.
[[[/x-callout]]]
Importing unsubscribed subscribers
If your csv has a column unsubscribed_at with a value, the subscriber will be imported as unsubscribed.
For Mailchimp exports it’s also possible to use unsub_time.
Make sure the value is in the format Y-m-d H:i:s (e.g. 2020-01-01 12:00:00) or another one which can be parsed by Carbon.
Adding subscribers using the API
You can also add subscribers using the API, check out the documentation.
Double opt-in
Mailcoach enables double opt-in by default on every new email list.
What is double opt-in?
When a subscriber is added to the list, an unconfirmed subscription will be created. An email will then be sent to the email address that subscribed. The email contains a link that, when clicked, will confirm the subscription. When a subscription is confirmed, its status will be set to subscribed.
When sending a campaign to an email list, only subscribers that have a confirmed subscription will receive the campaign.
Manually confirming a subscriber
In your subscriber overview, you can use the action menu to manually confirm the subscriber.
Re-sending a confirmation email
In your subscriber overview, you can use the action menu to re-send the confirmation email to the unconfirmed subscriber.
Using a website
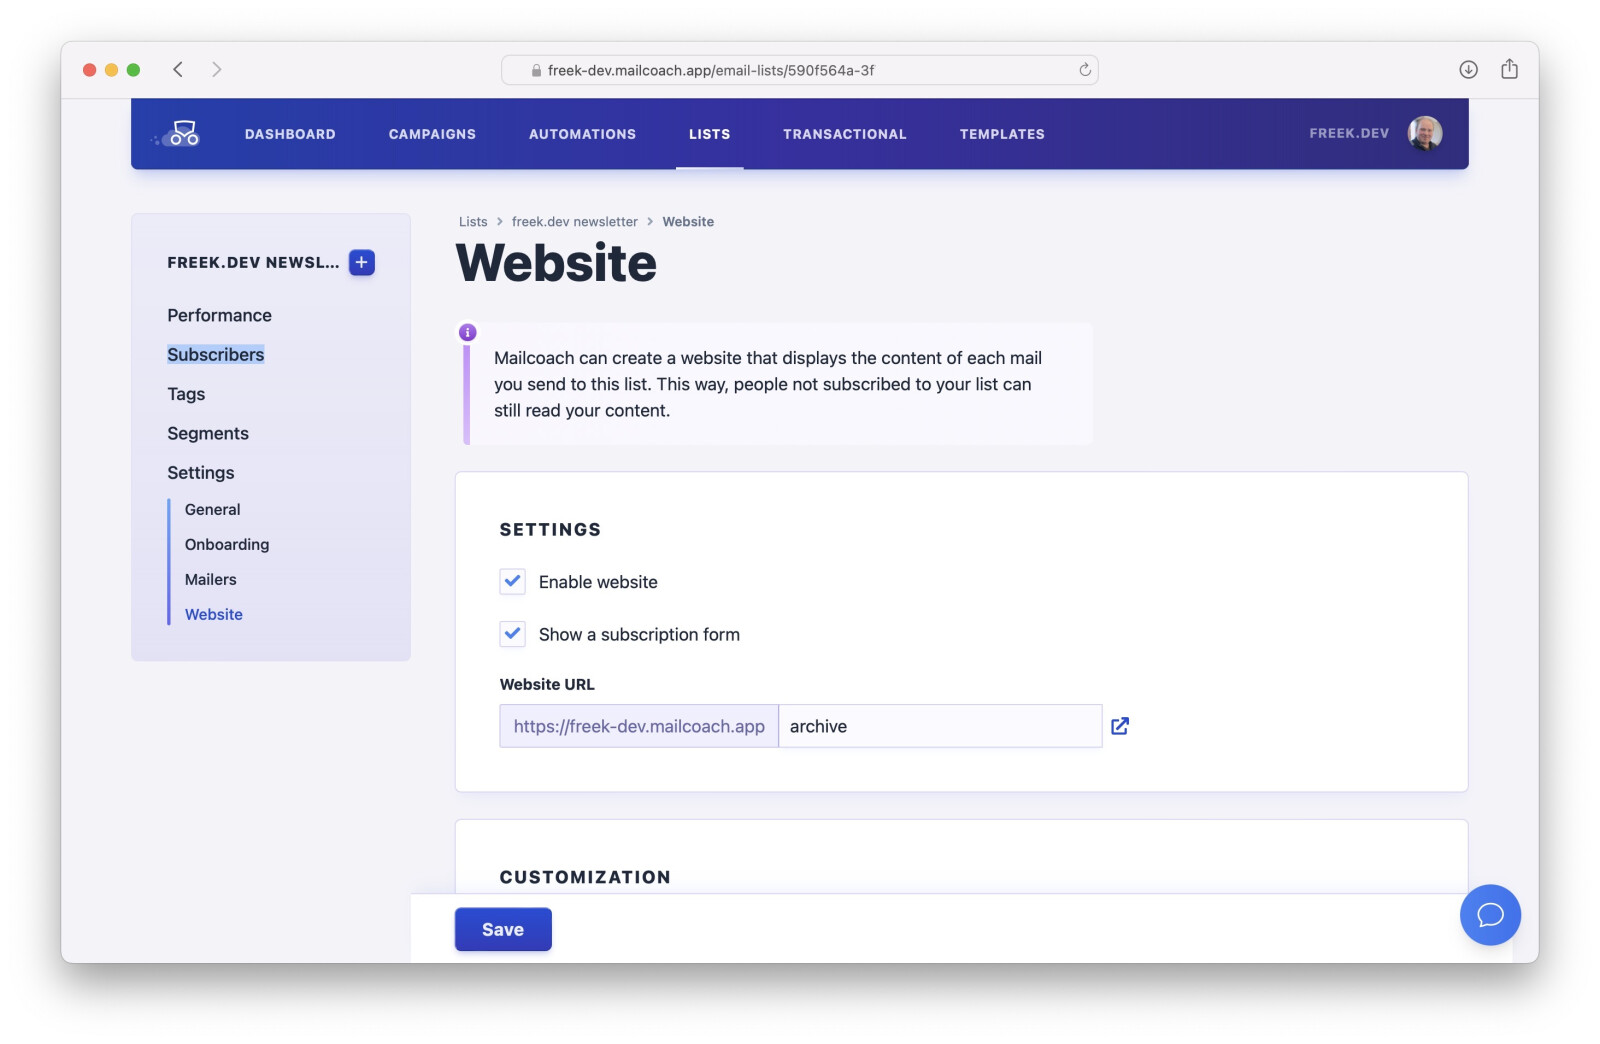
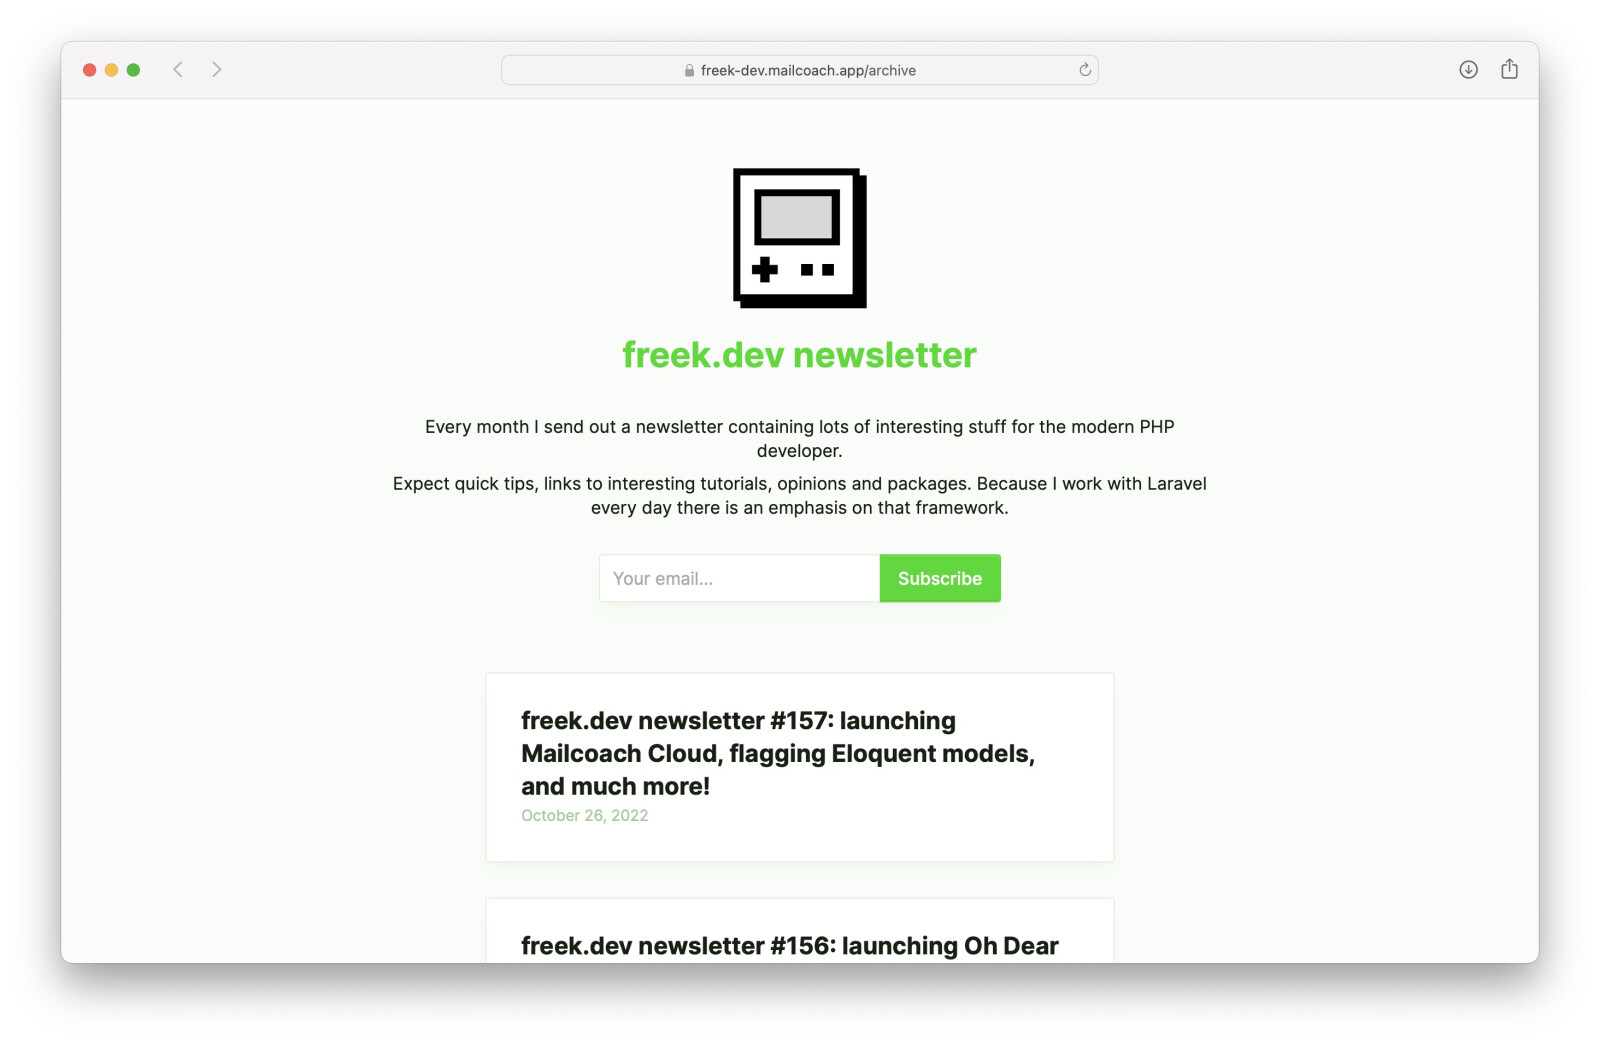
Mailcoach can render a beautiful website for your email list that displays an intro text, a subscription form, and all your past campaigns you sent to that list.
You can enable it in the website settings of your list.
Here’s what it looks like for one of our users on Mailcoach. On your self-hosted Mailcoach instance it will look similar.
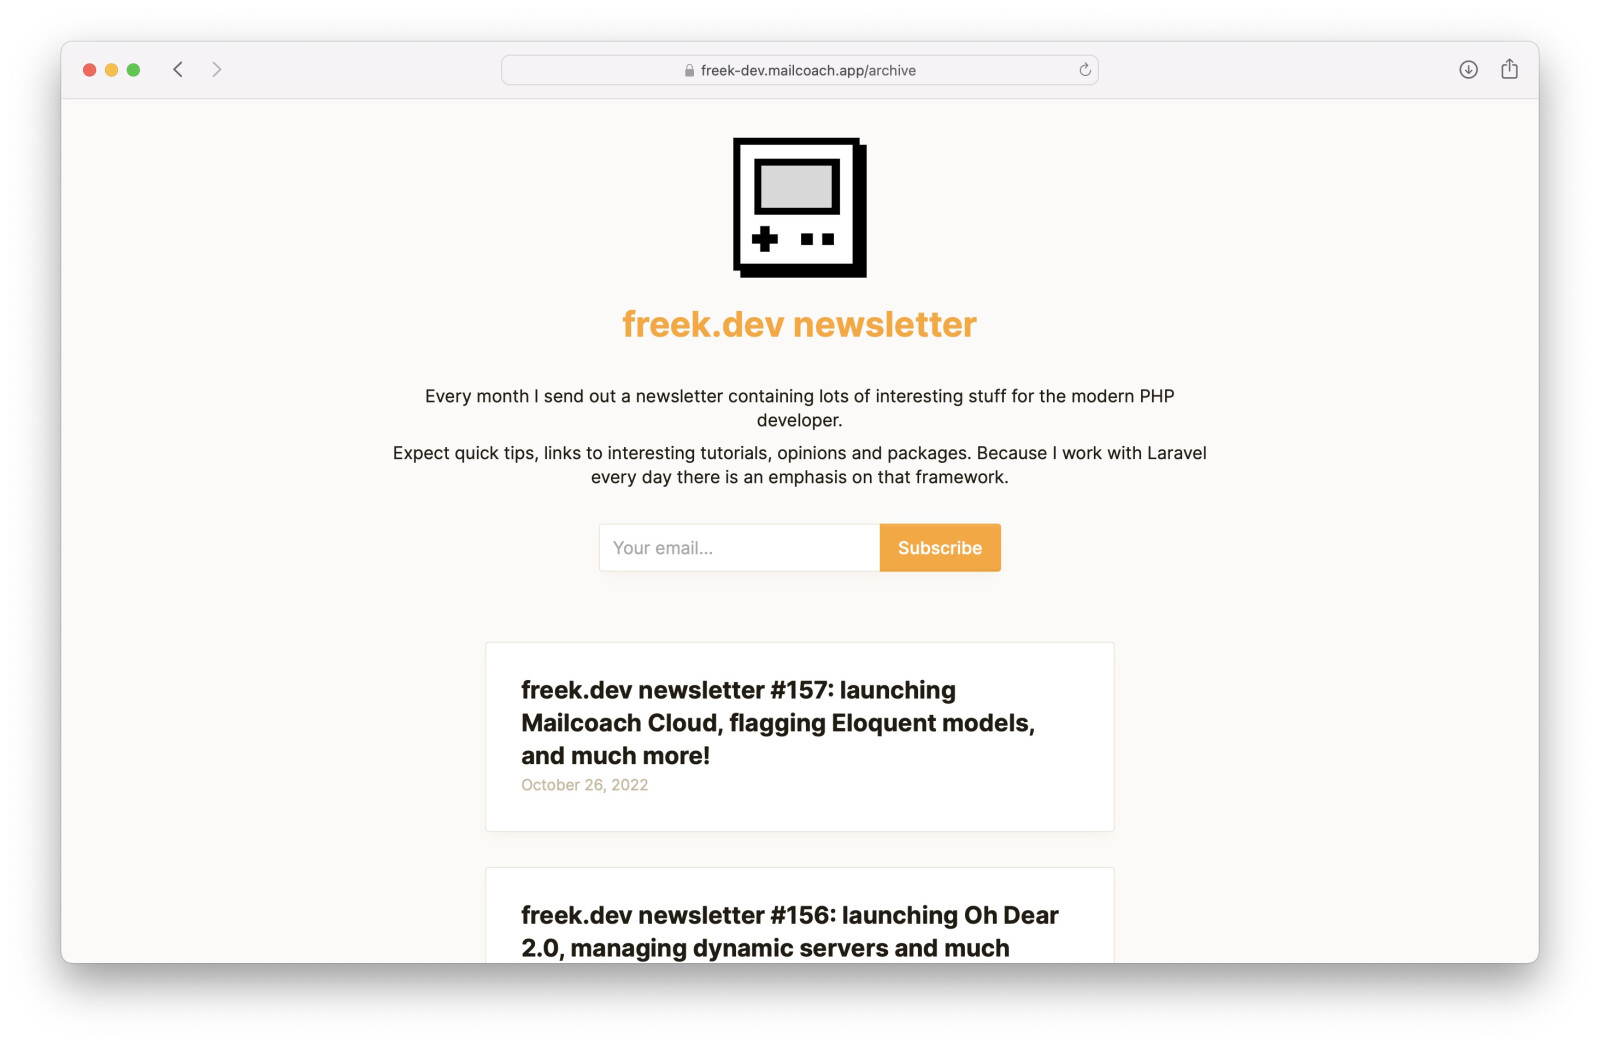
When users click an edition and scroll a bit down, they can see the content of an edition. Here’s the content of an old edition of that newsletter. We automatically display the sent date there, so people have an indication of when the content was written.

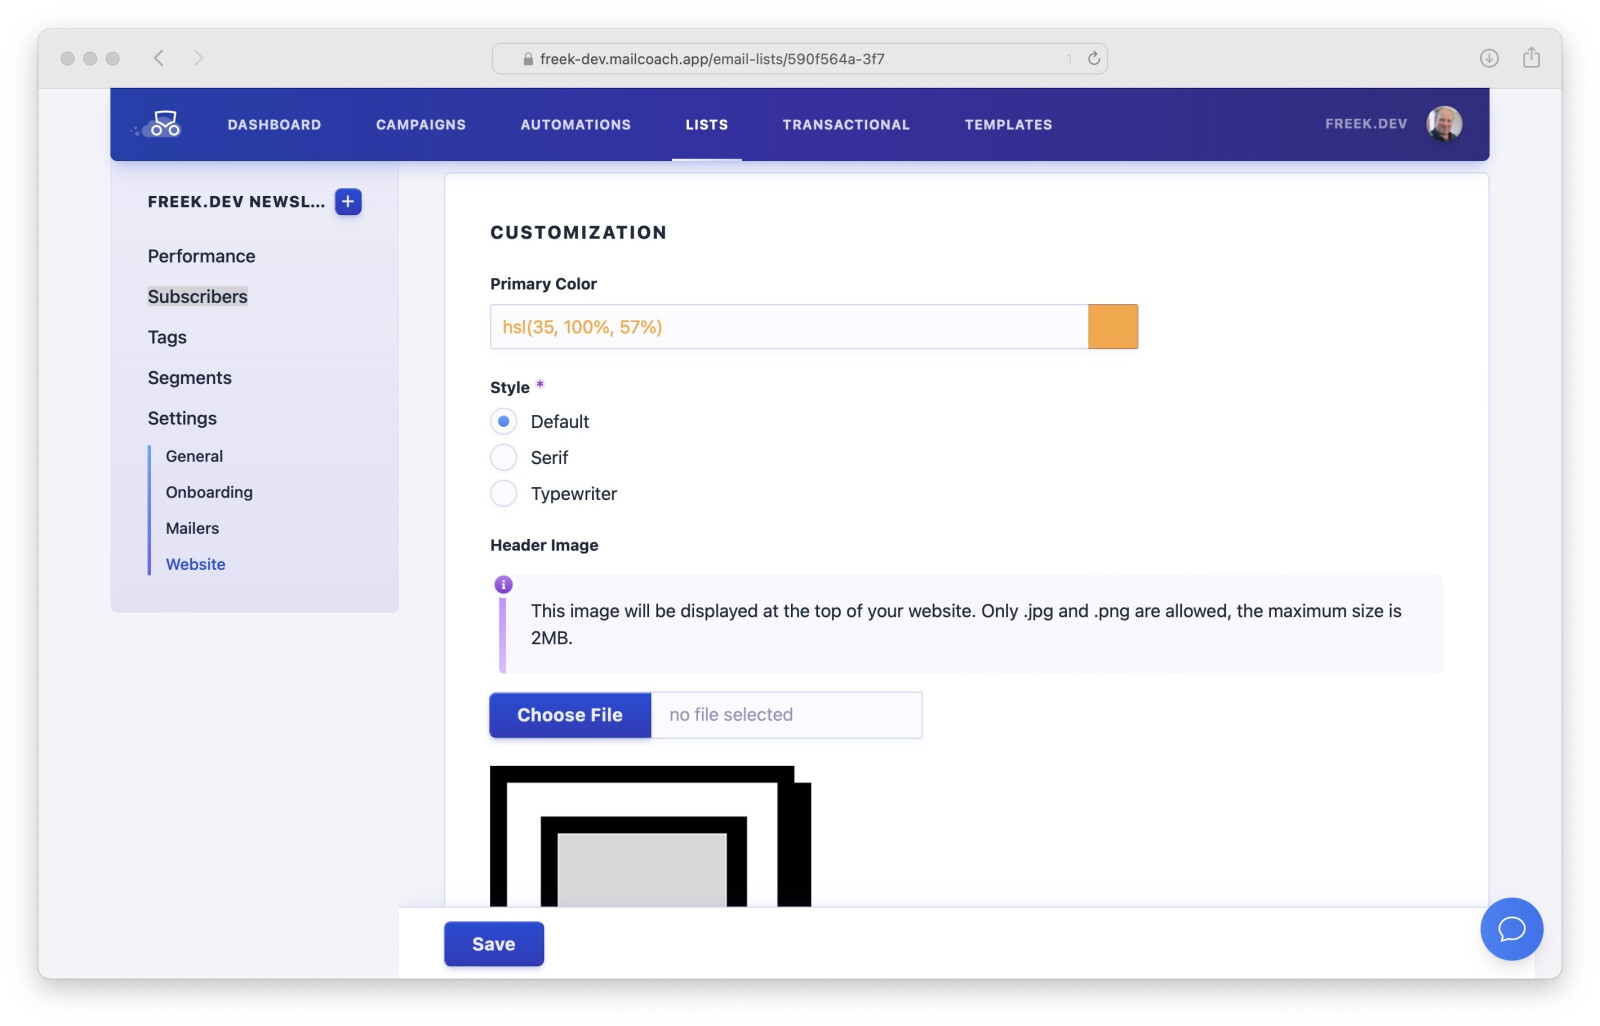
In the website settings, you can also pick a header image and text, and also choose the base color of your archive. As a nice detail, the form element’s value is displayed in the value’s color.
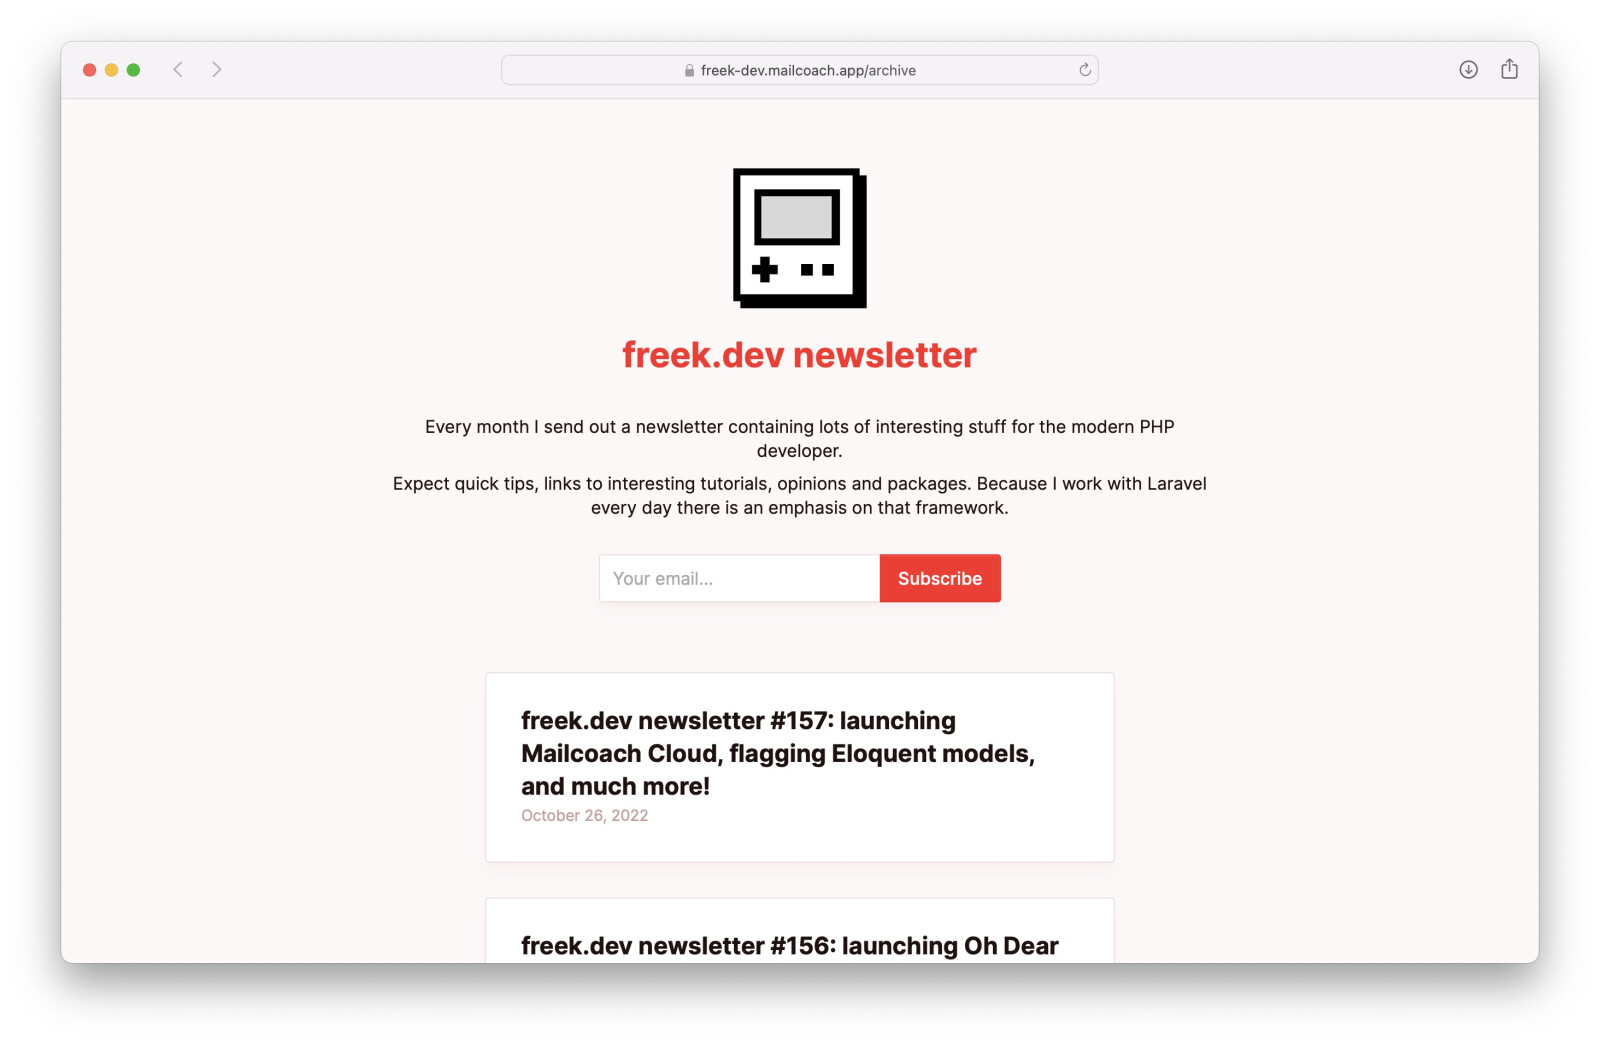
Here’s how the above website looks using different colors.
Adding custom attributes
You can add extra attributes to any subscriber. These attributes can be displayed or used in a conditional when creating a campaign (or other types of mails in Mailcoach).
To get started, head over to the name “Attributes” screen on a subscriber. Here’s how you would add an extra attribute called language to subscriber.
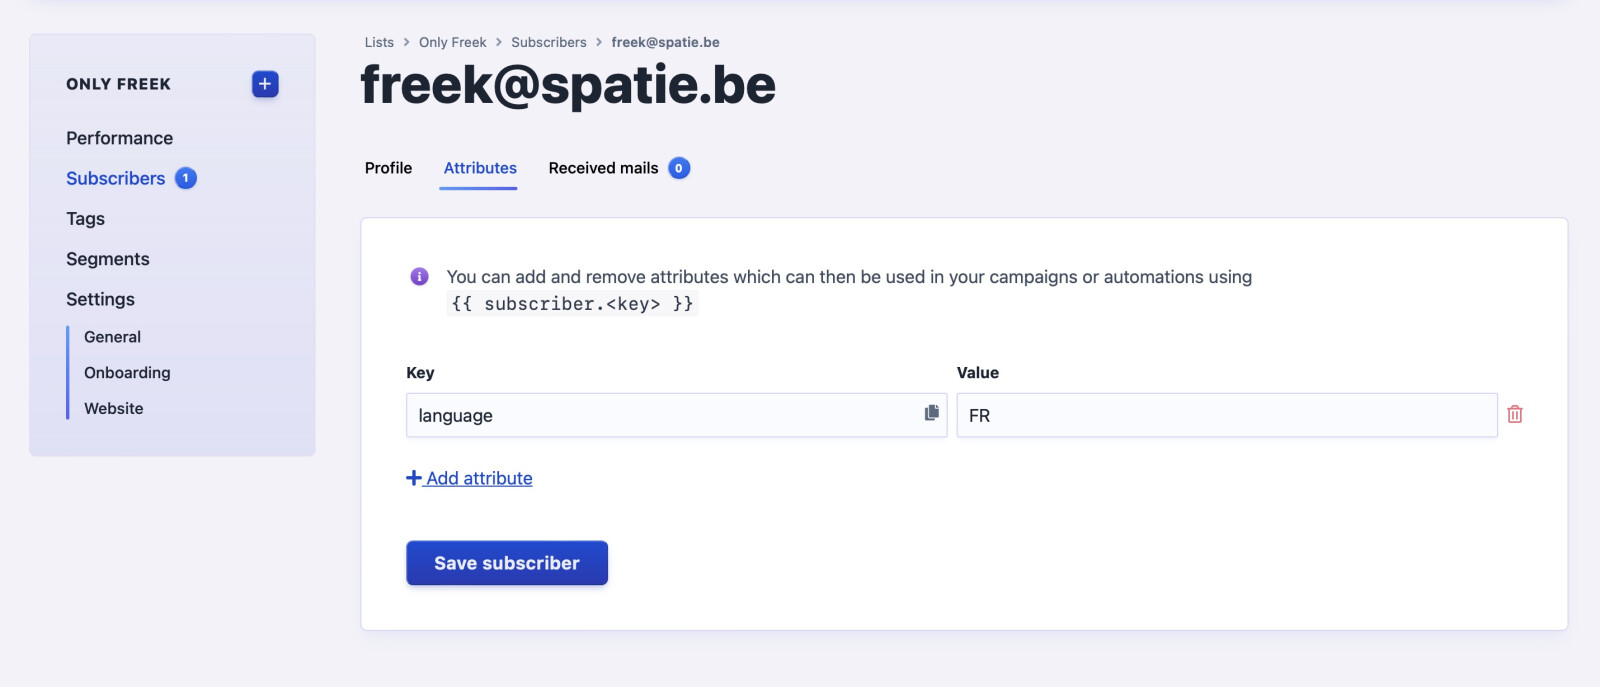
You can define as many extra attributes as you want.