
A preview text is a snippet of text that appears in your inbox next to or below the subject line. It usually provides a concise summary of the content of the email or a call to action, and it is the perfect place to get the recipient’s attention before they even open the email.
This means that having a good preview text can lead to higher open rates as a good preview text will capture the recipient’s interest, helping them to decide whether to open it or which email to open first.
If you don’t set the preview text, the email client will decide which part of the content to use - and it’s usually the very first sentence. That might not always be what you want to highlight, nor might it be the most enticing part of your email, so it’s better to be fully in control and set your own preview text.
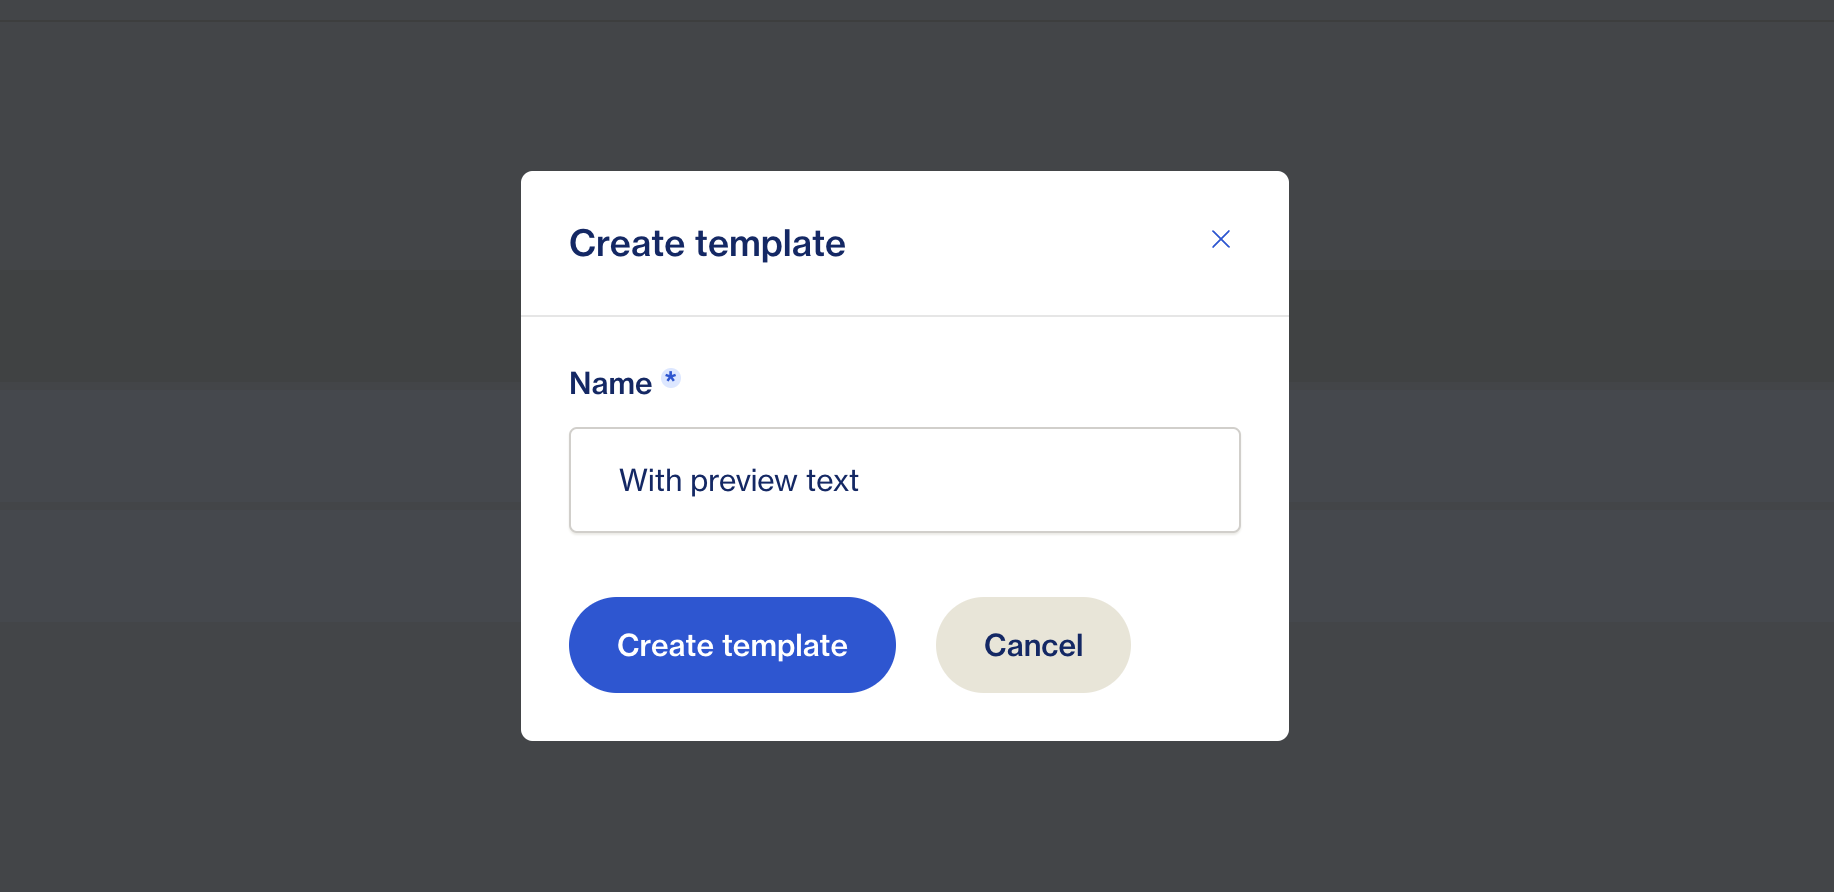
Mailcoach makes setting your preview text a breeze. You can add a preview text to an existing template, but for the purposes of this guide, we will create a new template called “With preview text”.
How you create a template depends on which editor you have set up for templates. The options are HTML and Drag & Drop editor, which requires a paid Unlayer account. You can set which editor you use in your settings/editor section. But for this example, we are going to use the HTML option.
Every template contains the [[[content]]] slot where your campaign’s content will be populated. But you can add as many slots as you like, so let’s add a [[[preview text:text]]] slot just before the content slot.
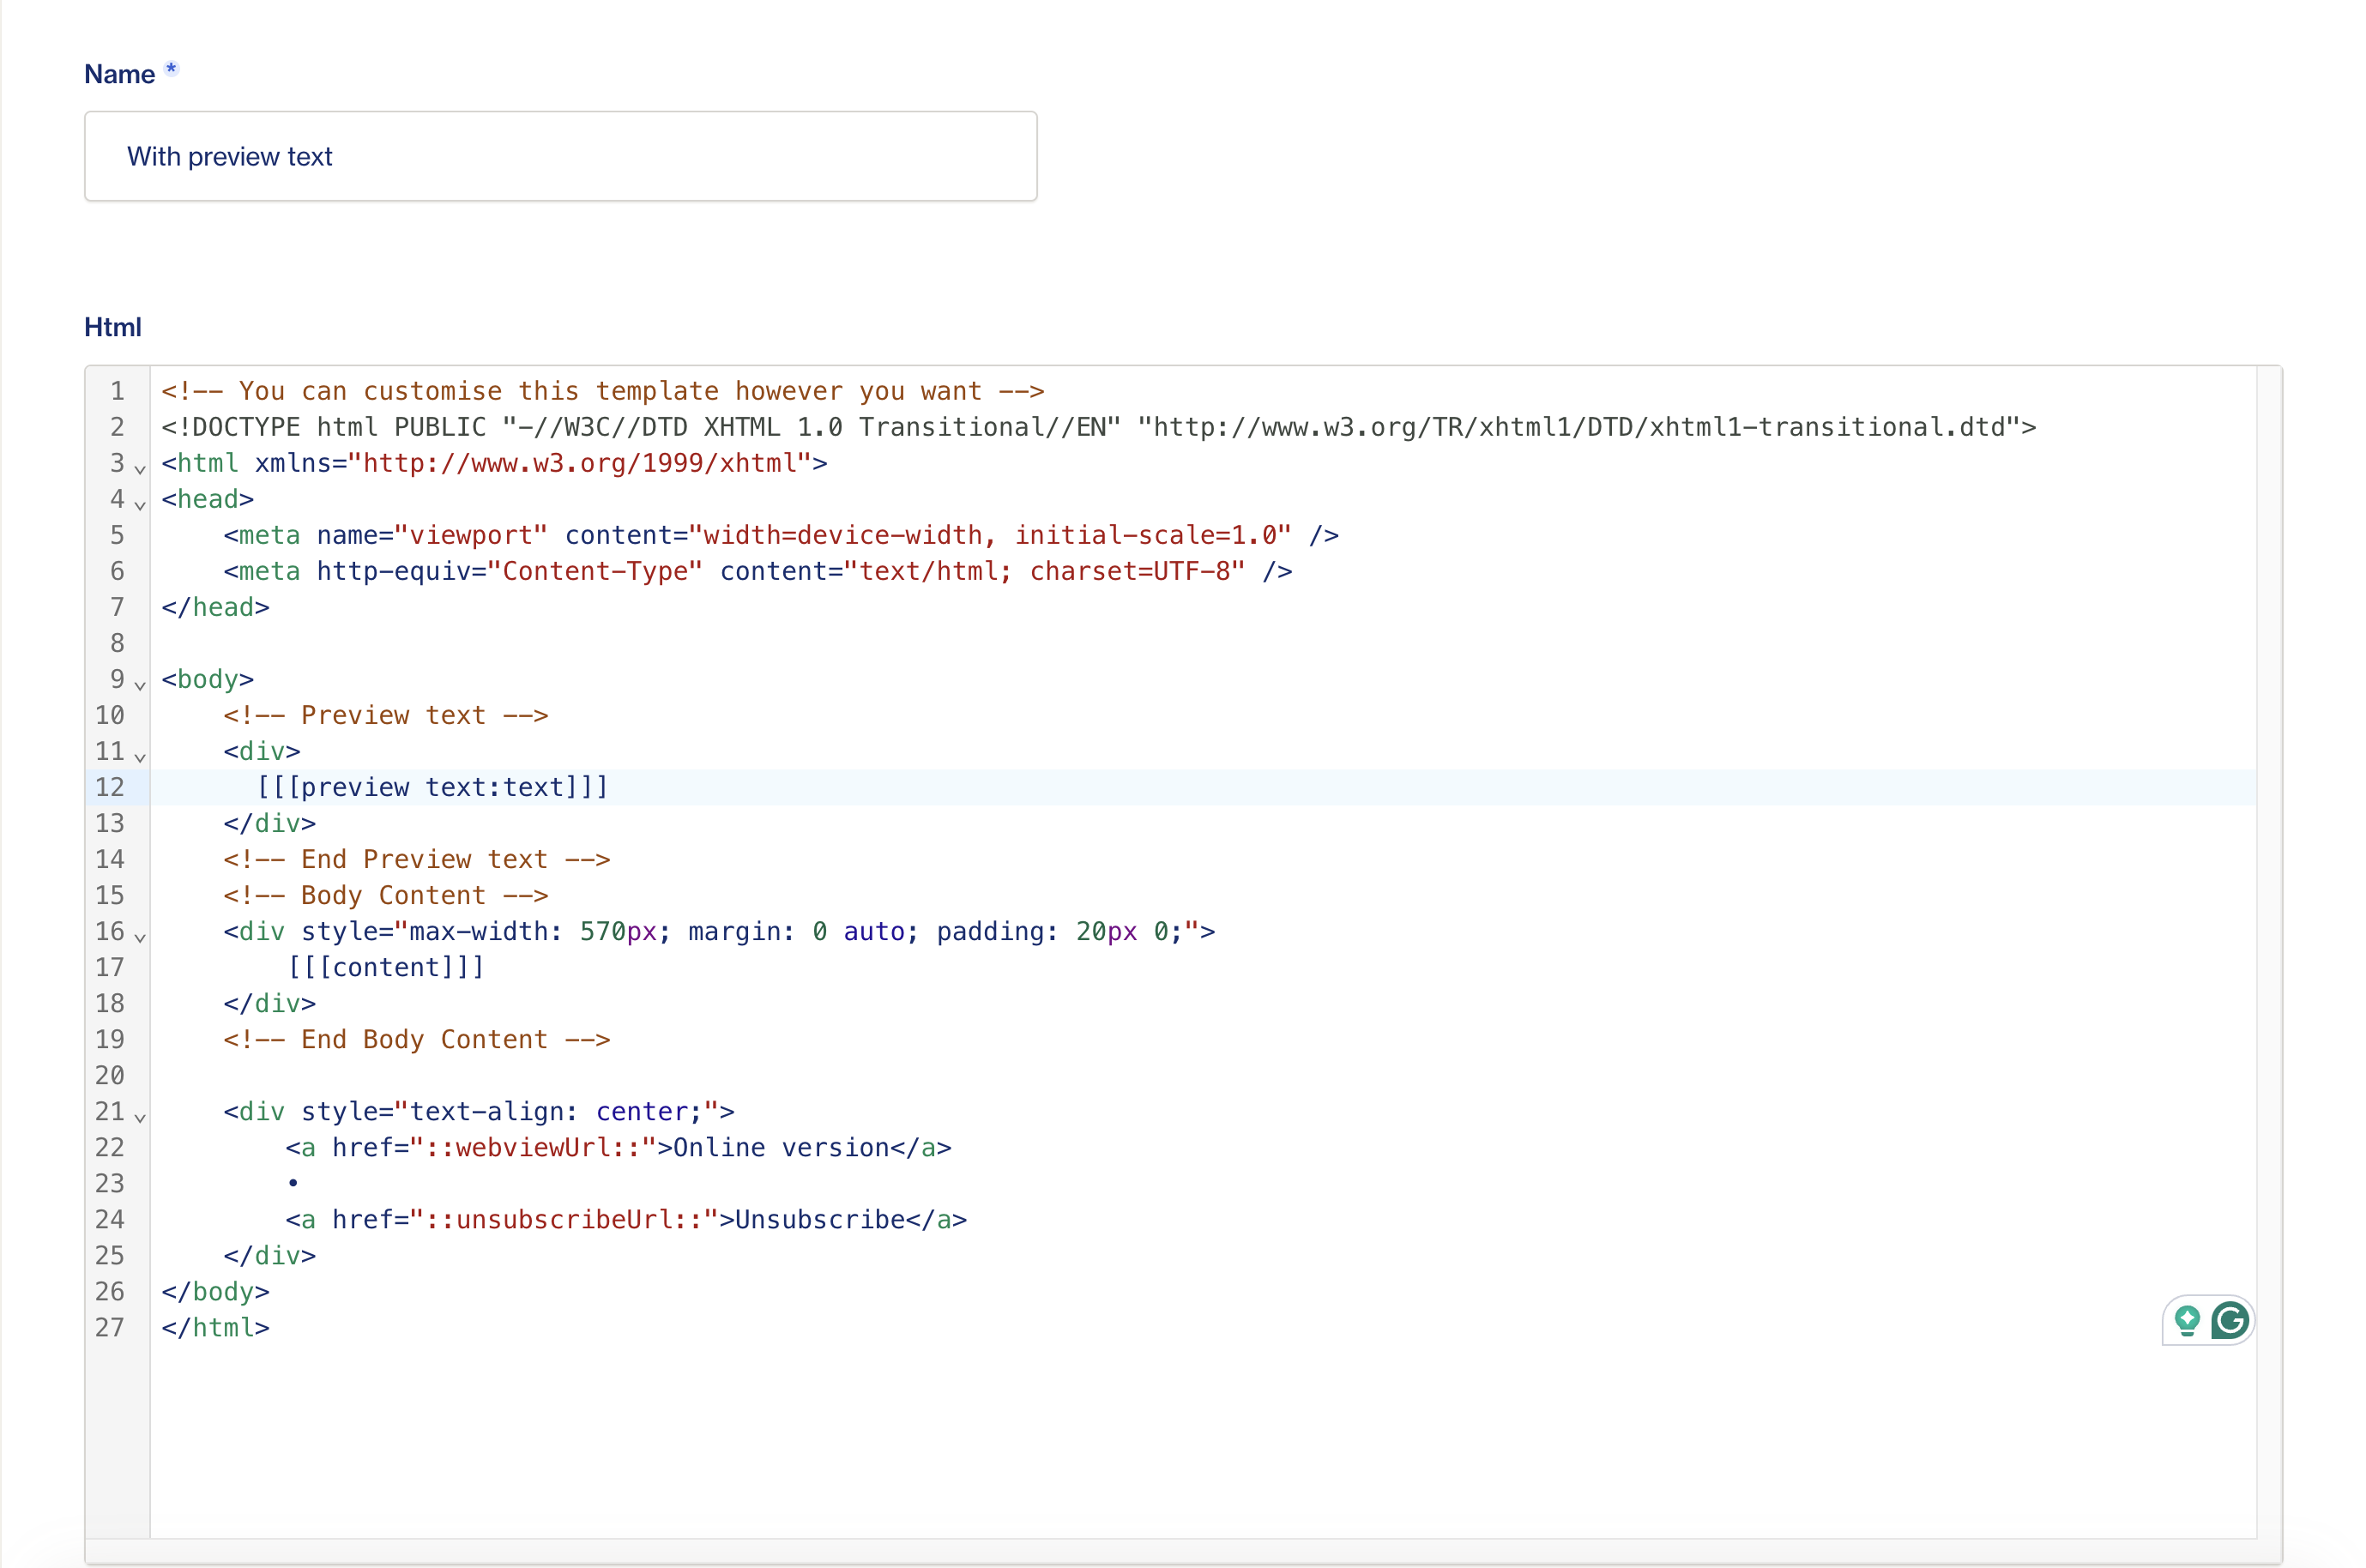
The reason we are adding a [[[preview text:text]]] slot is because this will add a simple text input called Preview text to add our preview text. If we added the text field without the :text modifier, it would add a full editor text input which isn’t necessary for a preview text.
We will wrap it inside a div to apply some styling. Since we only want to display this text next to the subject line, but not necessarily inside the content of the email, we will hide it from the content by applying the following CSS classes:
.preview {
	display: none;
	font-size: 0px;
	line-height: 0px;
	max-height: 0px;
	max-width: 0px;
	opacity: 0;
	overflow: hidden;
}
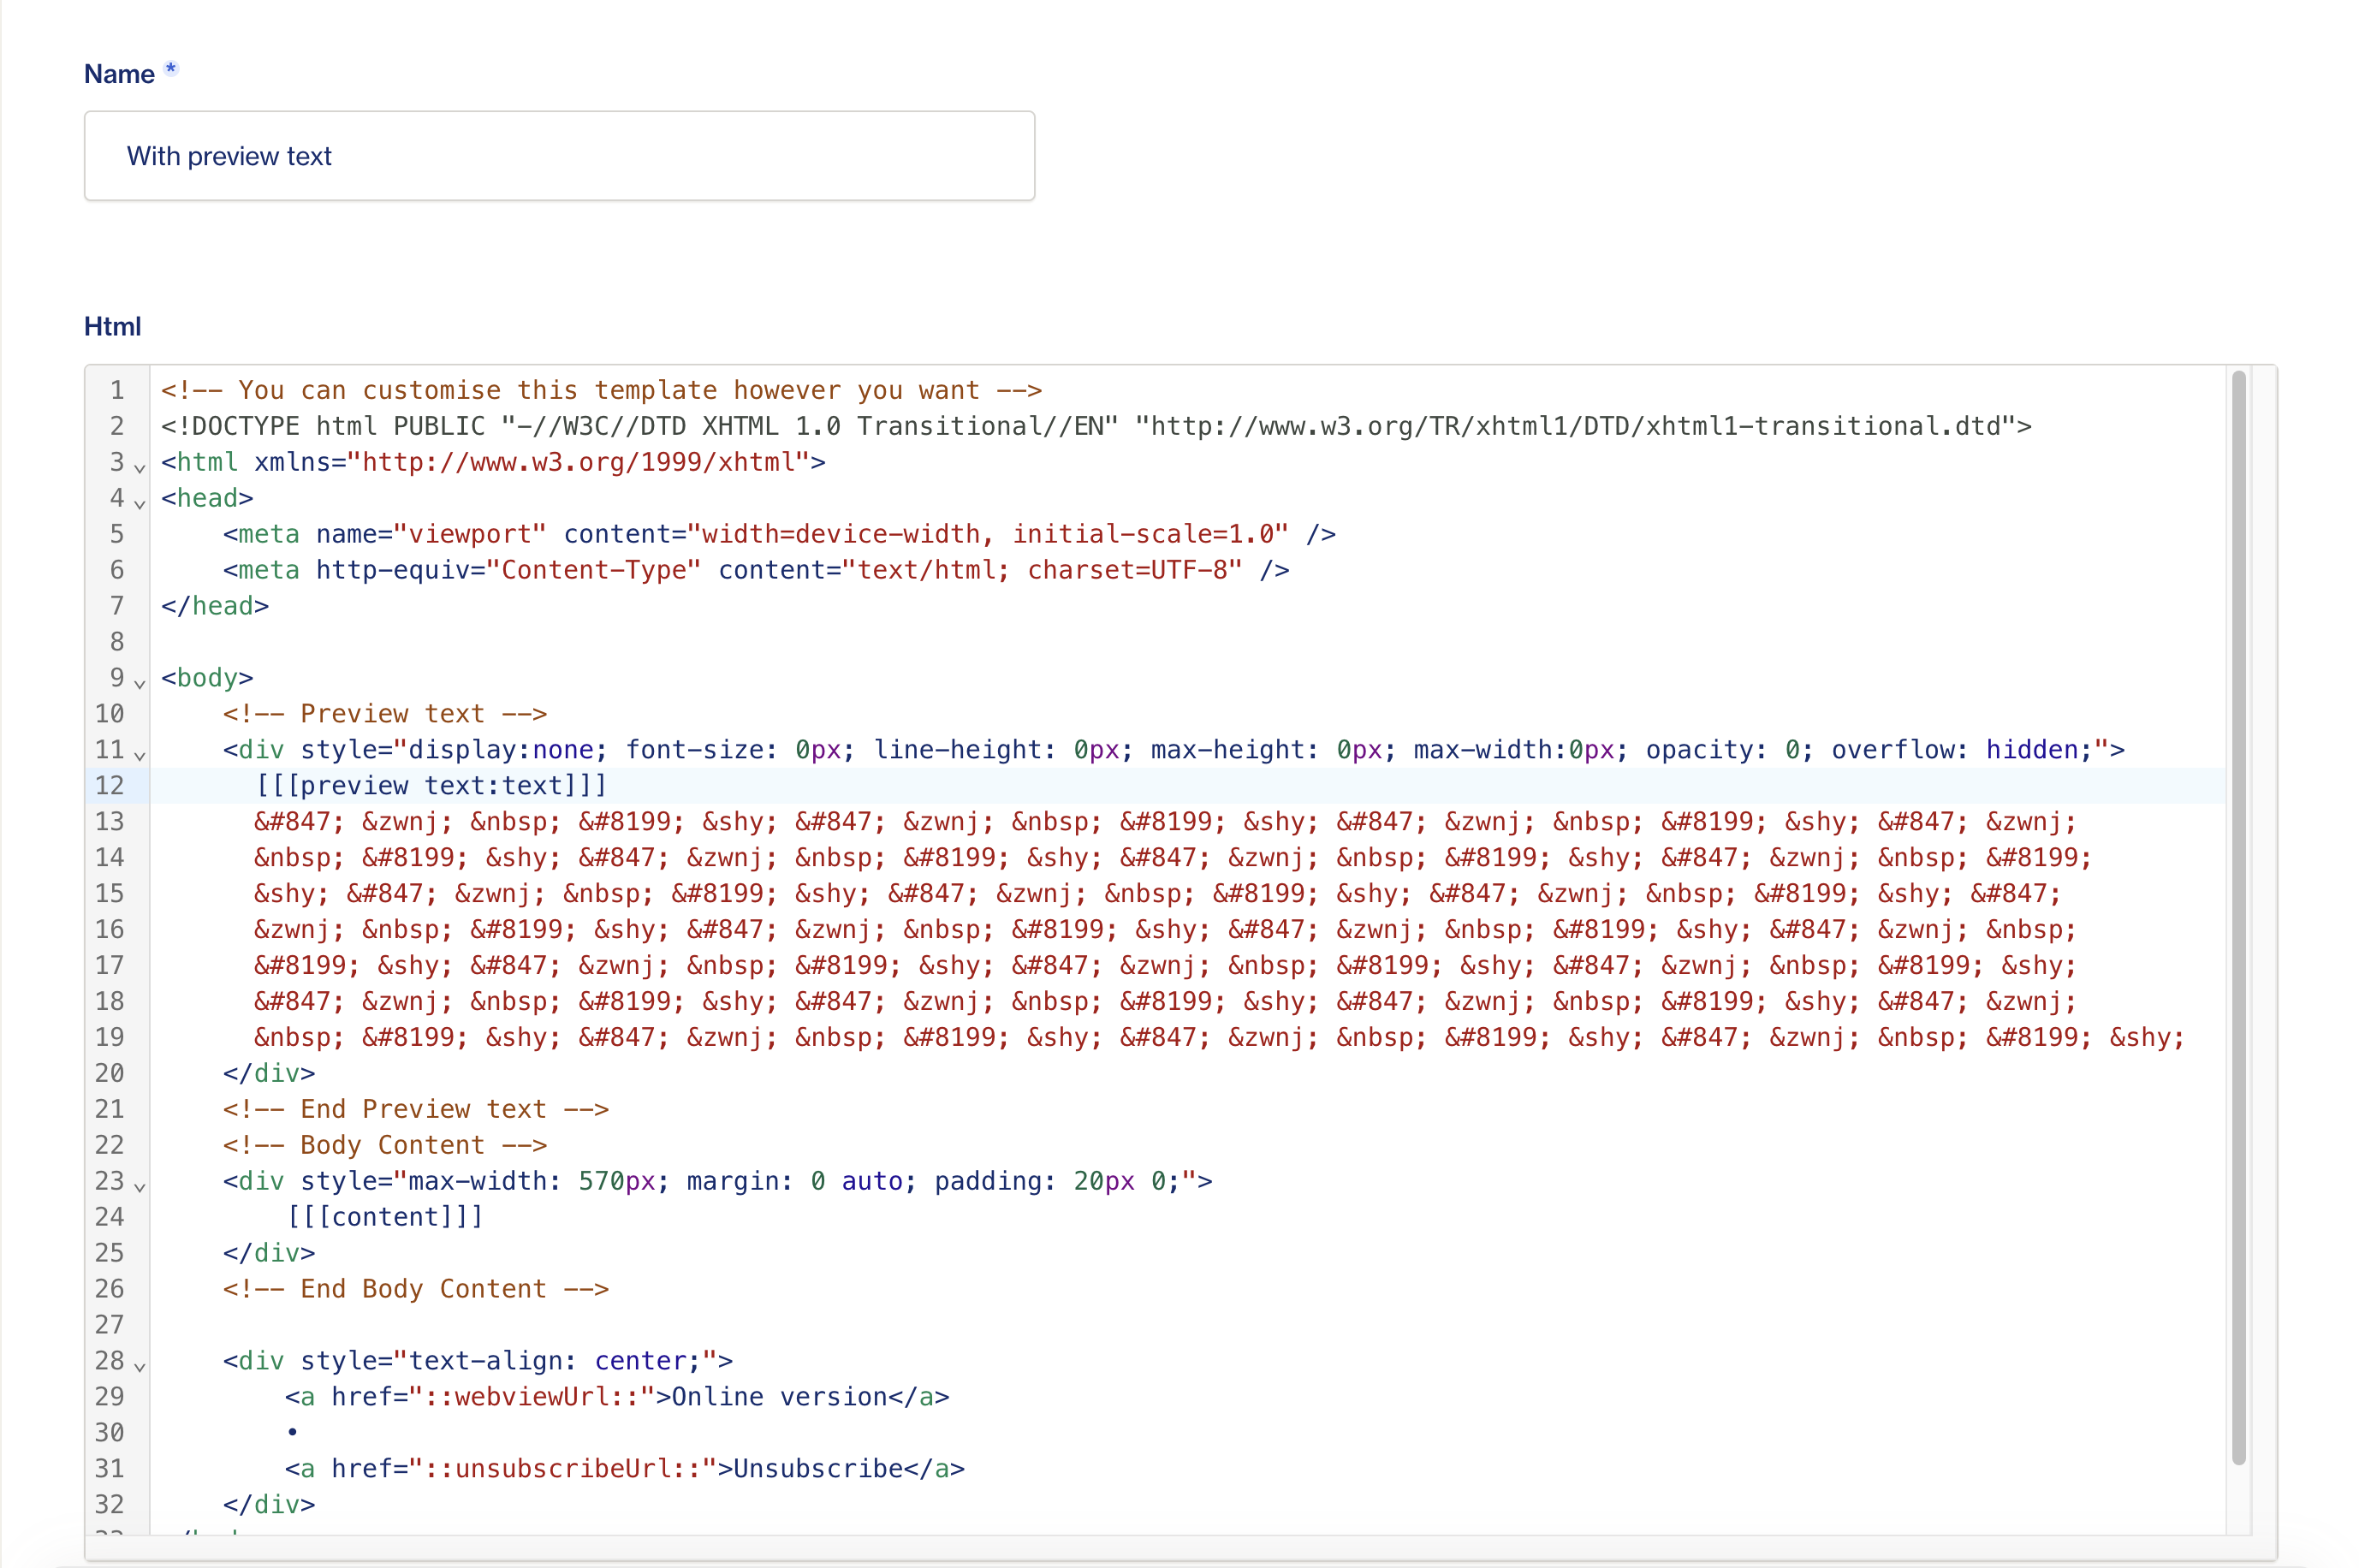
This is what our template looks like now:

This way, the preview text will be visible next to the subject line, but not in the campaign itself.
Let’s create a new campaign now and choose the “With Preview Text” template.
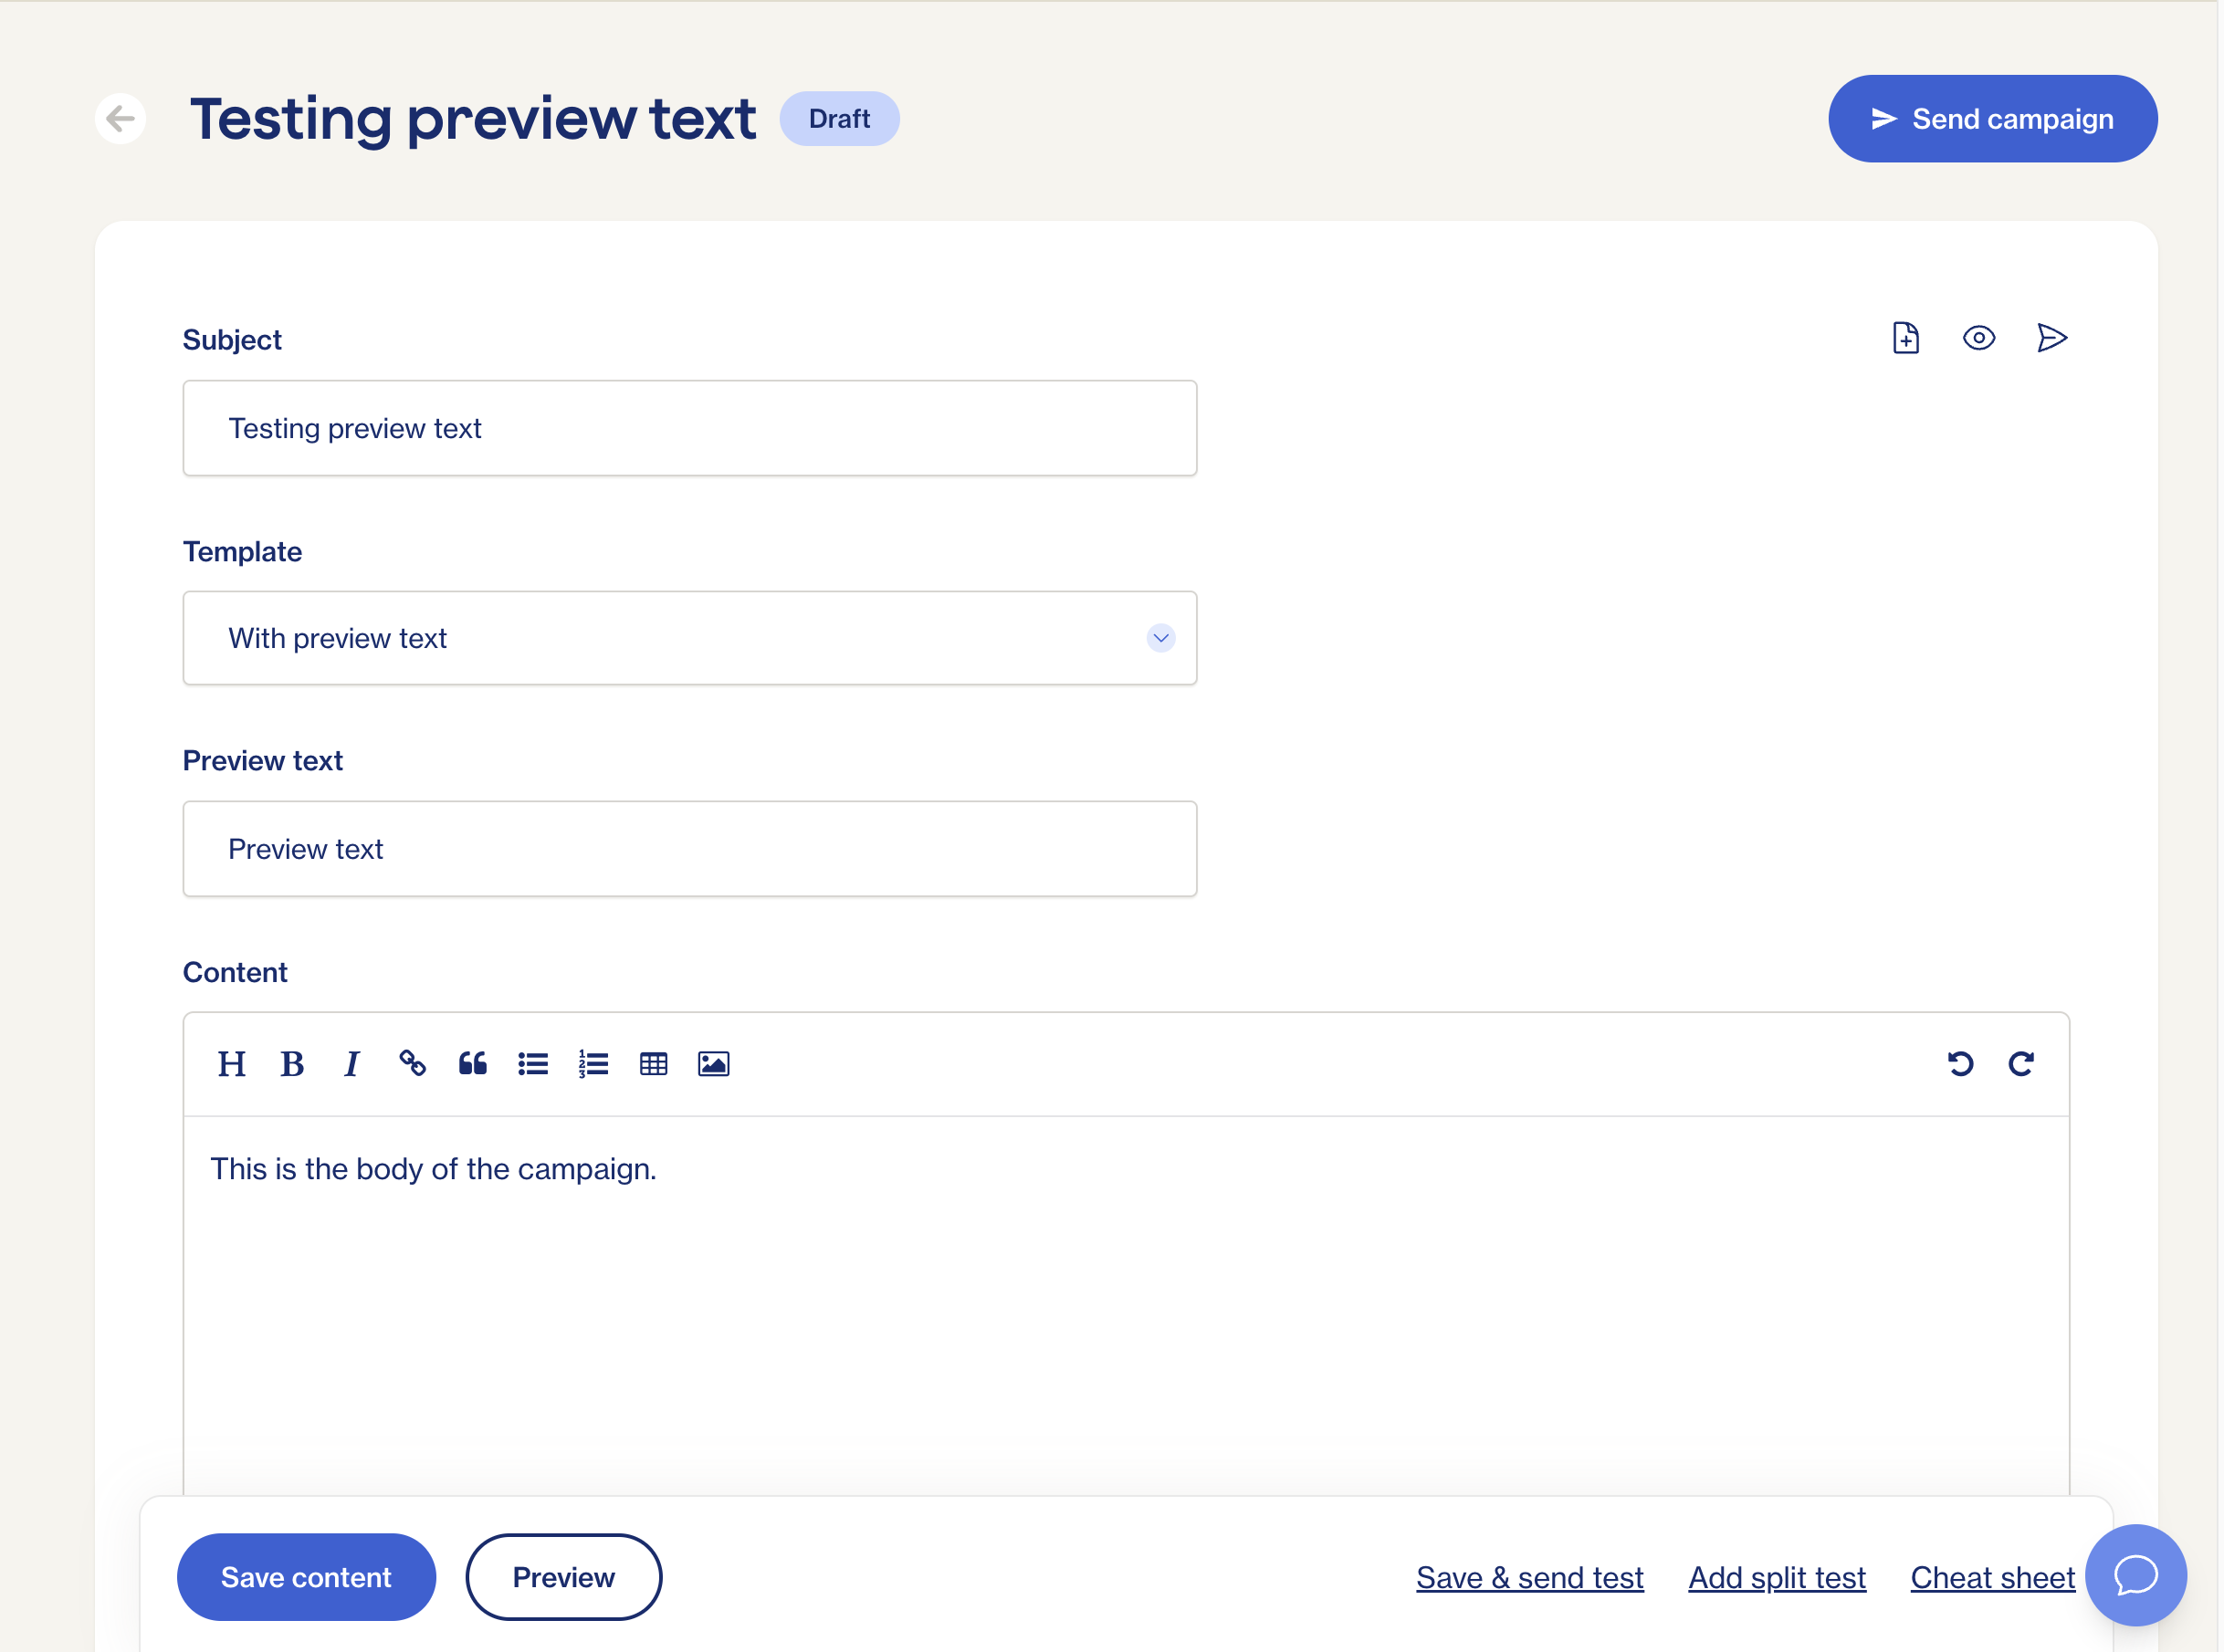
Here is our preview text field where we can add what we need - you cannot style the preview text, but you can add emojis. The length of the text should be between 35 - 140 characters, depending on the email client. Display the most important information first - if it’s too long, the email client will cut the preview text off, and since we hid it from the content of the campaign, it will not be displayed there either.
However, if the preview text is too short, the email client will still pull content from the body of the newsletter and show it in the preview, which most likely isn’t what we want:

What can we do to show the preview text and nothing more even when the preview text isn’t long enough?
You could add a chain of zero-width non-joining characters and non-breaking spaces to the end of your preview text. These characters will not show in your preview text but they will take all the extra space and make sure that the body of the campaign will not show in the preview section.
Here is an example of what you might need to add to your preview text field:
͏ ‌   ­ ͏ ‌   ­ ͏
You might have to experiment with how many of these characters you need to chain to the end of the preview text to make sure you’ve added enough to stop the content of the body showing in the preview section.
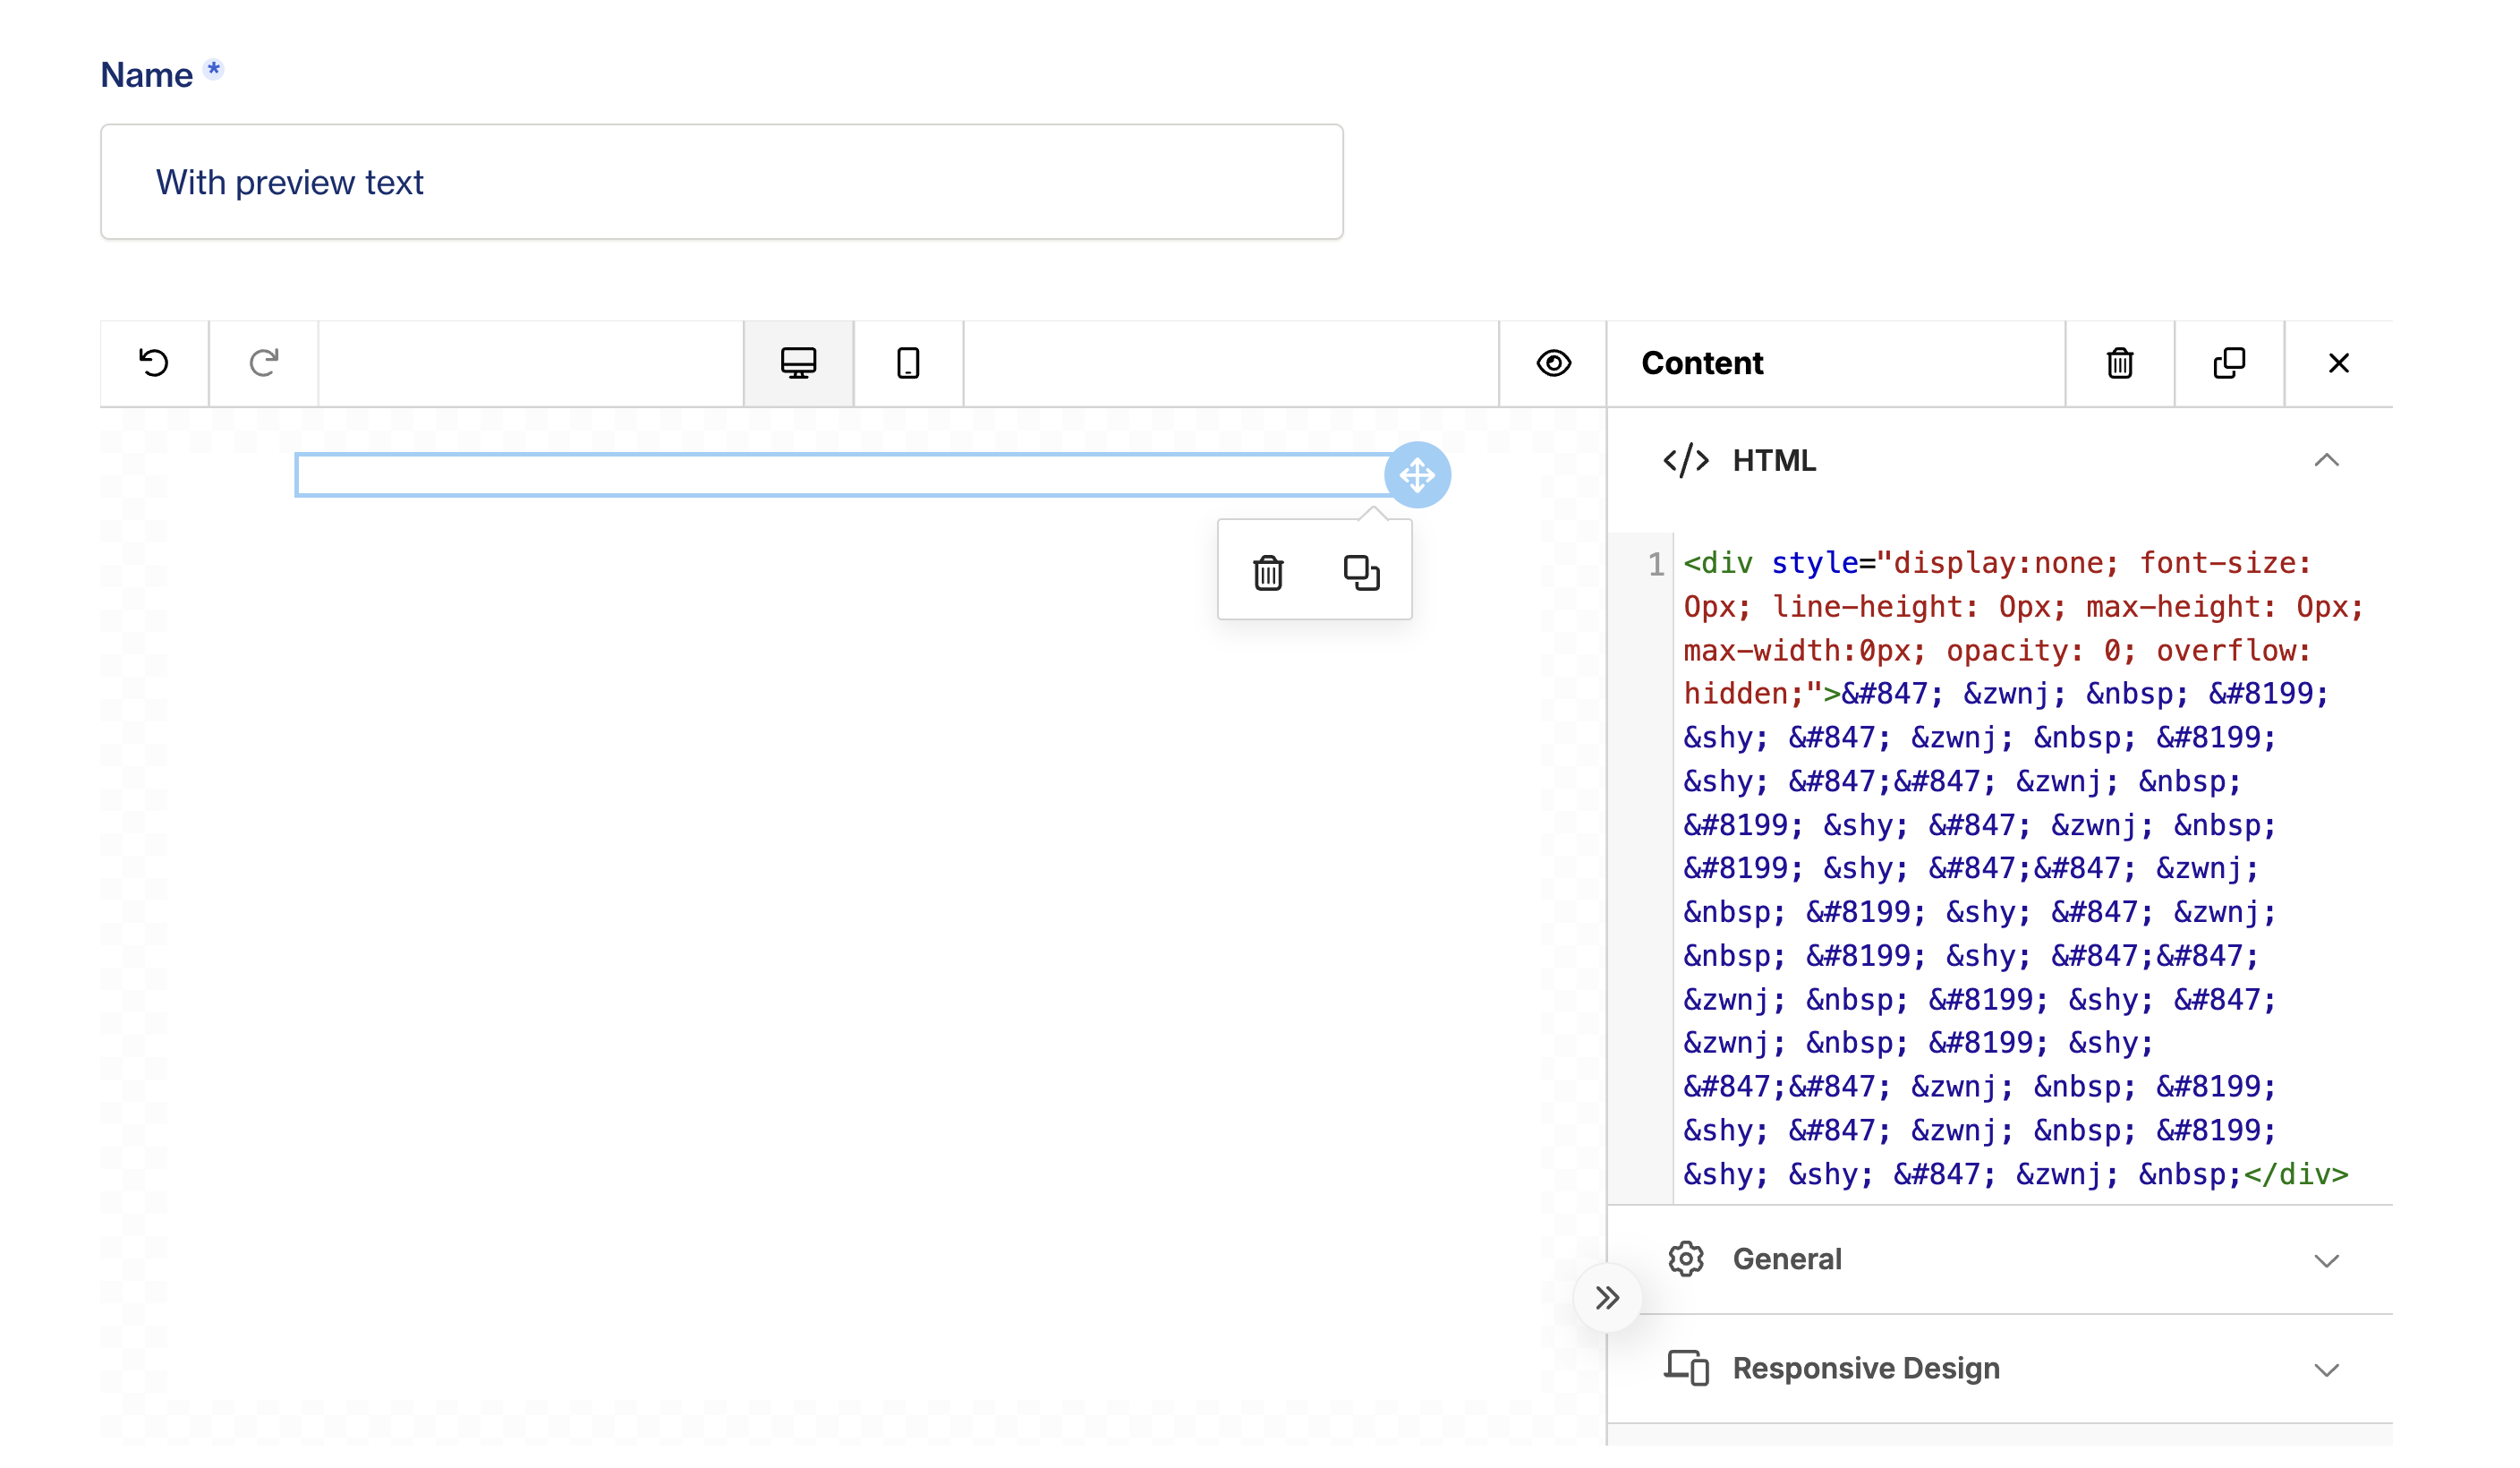
If you are using the Drag & Drop editor, you can still add the zero-width non-joining characters and non-breaking spaces. Just add a HTML block to the top of your content with a div containing the special characters, and hiding the div using CSS classes:
However, you need to keep in mind that not every email client will respect these characters and some might try to display the body text anyway. Since email clients continue to develop and change, there is no guarantee this solution will work reliably. The best way to ensure your body text doesn’t leak into the preview is to make the preview long enough. It’s better to make it longer rather than shorter.
Before we send a test email, let’s preview what we have:
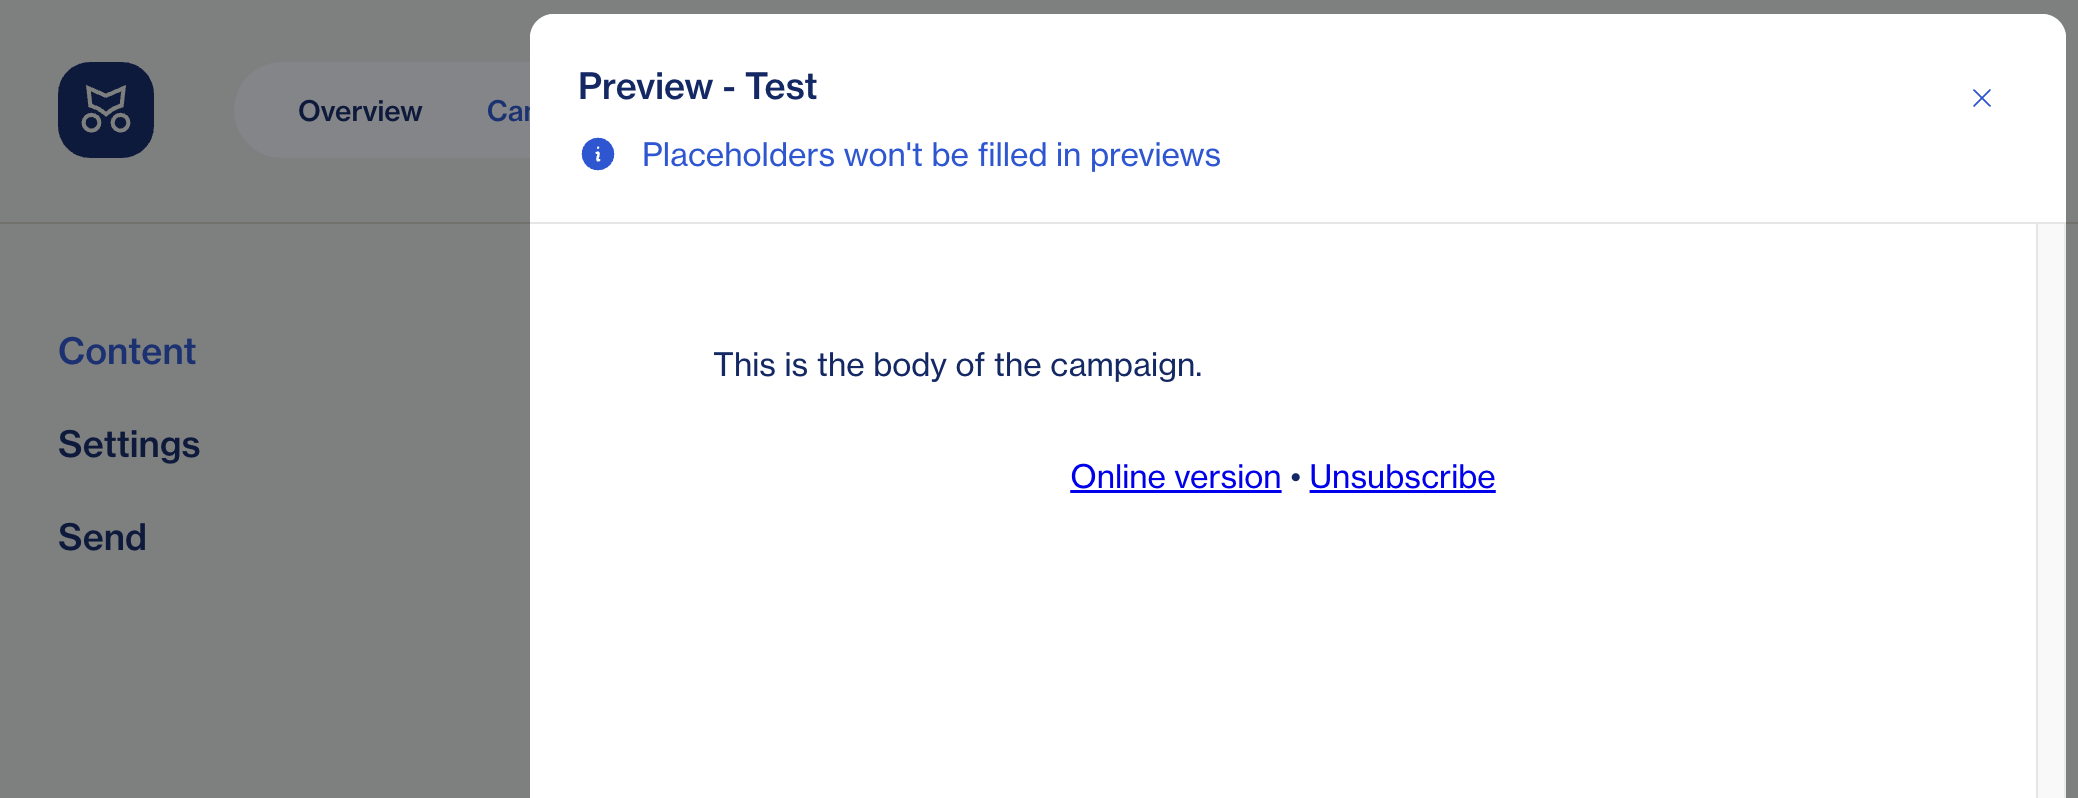
As you can see, the preview text is not showing in this preview because we hid it with the CSS. To make sure everything is working as it should, let’s send a test email.

The preview text isn’t showing the body of the campaign thanks to the non-breaking characters.
Now that you know how to add a preview text slot to your template, you can check the performance of the campaign on the Mailcoach dashboard to see how it changes your campaigns’ open rates.