Well-designed templates make your emails stand out, and Mailcoach allows you to create custom templates using HTML and CSS. While you can create the template manually, a more efficient approach is to use MJML, a markup language designed to simplify the creation of beautiful and responsive emails—something that can be quite tricky to achieve. In this tutorial, we will use MJML to style a template and use it in a Mailcoach campaign.
Installing MJML
First, we need to install MJML. MJML is a JavaScript package that can be installed with npm:
npm install mjml
We will use MJML in our terminal, so you can either install it globally:
npm install -g mjml
or use npx to run any MJML commands:
npx mjml
Creating Your First Template
Let’s create our first template. There are two ways to do this: you can visit the MJML website and download a free template to customize, or you can create one from scratch.
In this tutorial, we’ll create a simple template from scratch.
Start by creating an input file for the layout, which will be eventually compiled into HTML code to be used in our template:
touch input.mjml
Understanding MJML Structure
What makes MJML responsive is the use of columns. The outer wrapper element is <mjml>, and the body of the email is wrapped inside the <mj-body>element. This can consist of different <mj-section>s, each containing one or more equally sized <mj-column>s. The columns will be side-by-side on larger screens and stacked up on a mobile. You can manually size the columns using the width attribute, but for the purpose of this tutorial we’ll let MJML handle it for us.
<mjml>
  <mj-body>
    <mj-section>
      <mj-column>
      </mj-column>
  </mj-section>

  <mj-section>
      <mj-column>
      </mj-column>

      <mj-column>
      </mj-column>
    </mj-section>
  </mj-body>
</mjml>
Using MJML Components
MJML supports many different components and attributes. It comes with a set of standard components, such as mj-button, mj-image, mj-text, mj-table. For the full list check out the MJML documentation. Additionally, you can install community components to make your emails really stand out.
Our template will have a navbar with few links, a banner section with an image, followed by a section for the main content of the campaign, and a footer section with two columns.
Creating a navigation bar
MJML supports the mj-navbar and mj-navbar-link elements to create responsive navigation. This is what a simple navigation might look like:
<mj-section>
  <mj-column>
    <mj-navbar
      base-url="https://mailcoach.app"
      hamburger="hamburger"
      icon-color="#000000"
  	>
      <mj-navbar-link href="/resources/learn-mailcoach/">
          Learn Mailcoach
      </mj-navbar-link>
      <mj-navbar-link href="/resources/blog/">
          Blog
      </mj-navbar-link>
      <mj-navbar-link href="/features/">
          Features
      </mj-navbar-link>
    </mj-navbar>
  </mj-column>
</mj-section>
Let’s continue and add a banner image now.
Using an image
There are a couple of ways to include an image. You can add it to a section as a background URL, use the mj-image domponent, or use an upload image Mailcoach placeholder, allowing you to select a different image each time you use the template.
For the purposes of this tutorial, we will upload an asset to the Mailcoach dashboard and use the URL to set it as a background image on our component. This way, the same image will be used every time this template is used.
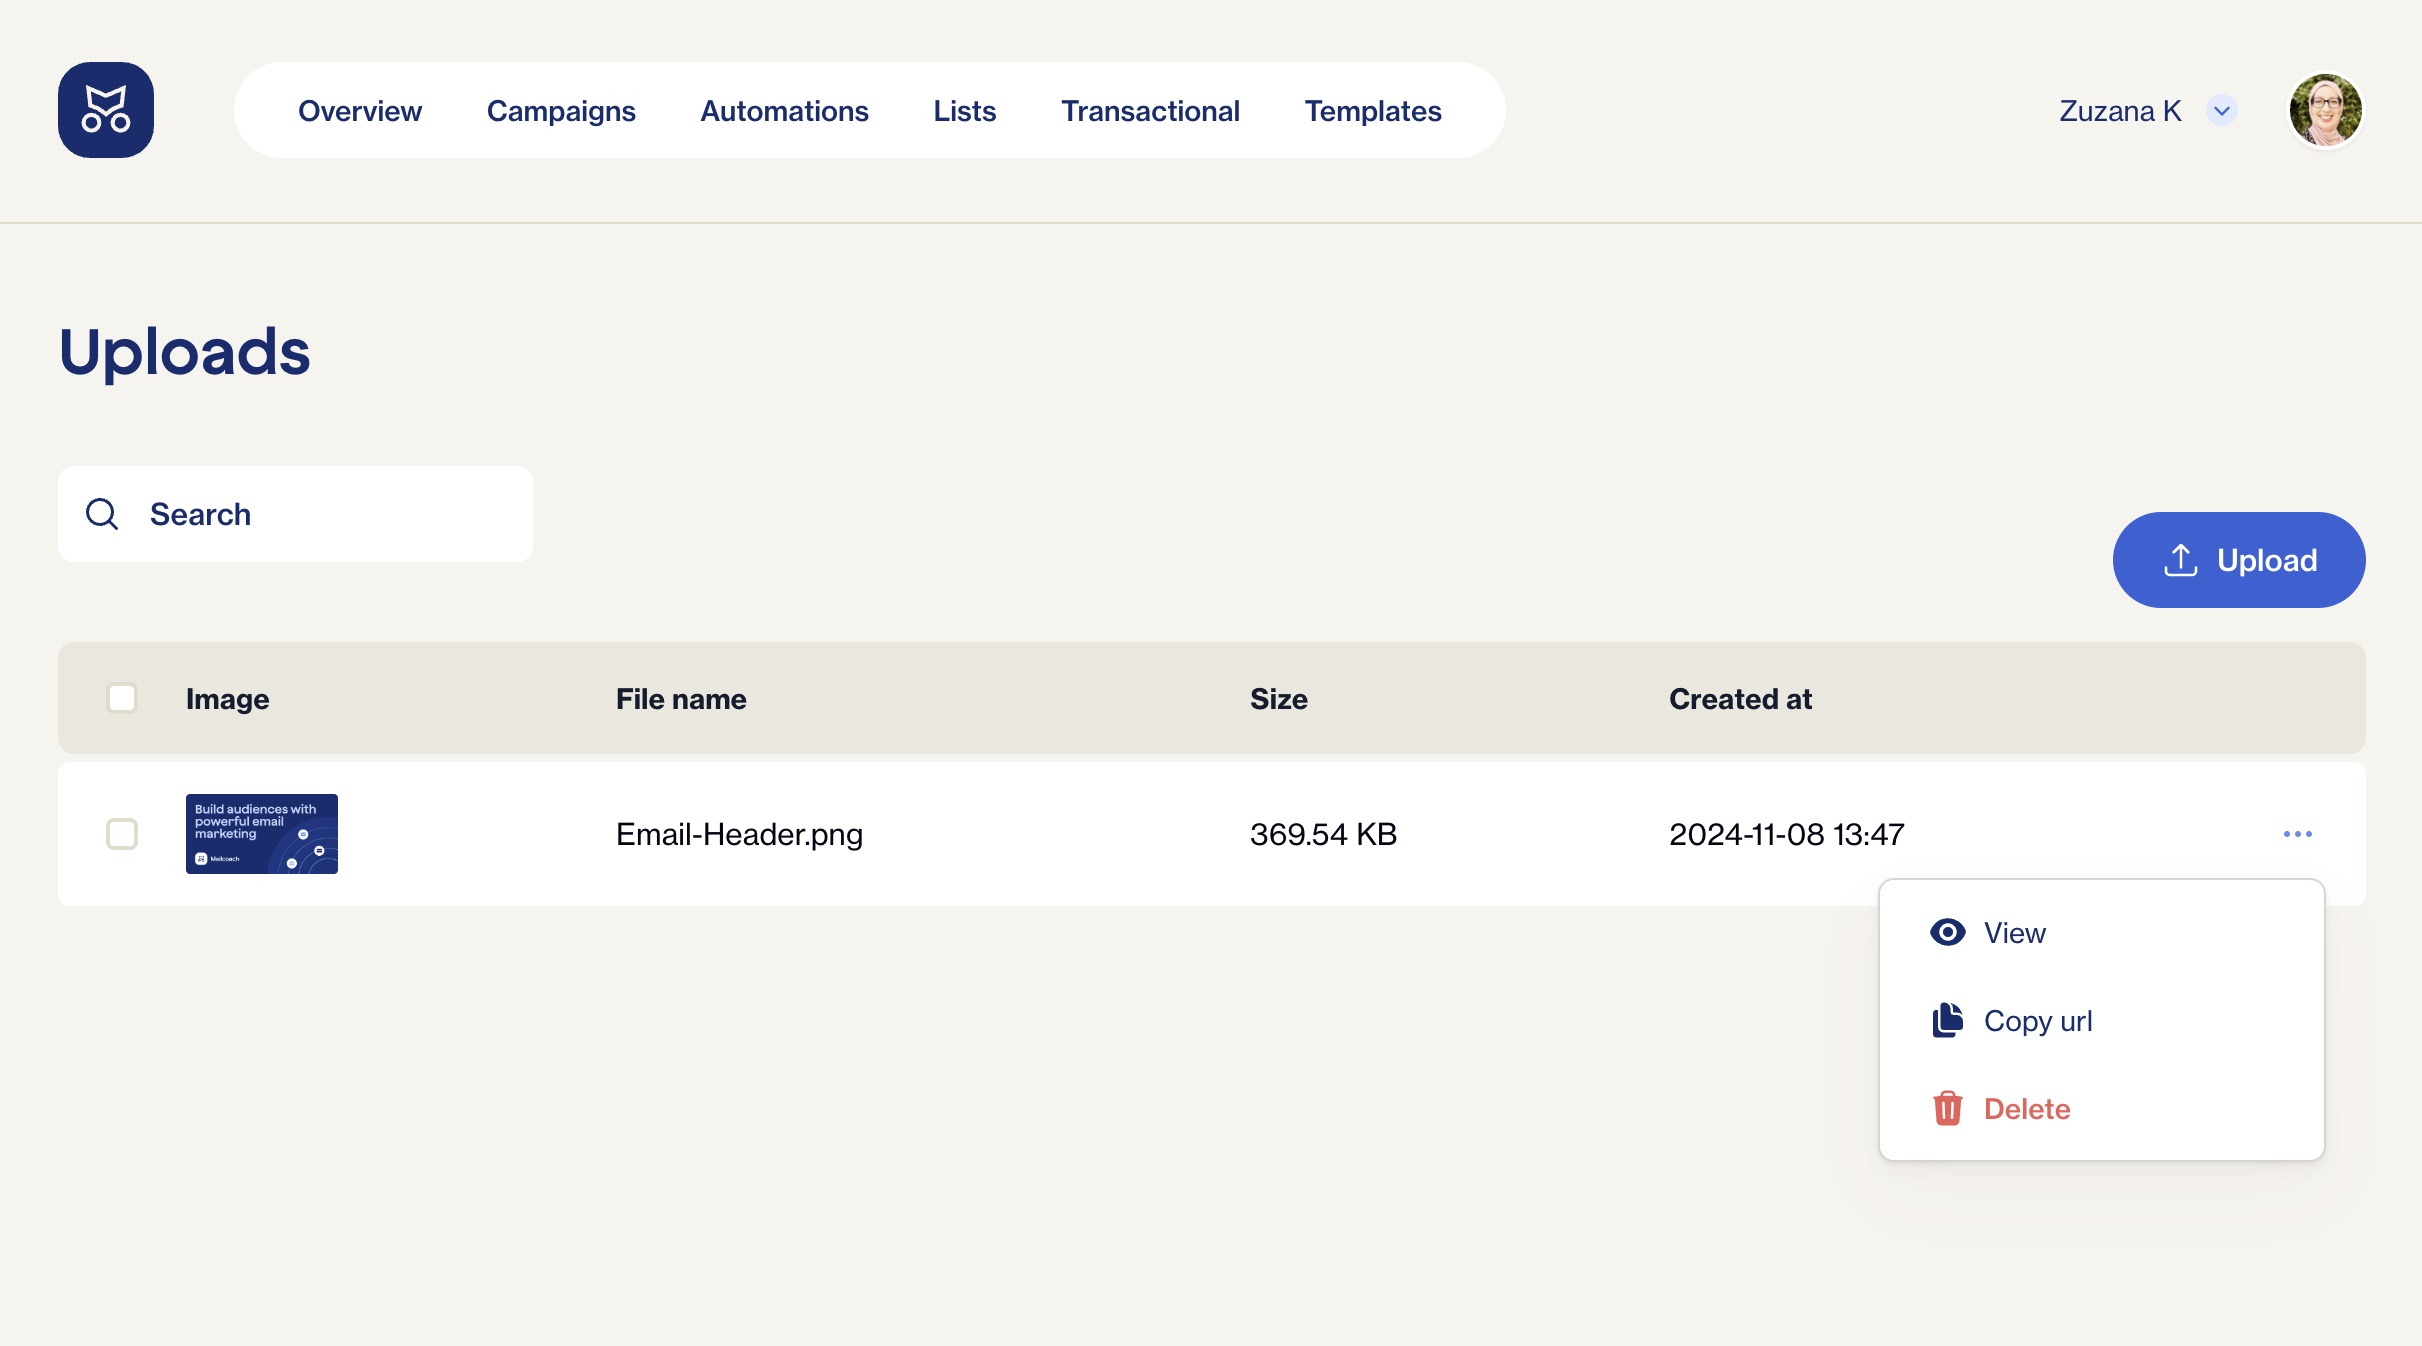
To upload your assets to the Mailcoach dashboard, go to Settings > Uploads, upload the asset and once done, click on the three dots, and copy the URL.

Here’s is our example with a banner image:
<mjml>
  <mj-body>
    <mj-section>
      <mj-column>
        <mj-navbar
            base-url="https://mailcoach.app"
            hamburger="hamburger"
            icon-color="#000000"
        >
            <mj-navbar-link
              href="/resources/learn-mailcoach/"
            >
                Learn Mailcoach
            </mj-navbar-link>
            <mj-navbar-link
              href="/resources/blog/"
            >
                Blog
            </mj-navbar-link>
            <mj-navbar-link
              href="/features/"
            >
                Features
            </mj-navbar-link>
        </mj-navbar>
    </mj-column>
  </mj-section>

  <mj-section>
  	<mj-column>
      <mj-image
        padding="0"
        src="https://storage.mailcoach.app/183c602d-abb9-4a2c-a4fb-70c43b717c7c/68269/Email-Header.png"
      />
      <mj-spacer height="10px" />
    </mj-column>
  </mj-section>

  <mj-section
  >
      <mj-column>
        <mj-text>
          [[[Slogan text:text]]]
        </mj-text>
      </mj-column>
    </mj-section>
  </mjml-body>
</mjml>
I added a section for a simple slogan text using Mailcoach text placeholder. I also added a mj-spacer component to create some space between the image and the content below.
This completes our banner, which includes an image and centred text that can be customized from the Mailcoach campaign dashboard.
Customizing the Main Content and Footer
Let’s complete our template by adding the main content section and the footer section with two columns. These columns will stack on a smaller screen, and they will be side by side on a larger screen.
<mj-section>
  <mj-column>
    <mj-text>
      [[[Main content]]]
    </mj-text>
  </mj-column>
</mj-section>

<mj-section>
  <mj-column>
    <mj-text>
    	[[[Footer Left]]]
      </mj-text>
  </mj-column>

  <mj-column>
    <mj-text>
    	[[[Footer Right]]]
    </mj-text>
  </mj-column>
</mj-section>
The Main content, Footer Left and Footer Right are Mailcoach slots. You can create as many slots as you need by adding the name in a triple bracket.
Compiling Your MJML Template
This is our final design:
<mjml>
  <mj-body background-color="#F6F4EE">
    <mj-section padding="20px 0">
      <mj-column>
        <mj-navbar
          base-url="https://mailcoach.app"
          hamburger="hamburger"
          icon-color="#000000"
        >
          <mj-navbar-link
            href="/resources/learn-mailcoach/"
            color="#648BEF"
            font-weight="bold"
          >
              Learn Mailcoach
          </mj-navbar-link>
          <mj-navbar-link
            href="/resources/blog/"
            color="#648BEF"
            font-weight="bold"
          >
              Blog
          </mj-navbar-link>
          <mj-navbar-link
            href="/features/"
            color="#648BEF"
            font-weight="bold"
          >
              Features
          </mj-navbar-link>
        </mj-navbar>
      </mj-column>
    </mj-section>

    <mj-section>
      <mj-column>
        <mj-image
          padding="0"
          src="https://storage.mailcoach.app/183c602d-abb9-4a2c-a4fb-70c43b717c7c/68269/Email-Header.png"
        />
        <mj-spacer height="10px" />
      </mj-column>
    </mj-section>

    <mj-section
      padding="20px"
      background-color="#ffffff"
      border-radius="10px"
    >
      <mj-column>
        <mj-text align="center" font-size="22px" font-weight="bold" color="#142D6F">
            [[[Slogan text:text]]]
        </mj-text>
      </mj-column>
    </mj-section>

    <mj-section padding="20px" background-color="#F6F4EE">
      <mj-column>
        <mj-divider border-width="2px" border-color="lightgrey" />
      </mj-column>
    </mj-section>

    <mj-section
      padding="20px"
      background-color="#ffffff"
      border-radius="10px"
    >
      <mj-column>
        <mj-text font-size="16px" color="#142D6F" line-height="1.6">
            [[[Main content]]]
        </mj-text>
      </mj-column>
    </mj-section>

    <mj-section padding="20px" background-color="#F6F4EE">
      <mj-column>
        <mj-divider border-width="2px" border-color="lightgrey" />
      </mj-column>
    </mj-section>

    <mj-section
      padding="20px 0"
      background-color="#ffffff"
      border-radius="10px"
    >
      <mj-column>
        <mj-text color="#142D6F"> [[[Footer Left]]] </mj-text>
      </mj-column>

      <mj-column>
        <mj-text color="#142D6F"> [[[Footer Right]]] </mj-text>
      </mj-column>
    </mj-section>

    <mj-section>
      <mj-column>
        <mj-text align="center">
          <a href="{{ unsubscribeUrl }}" color="#648BEF">Unsubscribe</a>
        </mj-text>
      </mj-column>
    </mj-section>
  </mj-body>
</mjml>
I have added some more CSS classes, adjusted the padding, background colours and font weights. I also added a couple of dividers and a section with the unsubscribe link.
Once you’re happy with your design, compile the input.mjml file to generate the HTML code we can use in Mailcoach by running the following command in the terminal:
npx mjml input.mjml -o output.html
If you have installed MJML globally, you don’t need to run it via npx.
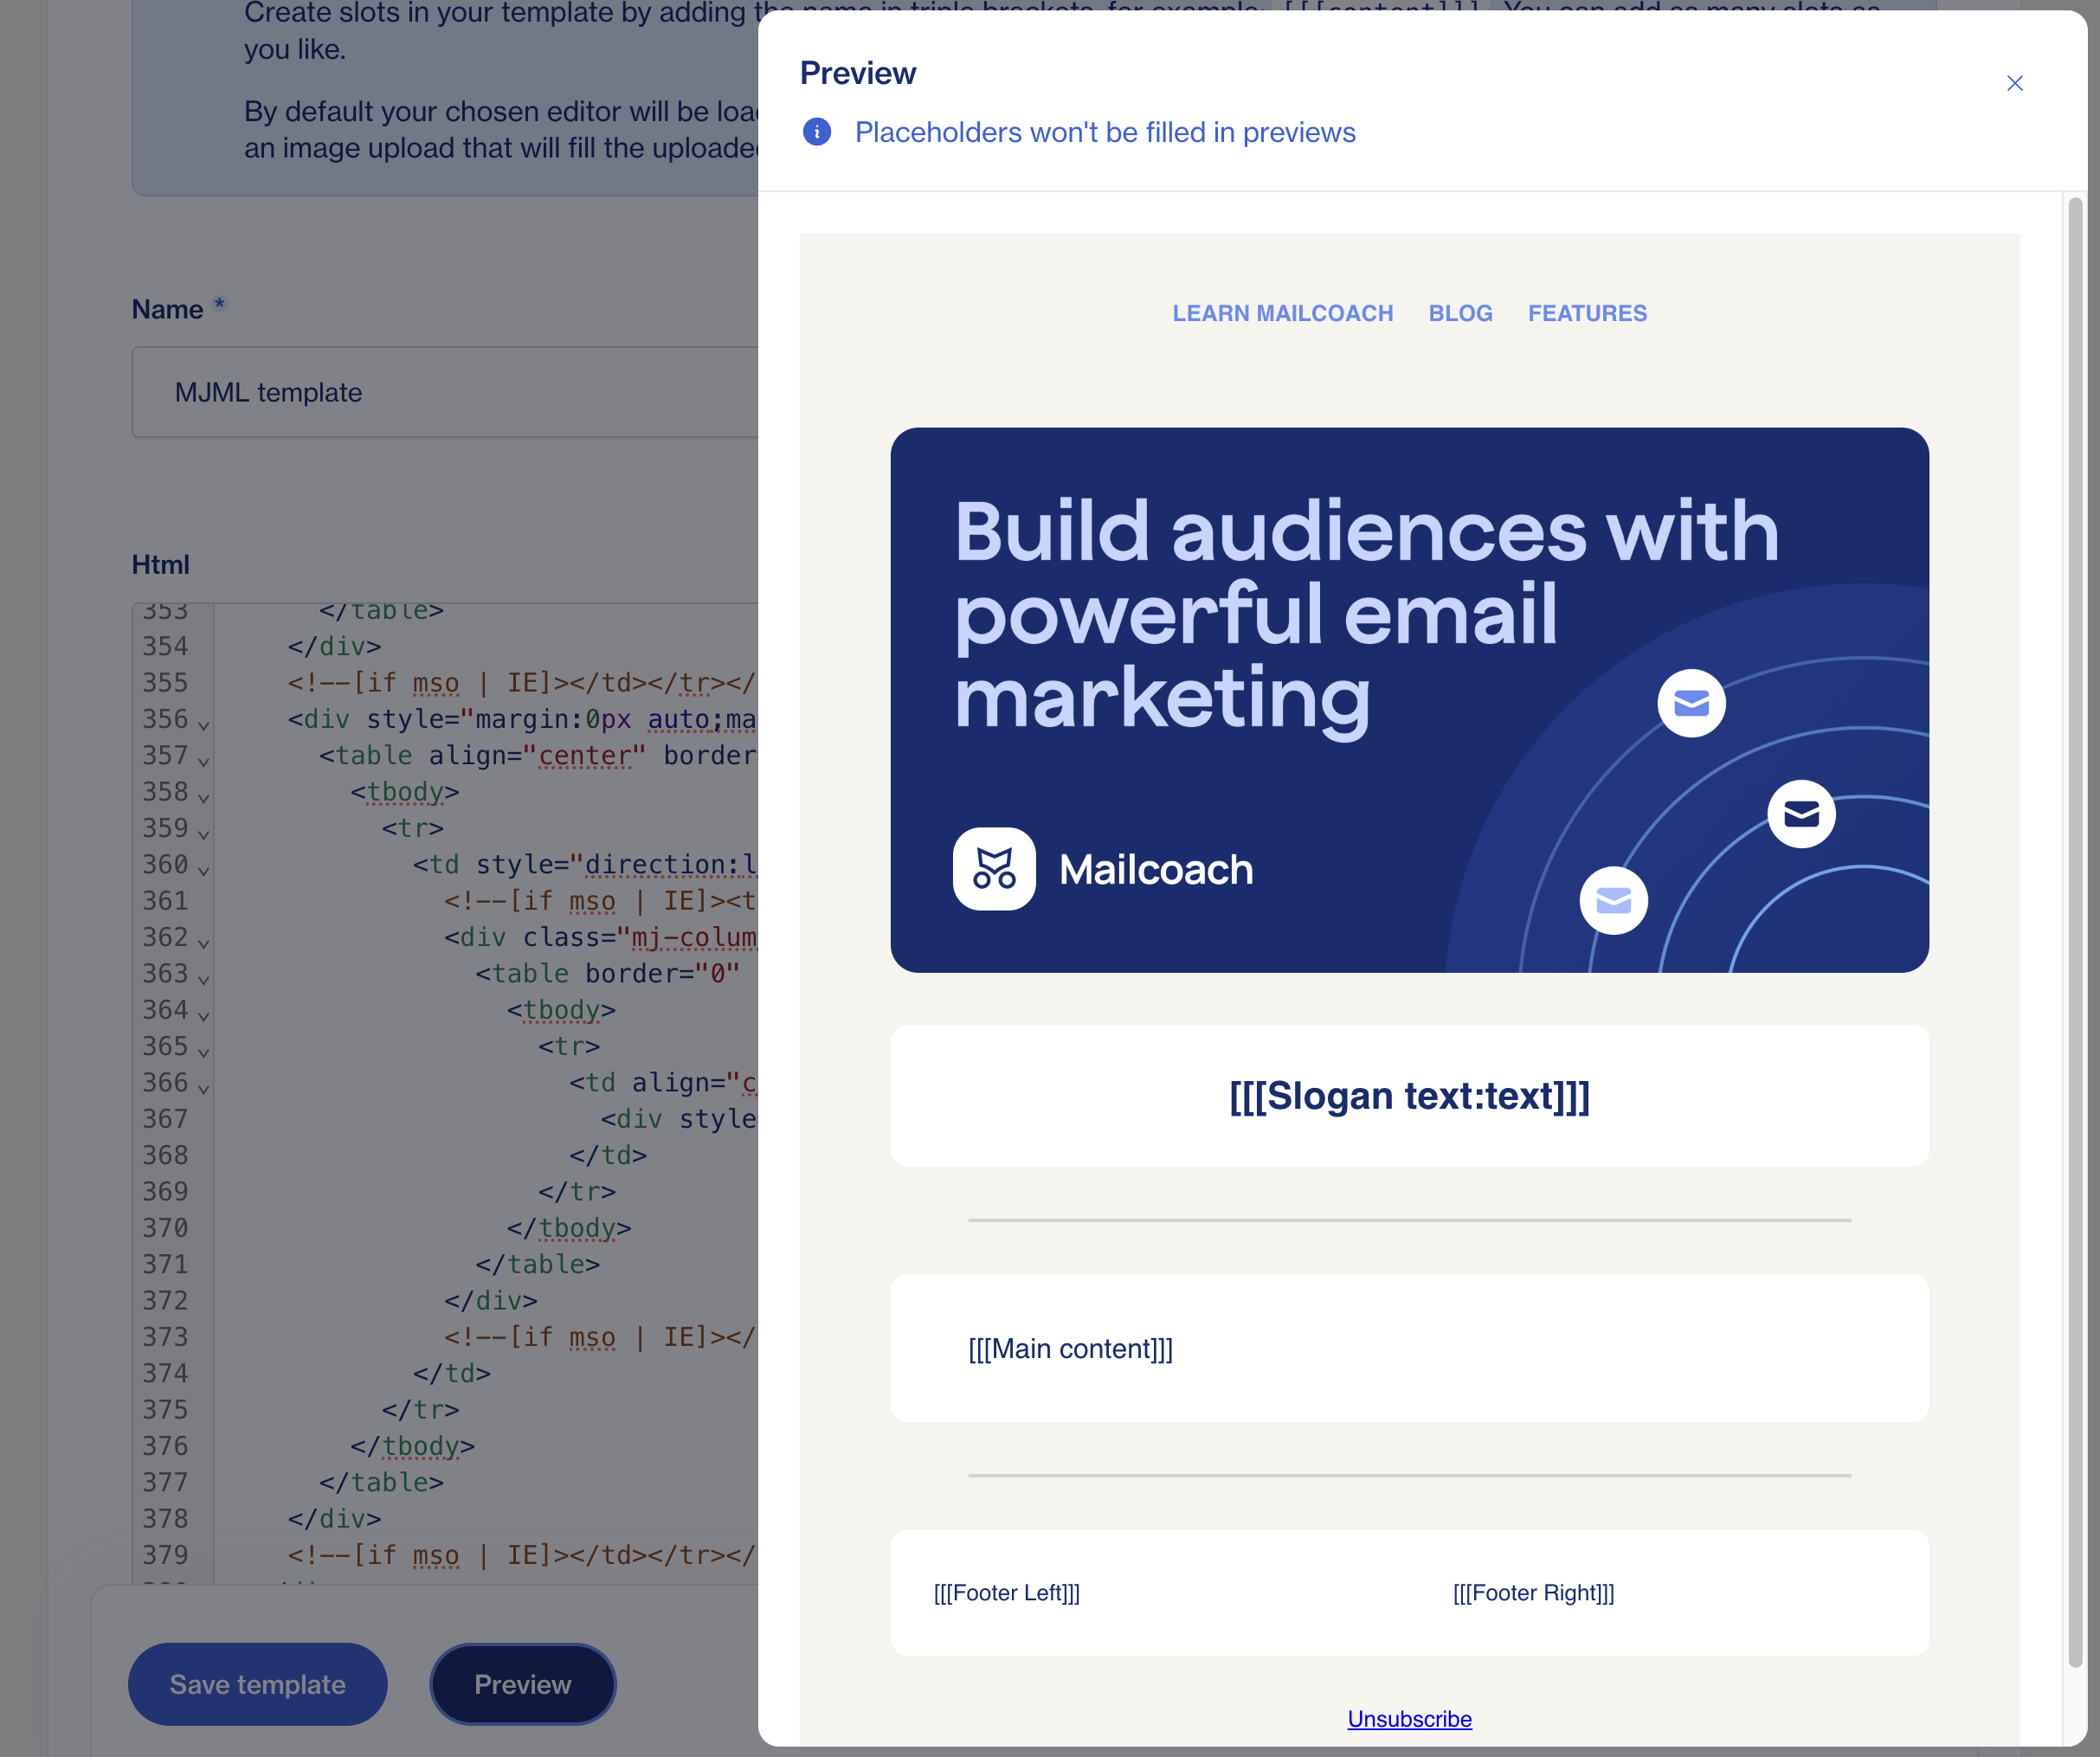
Copy the content of output.html and paste it into a new template in Mailcoach. You can preview your new template directly from the template page.

When you’re ready to send your campaign, select the MJML template and add your content, and send a test campaign.
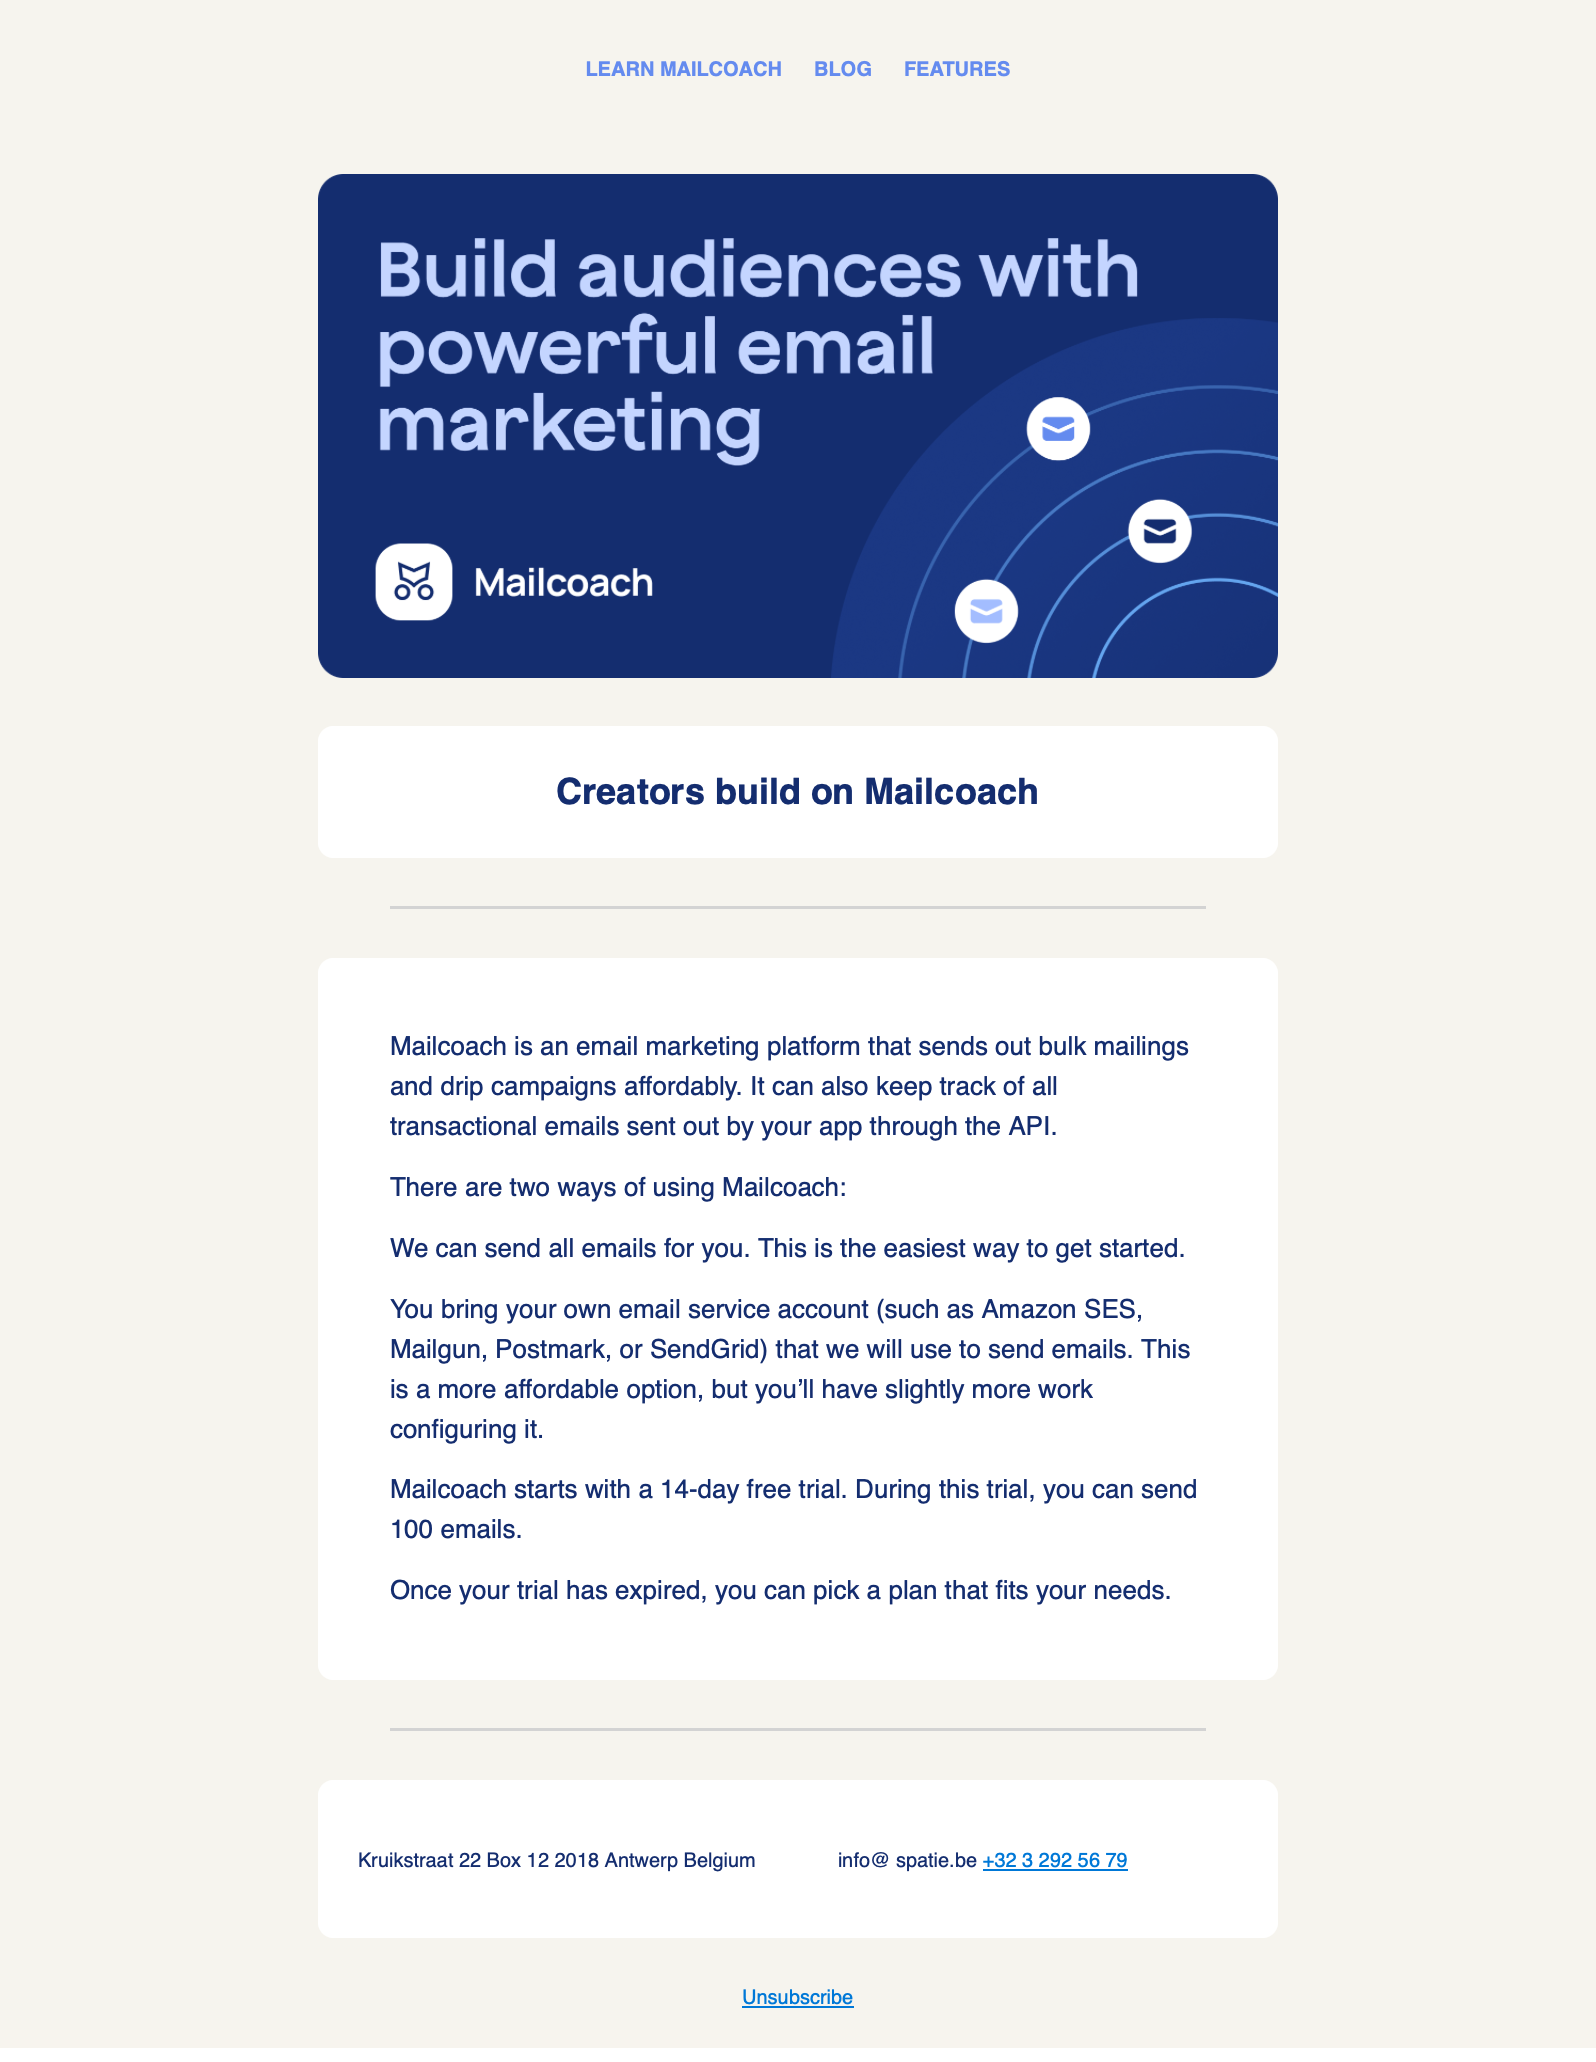
And this is the final result:

Conclusion
Congratulations! You have just created your first MJML template and used it in your Mailcoach campaign.
Now that you’ve built a simple custom template, feel free to explore the MJML website for more components or the existing templates. You can customize them, add Mailcoach placeholders where needed, and adjust the layout in any way you see fit.
As you can see, creating beautiful and responsive email templates can be enjoyable with the right tools!