Writing a newsletter in Markdown on Mailcoach
Mailcoach offers a WYSIWYG editor that allows you to write without technical knowledge. If you want to have more control, you can use the HTML editor.
If you have a developer background, there’s a high chance that you are familiar with Markdown, a simplified version of HTML. Using our Markdown editor, you can easily add links and other Markdown to any content. As a bonus, our Markdown editor also provides automatic code highlighting for hundreds of programming languages.
In this blog post, I’d like to show our Markdown editor and how I use it to write my own freek.dev newsletter.
Introducing the freek.dev newsletter
Let’s first take a look at how the freek.dev newsletter looks like. First, we have a general intro, followed by the meat of my newsletter: a bunch of interesting links for people interested in Laravel, PHP, and JavaScript.
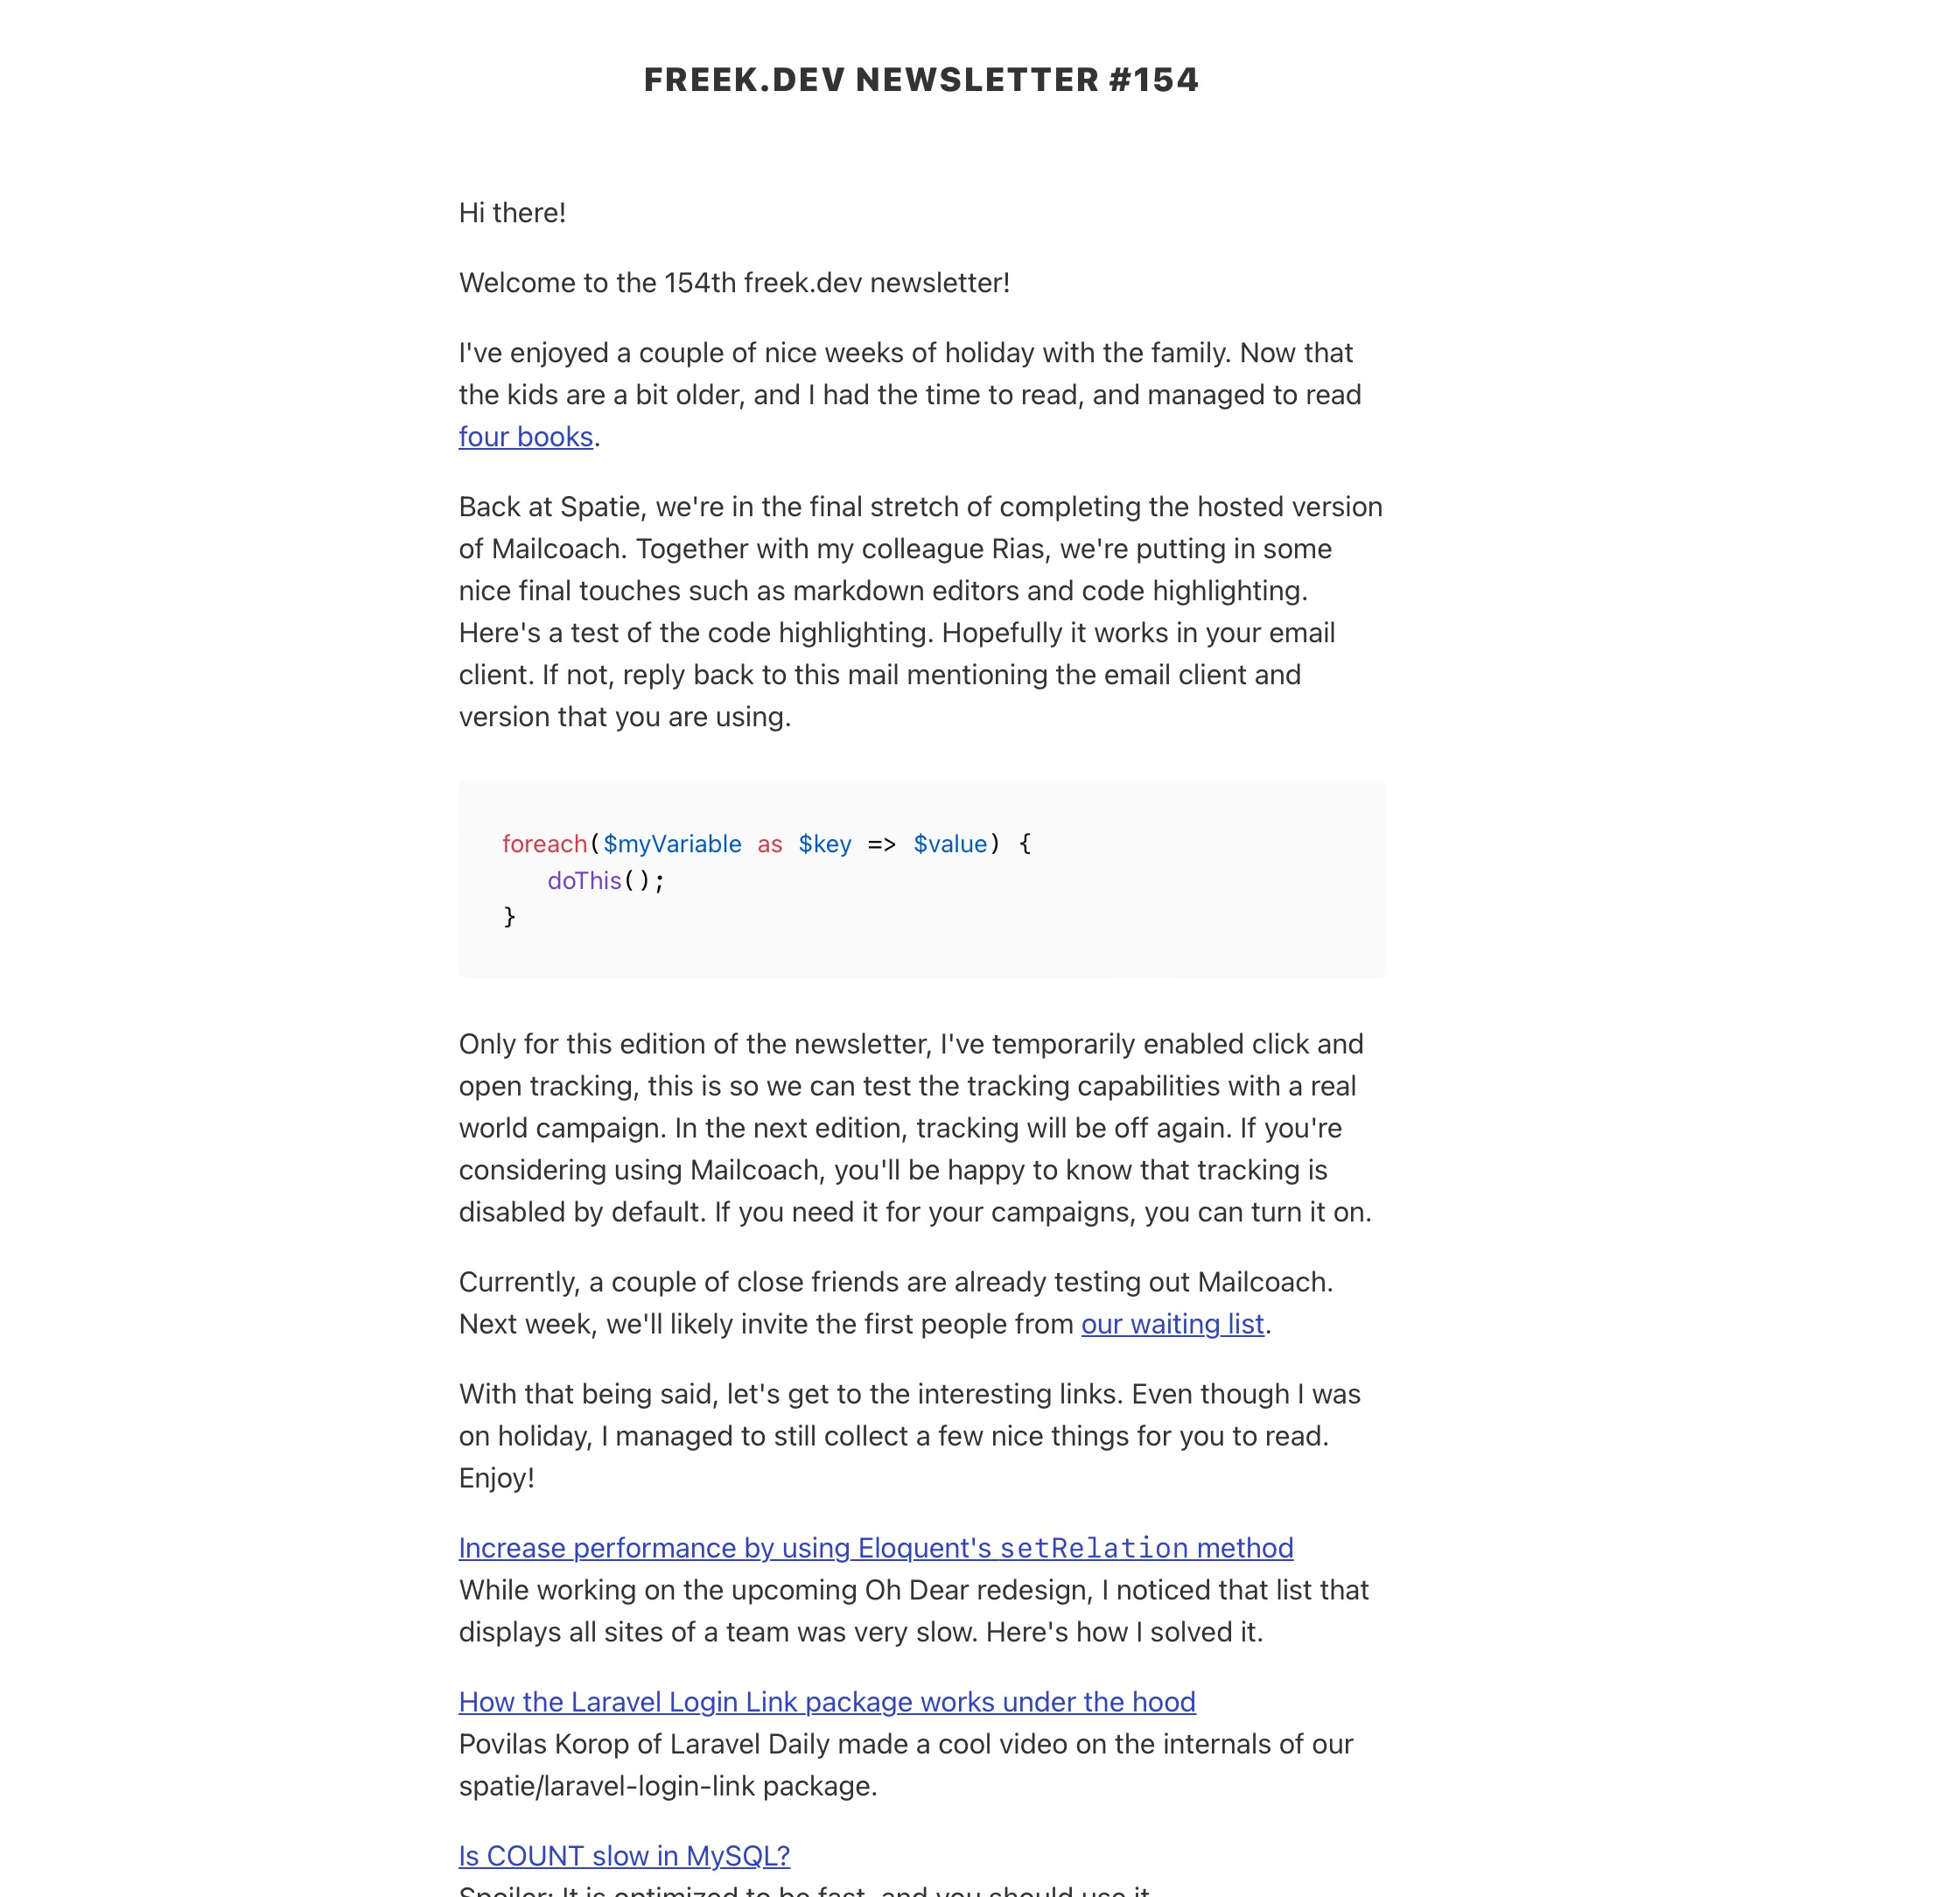
You can see the online version of the newsletter in the newsletter archive. In the screenshot above, you’ll see that the code snippet is highlighted. This is automatically done via Mailcoach.
How the newsletter is made
When you create your Mailcoach account, you can see that we have already added a “Default” template.
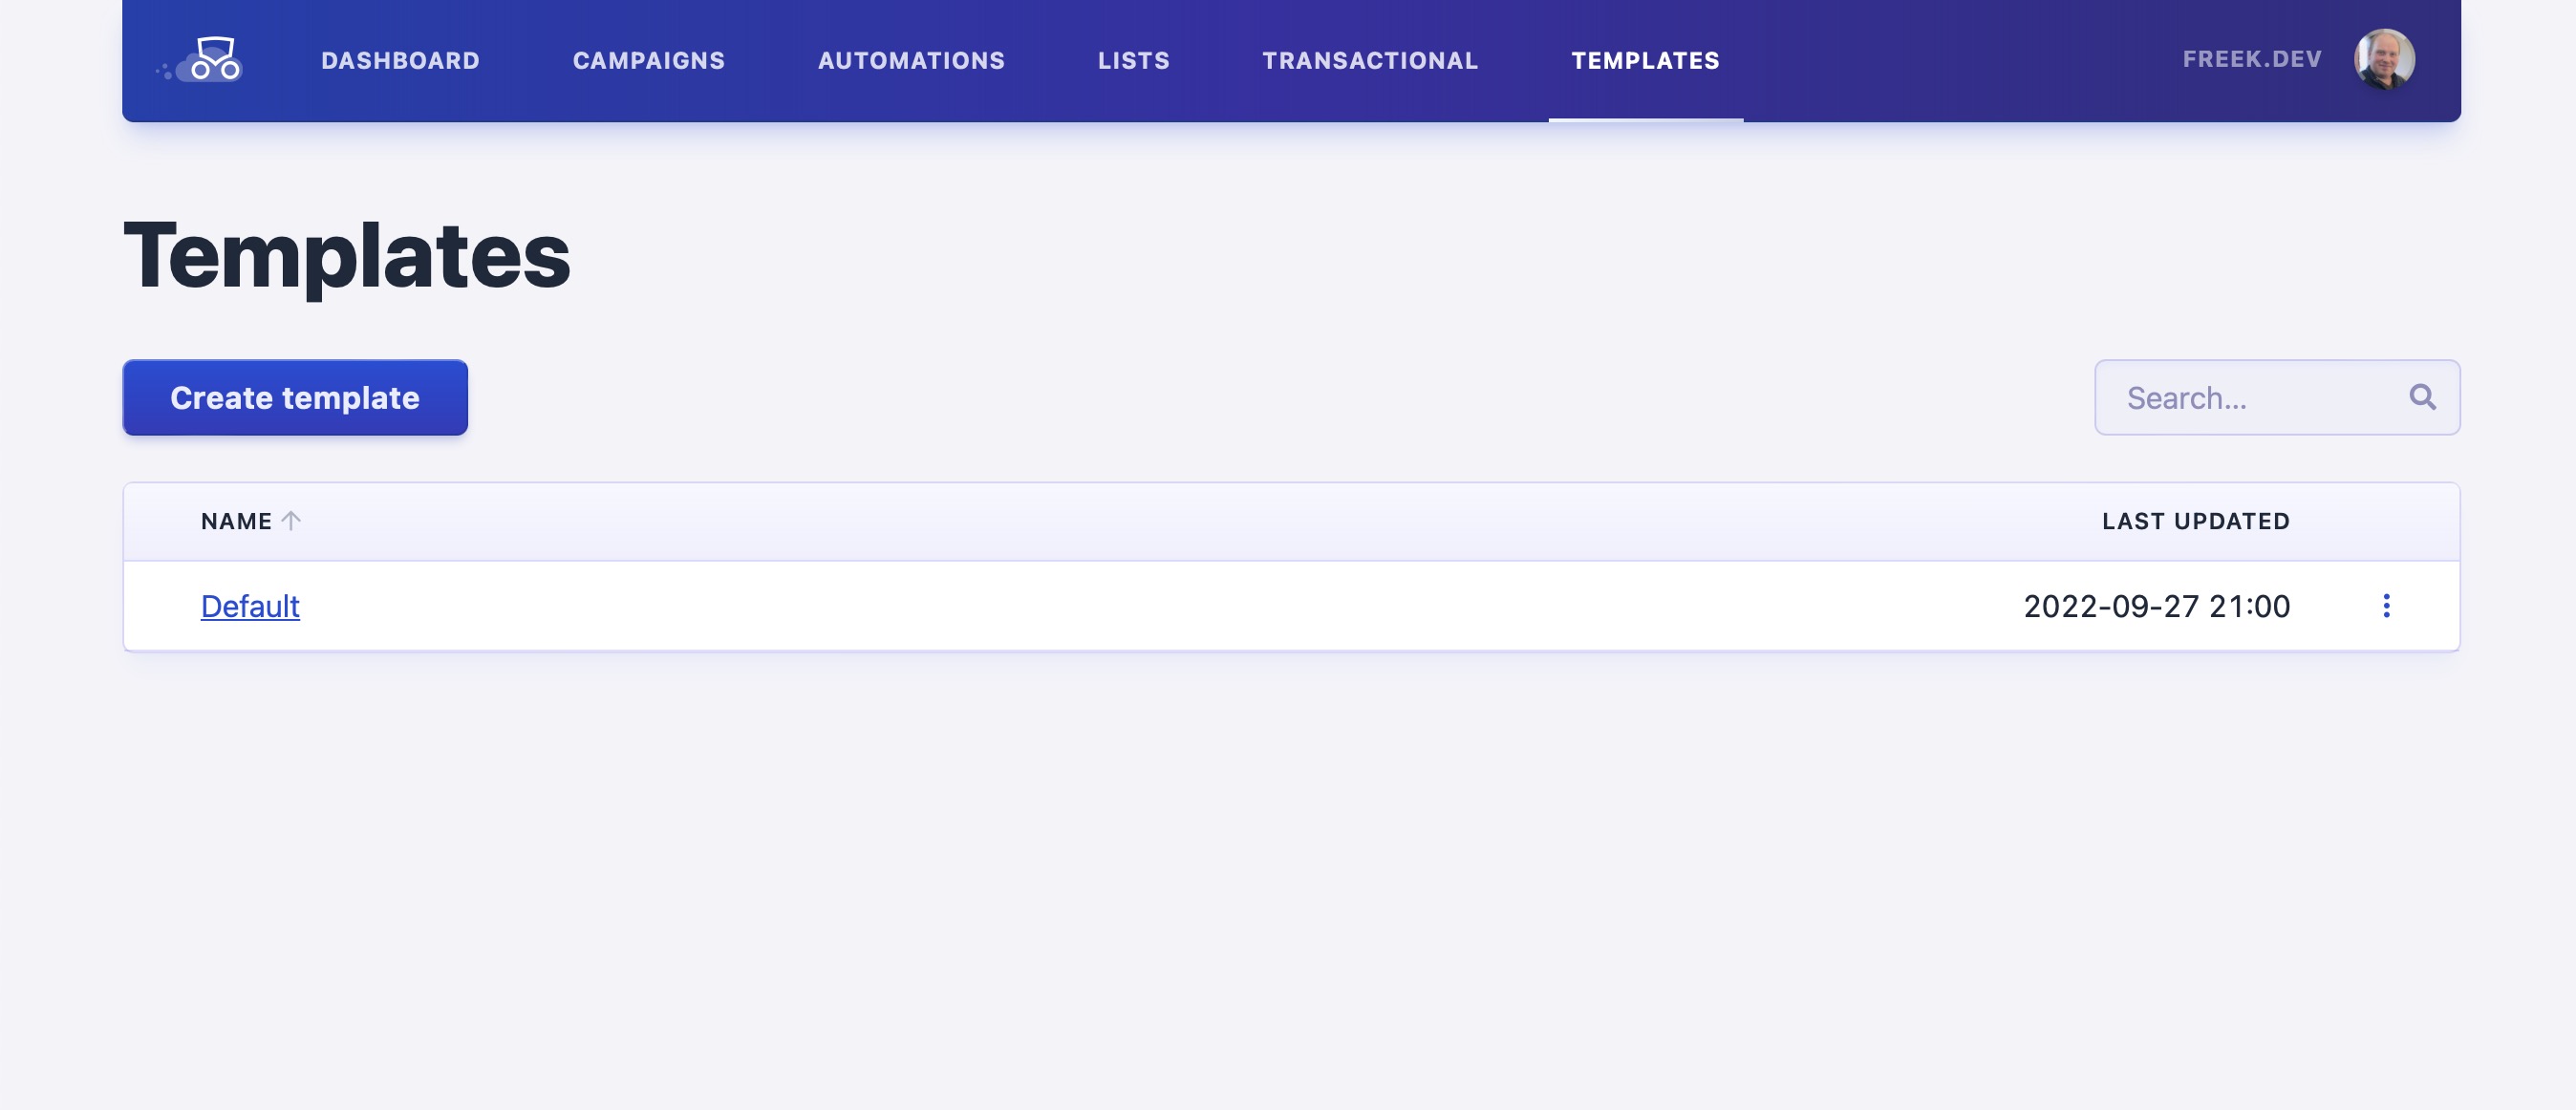
A template provides the “skeleton” of a mail. You can compare it to a regular app’s “layout” file. It contains basic HTML tags like <html> and some styling that already looks good. You can add placeholders you need to fill in when using the template as the basis for a campaign. In this screenshot, you’ll see the title and content placeholders.

If you head into your account settings, you can see the preferred way of editing; you should choose “Markdown” here.
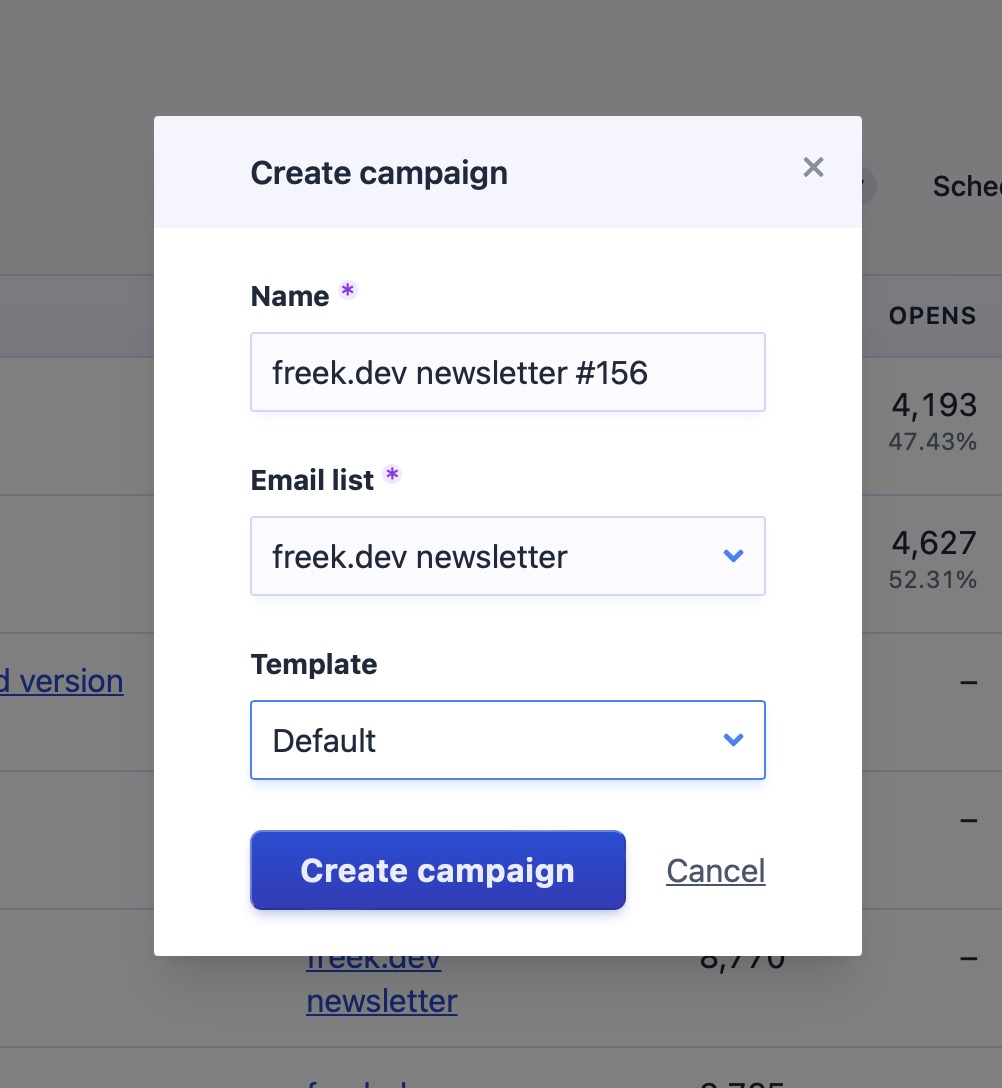
When creating a campaign, you can use the “Default” template.
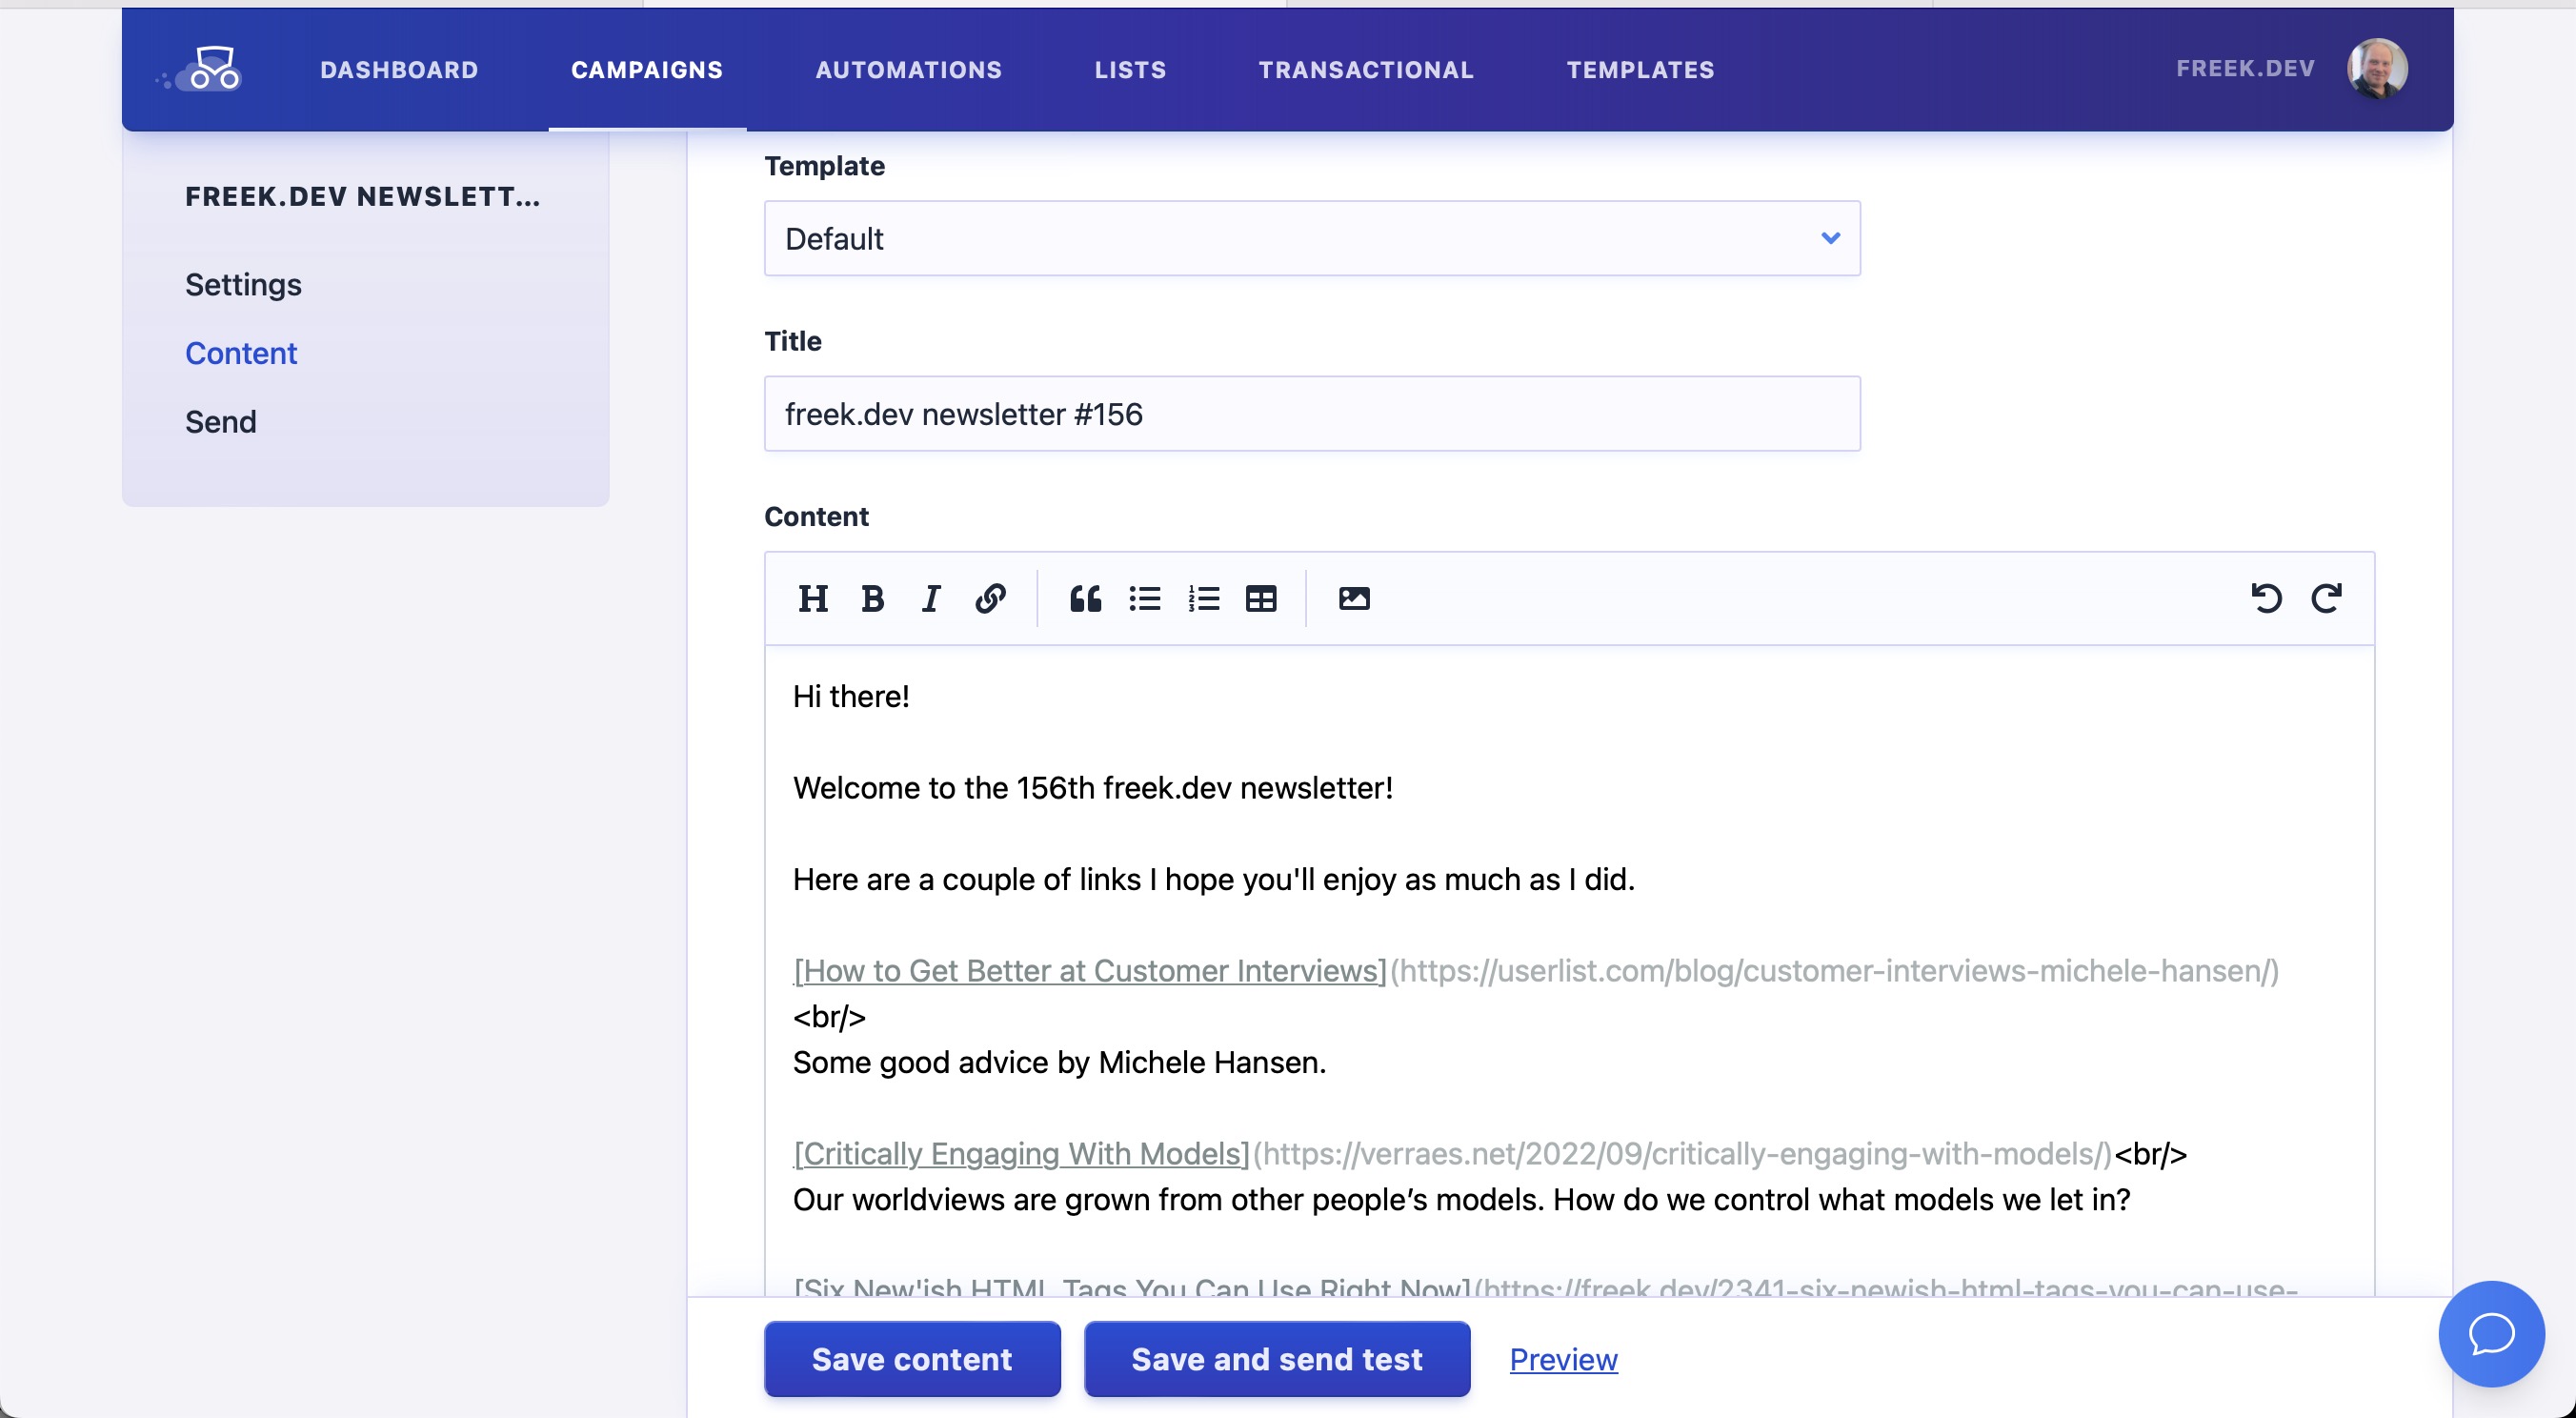
Continuing to editing the content of that campaign, you can see that you can now specify the values of the title and content placeholders.
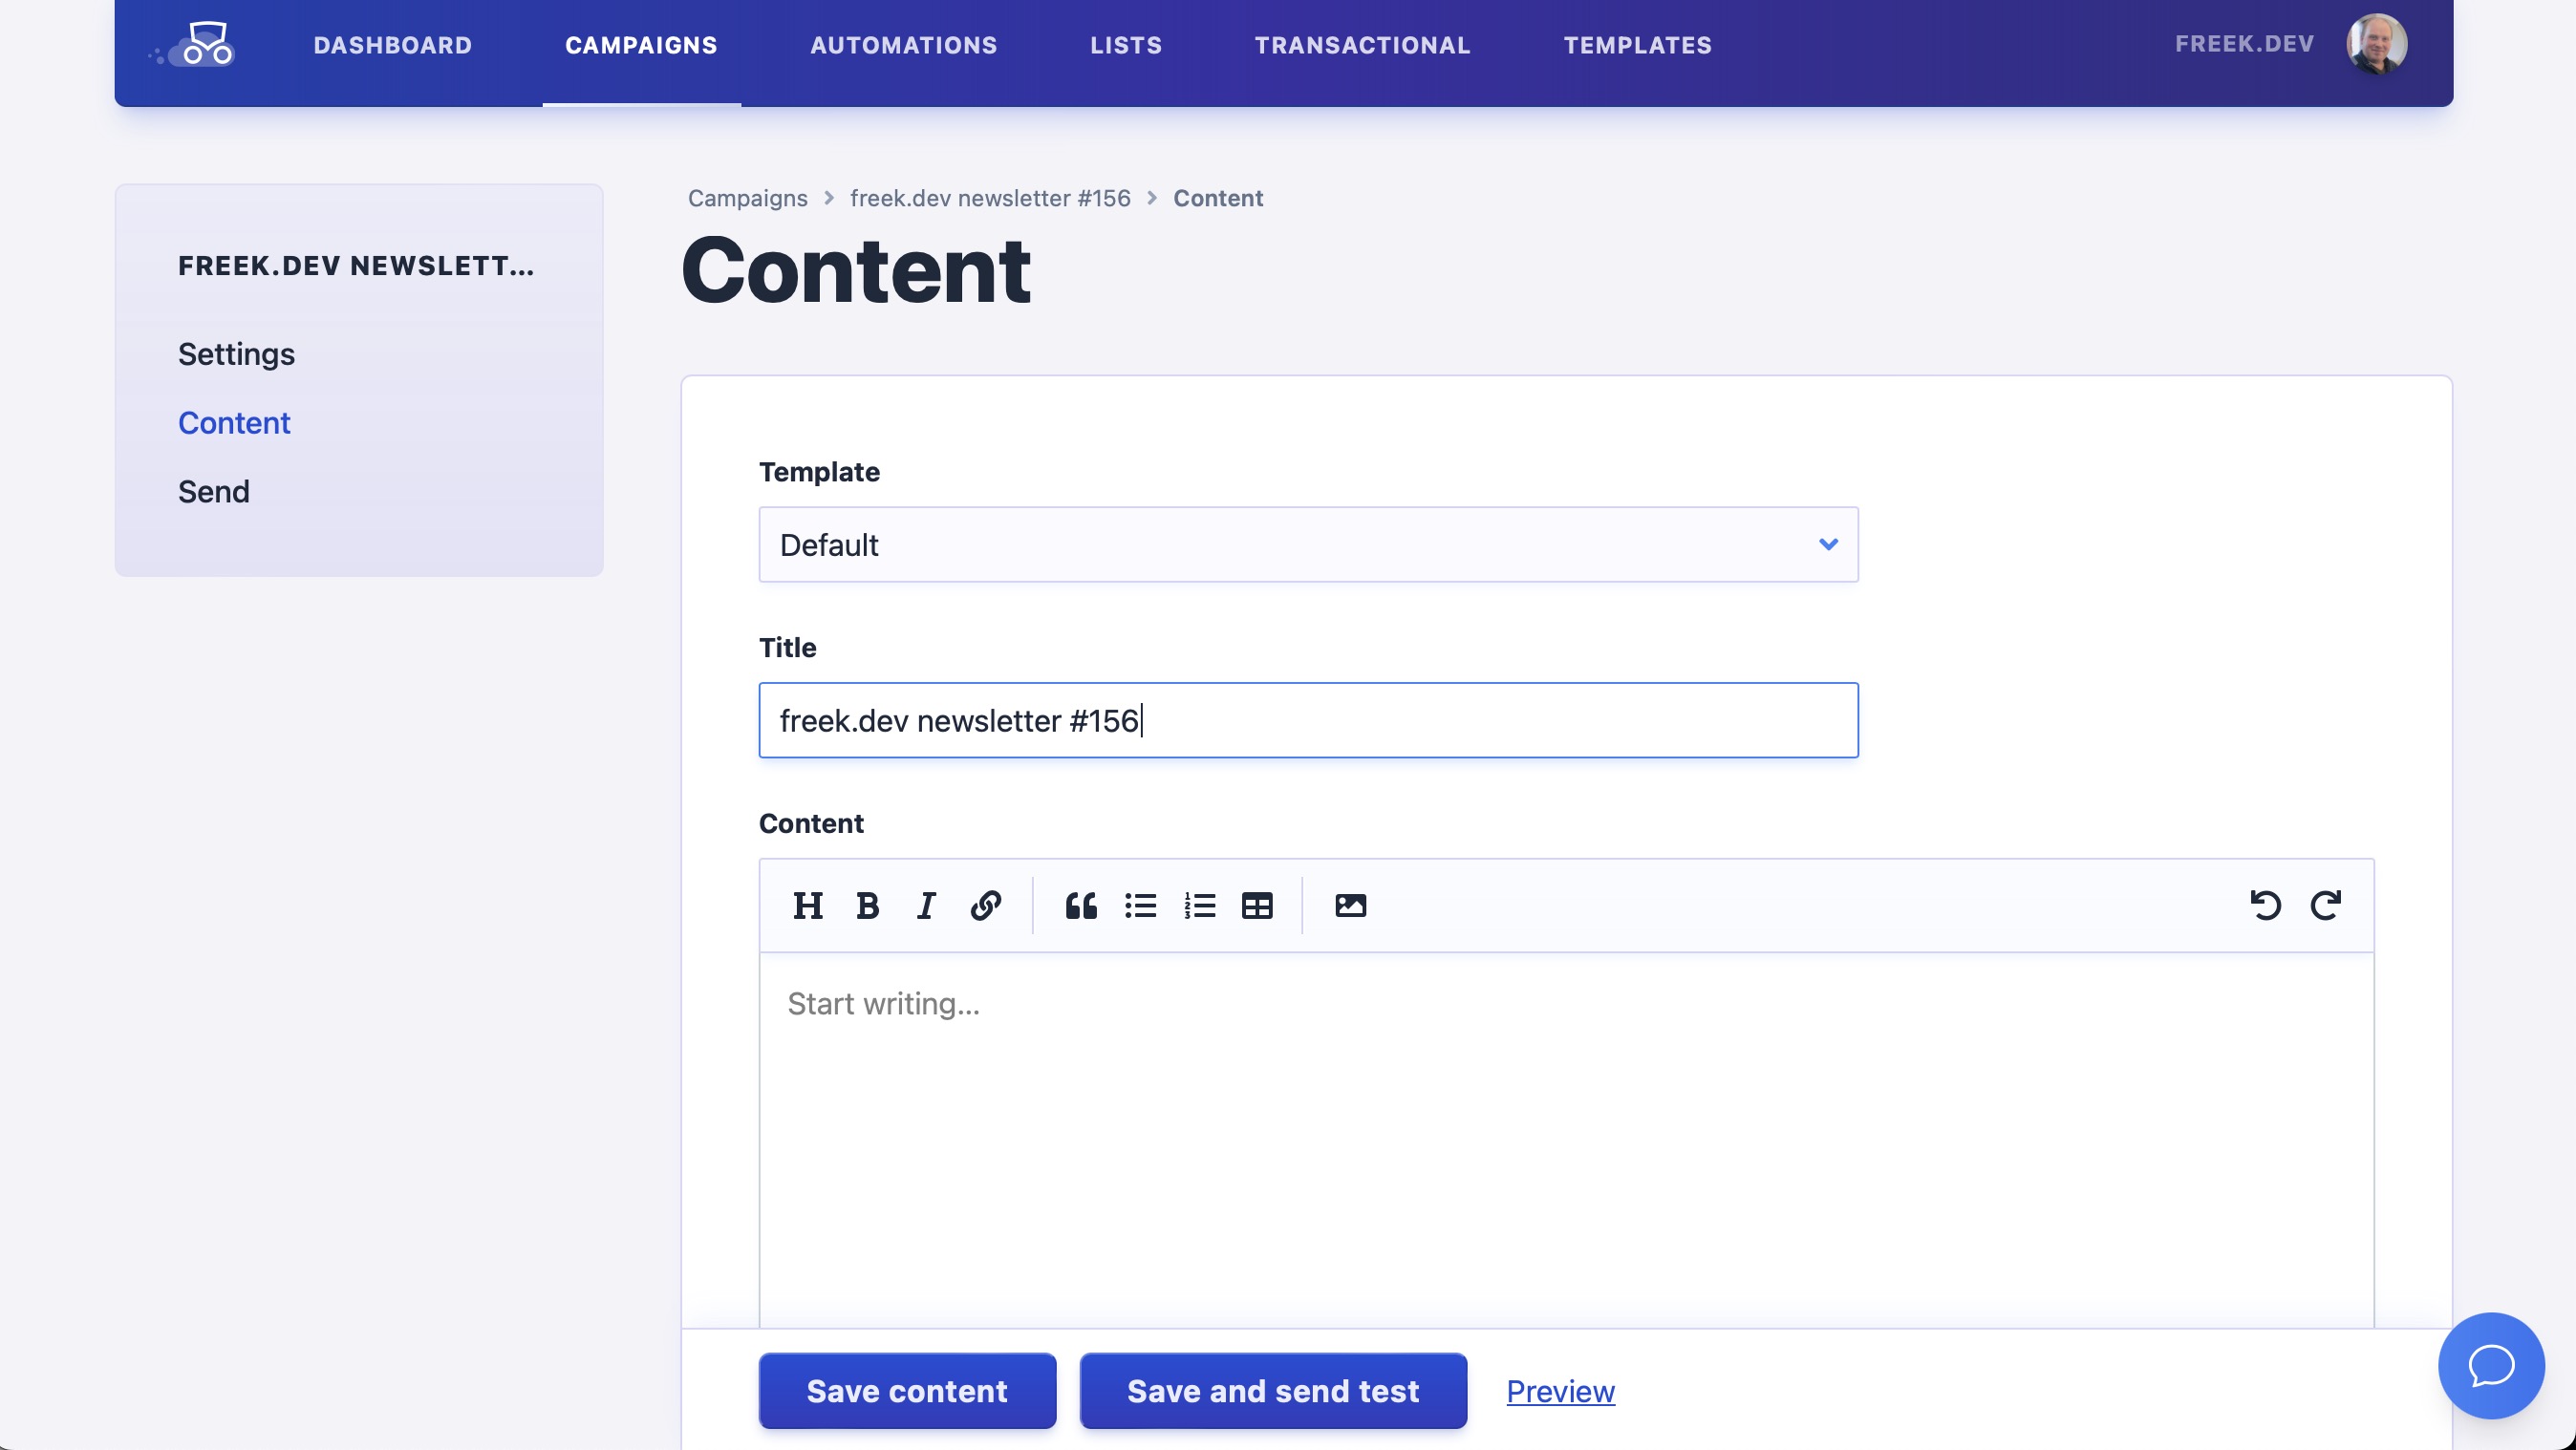
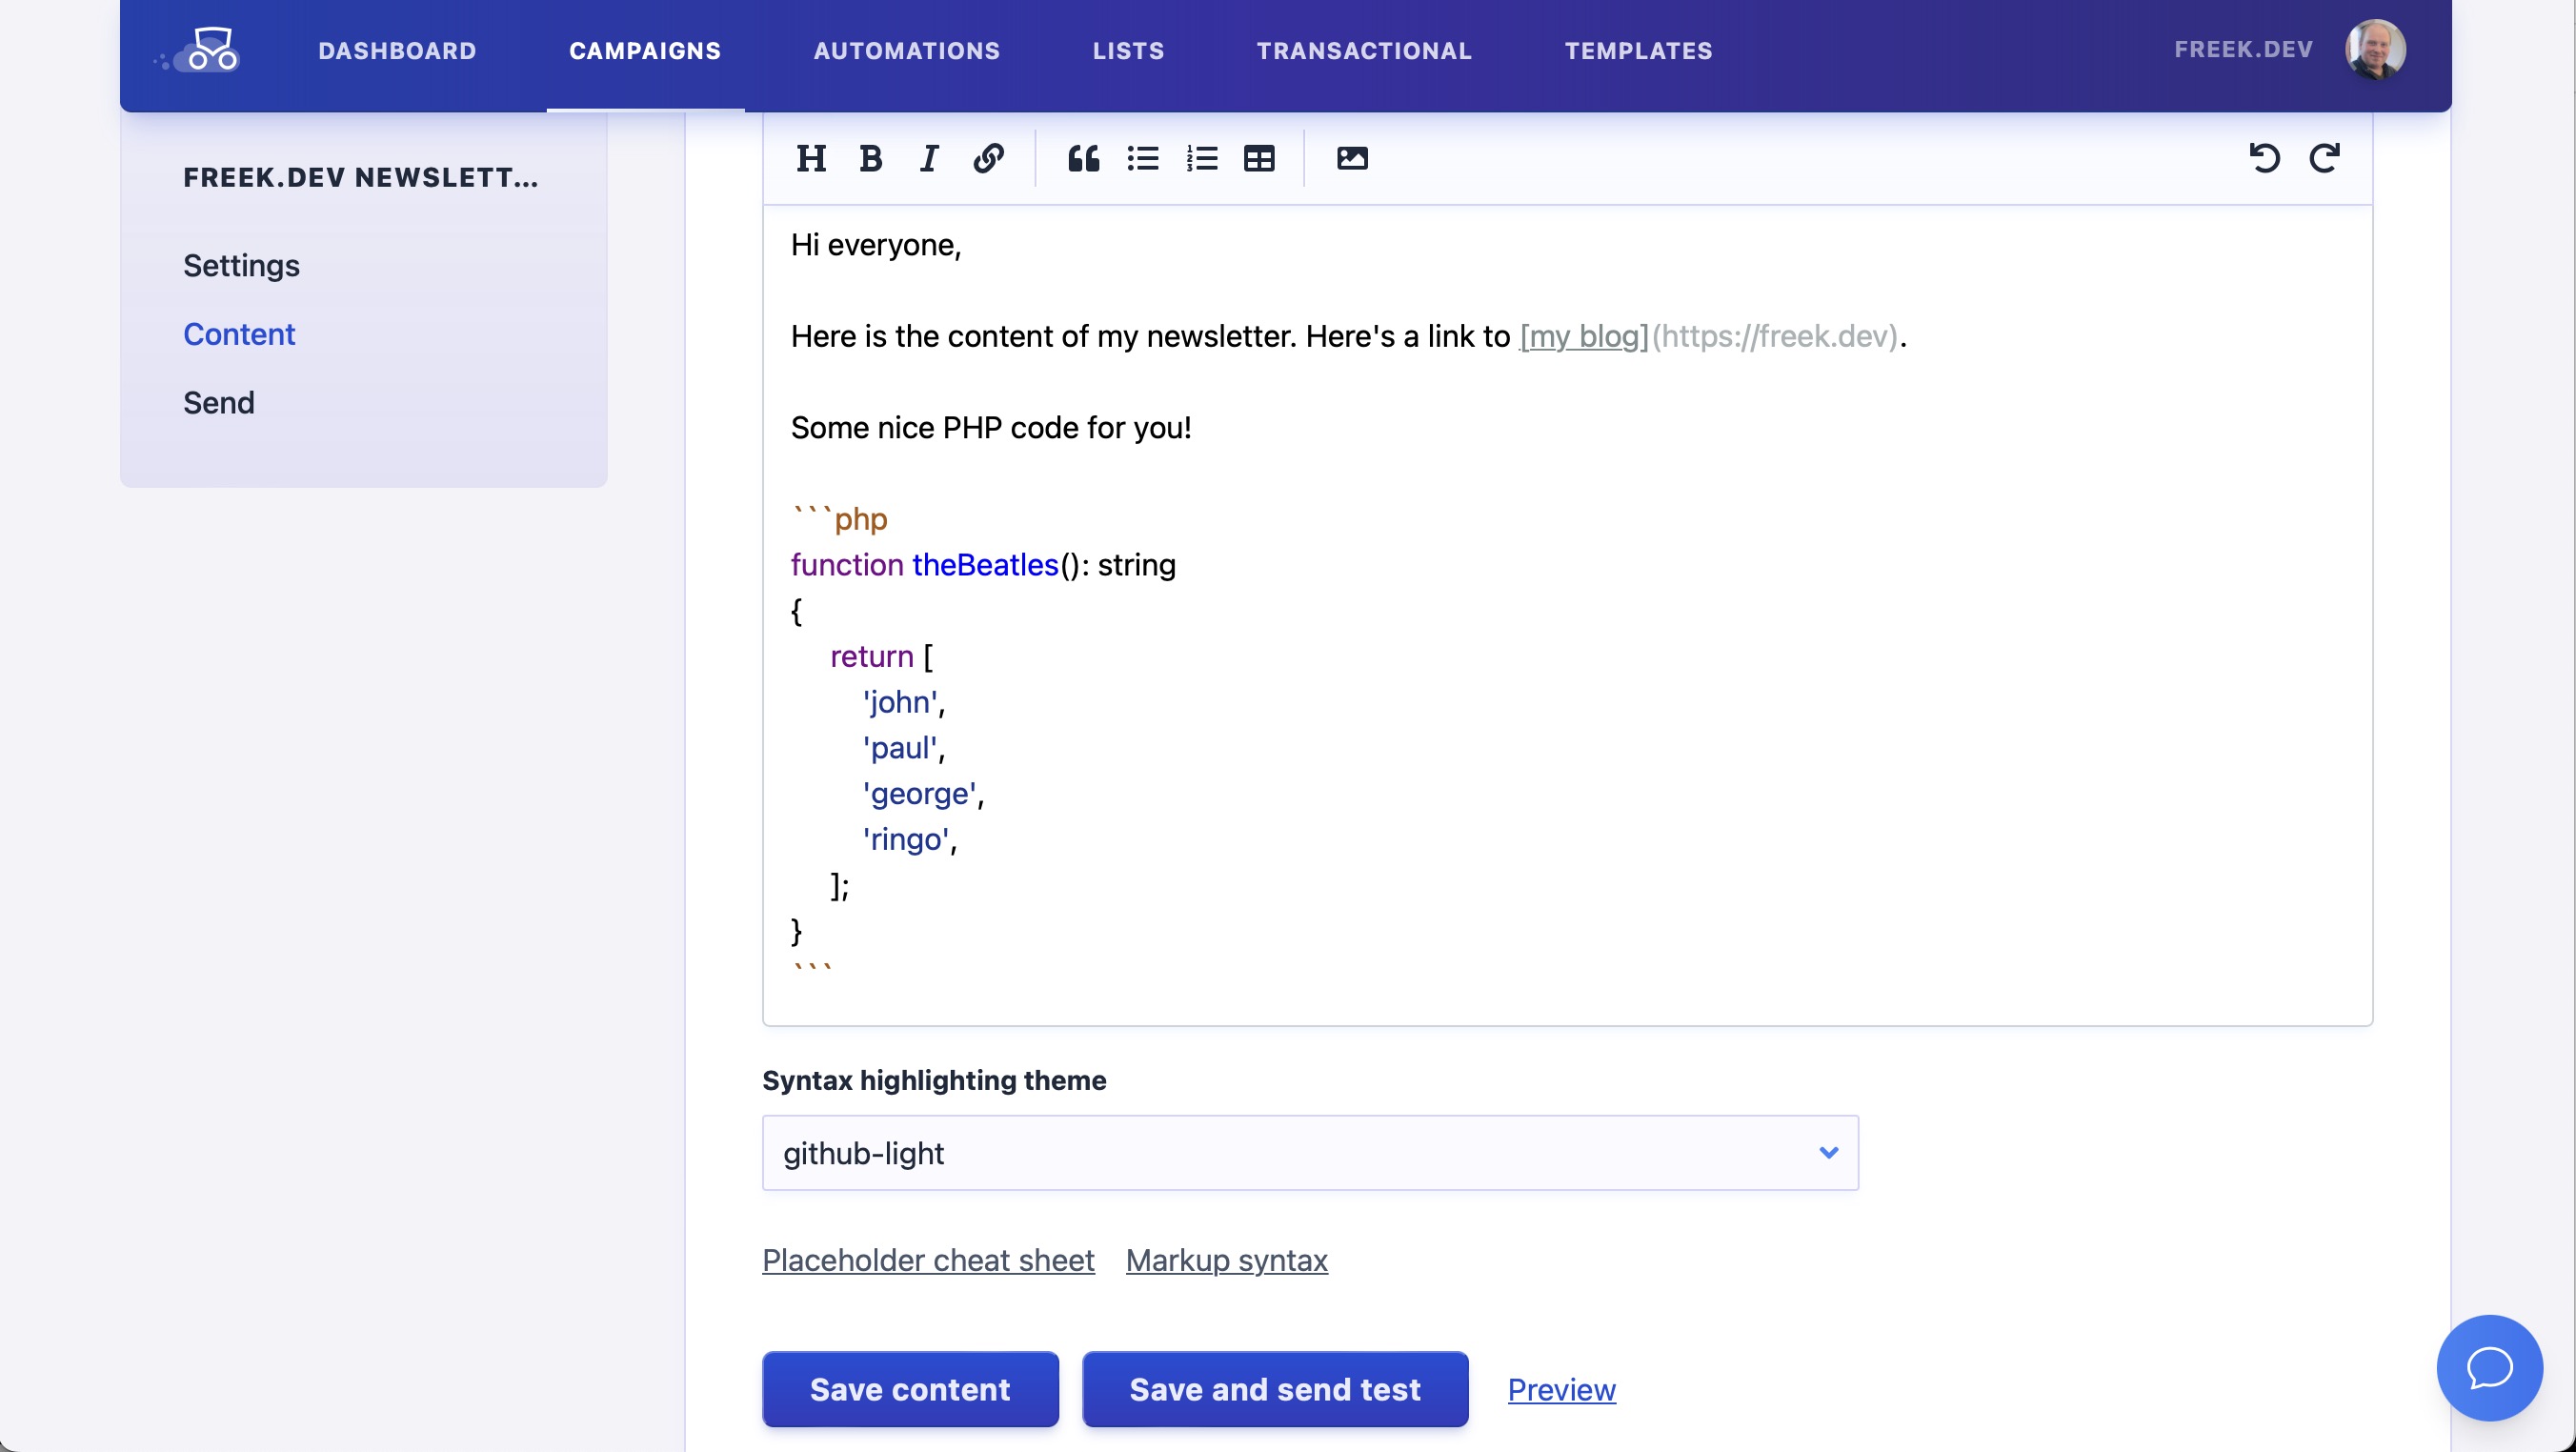
The content field is a full-fledged Markdown editor. You can type Markdown or use the buttons in the toolbar. When you add a code snippet, you’ll see that we highlight the code on the fly.
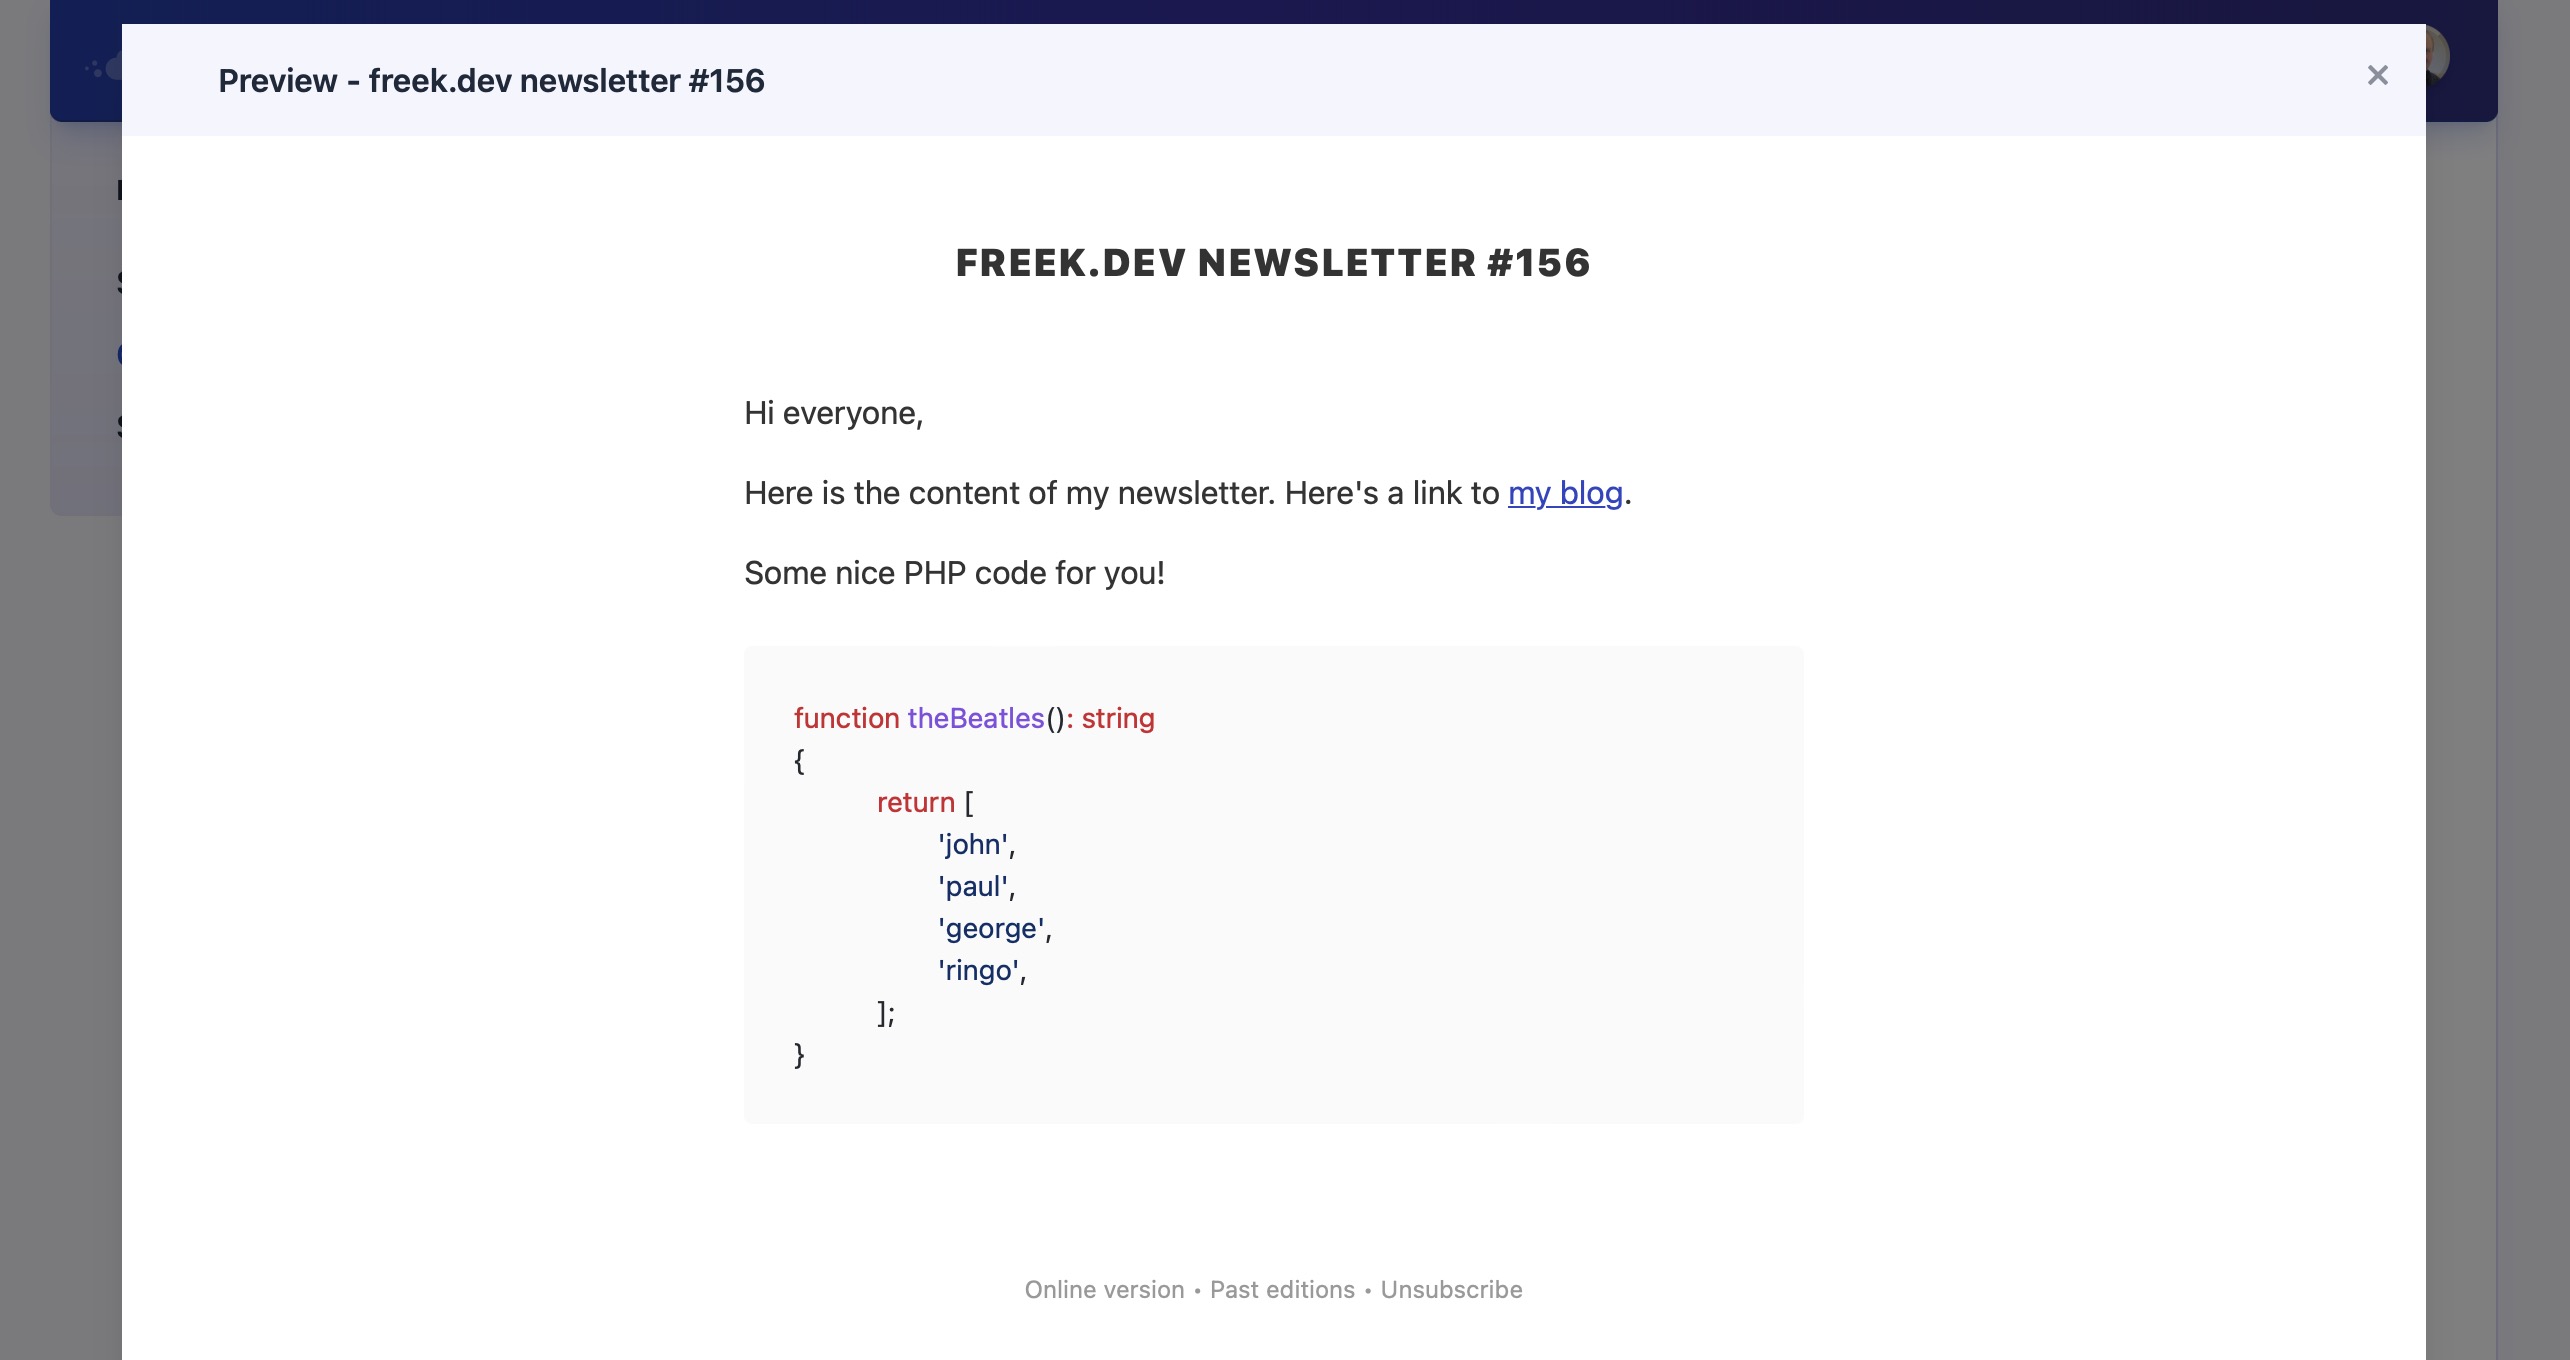
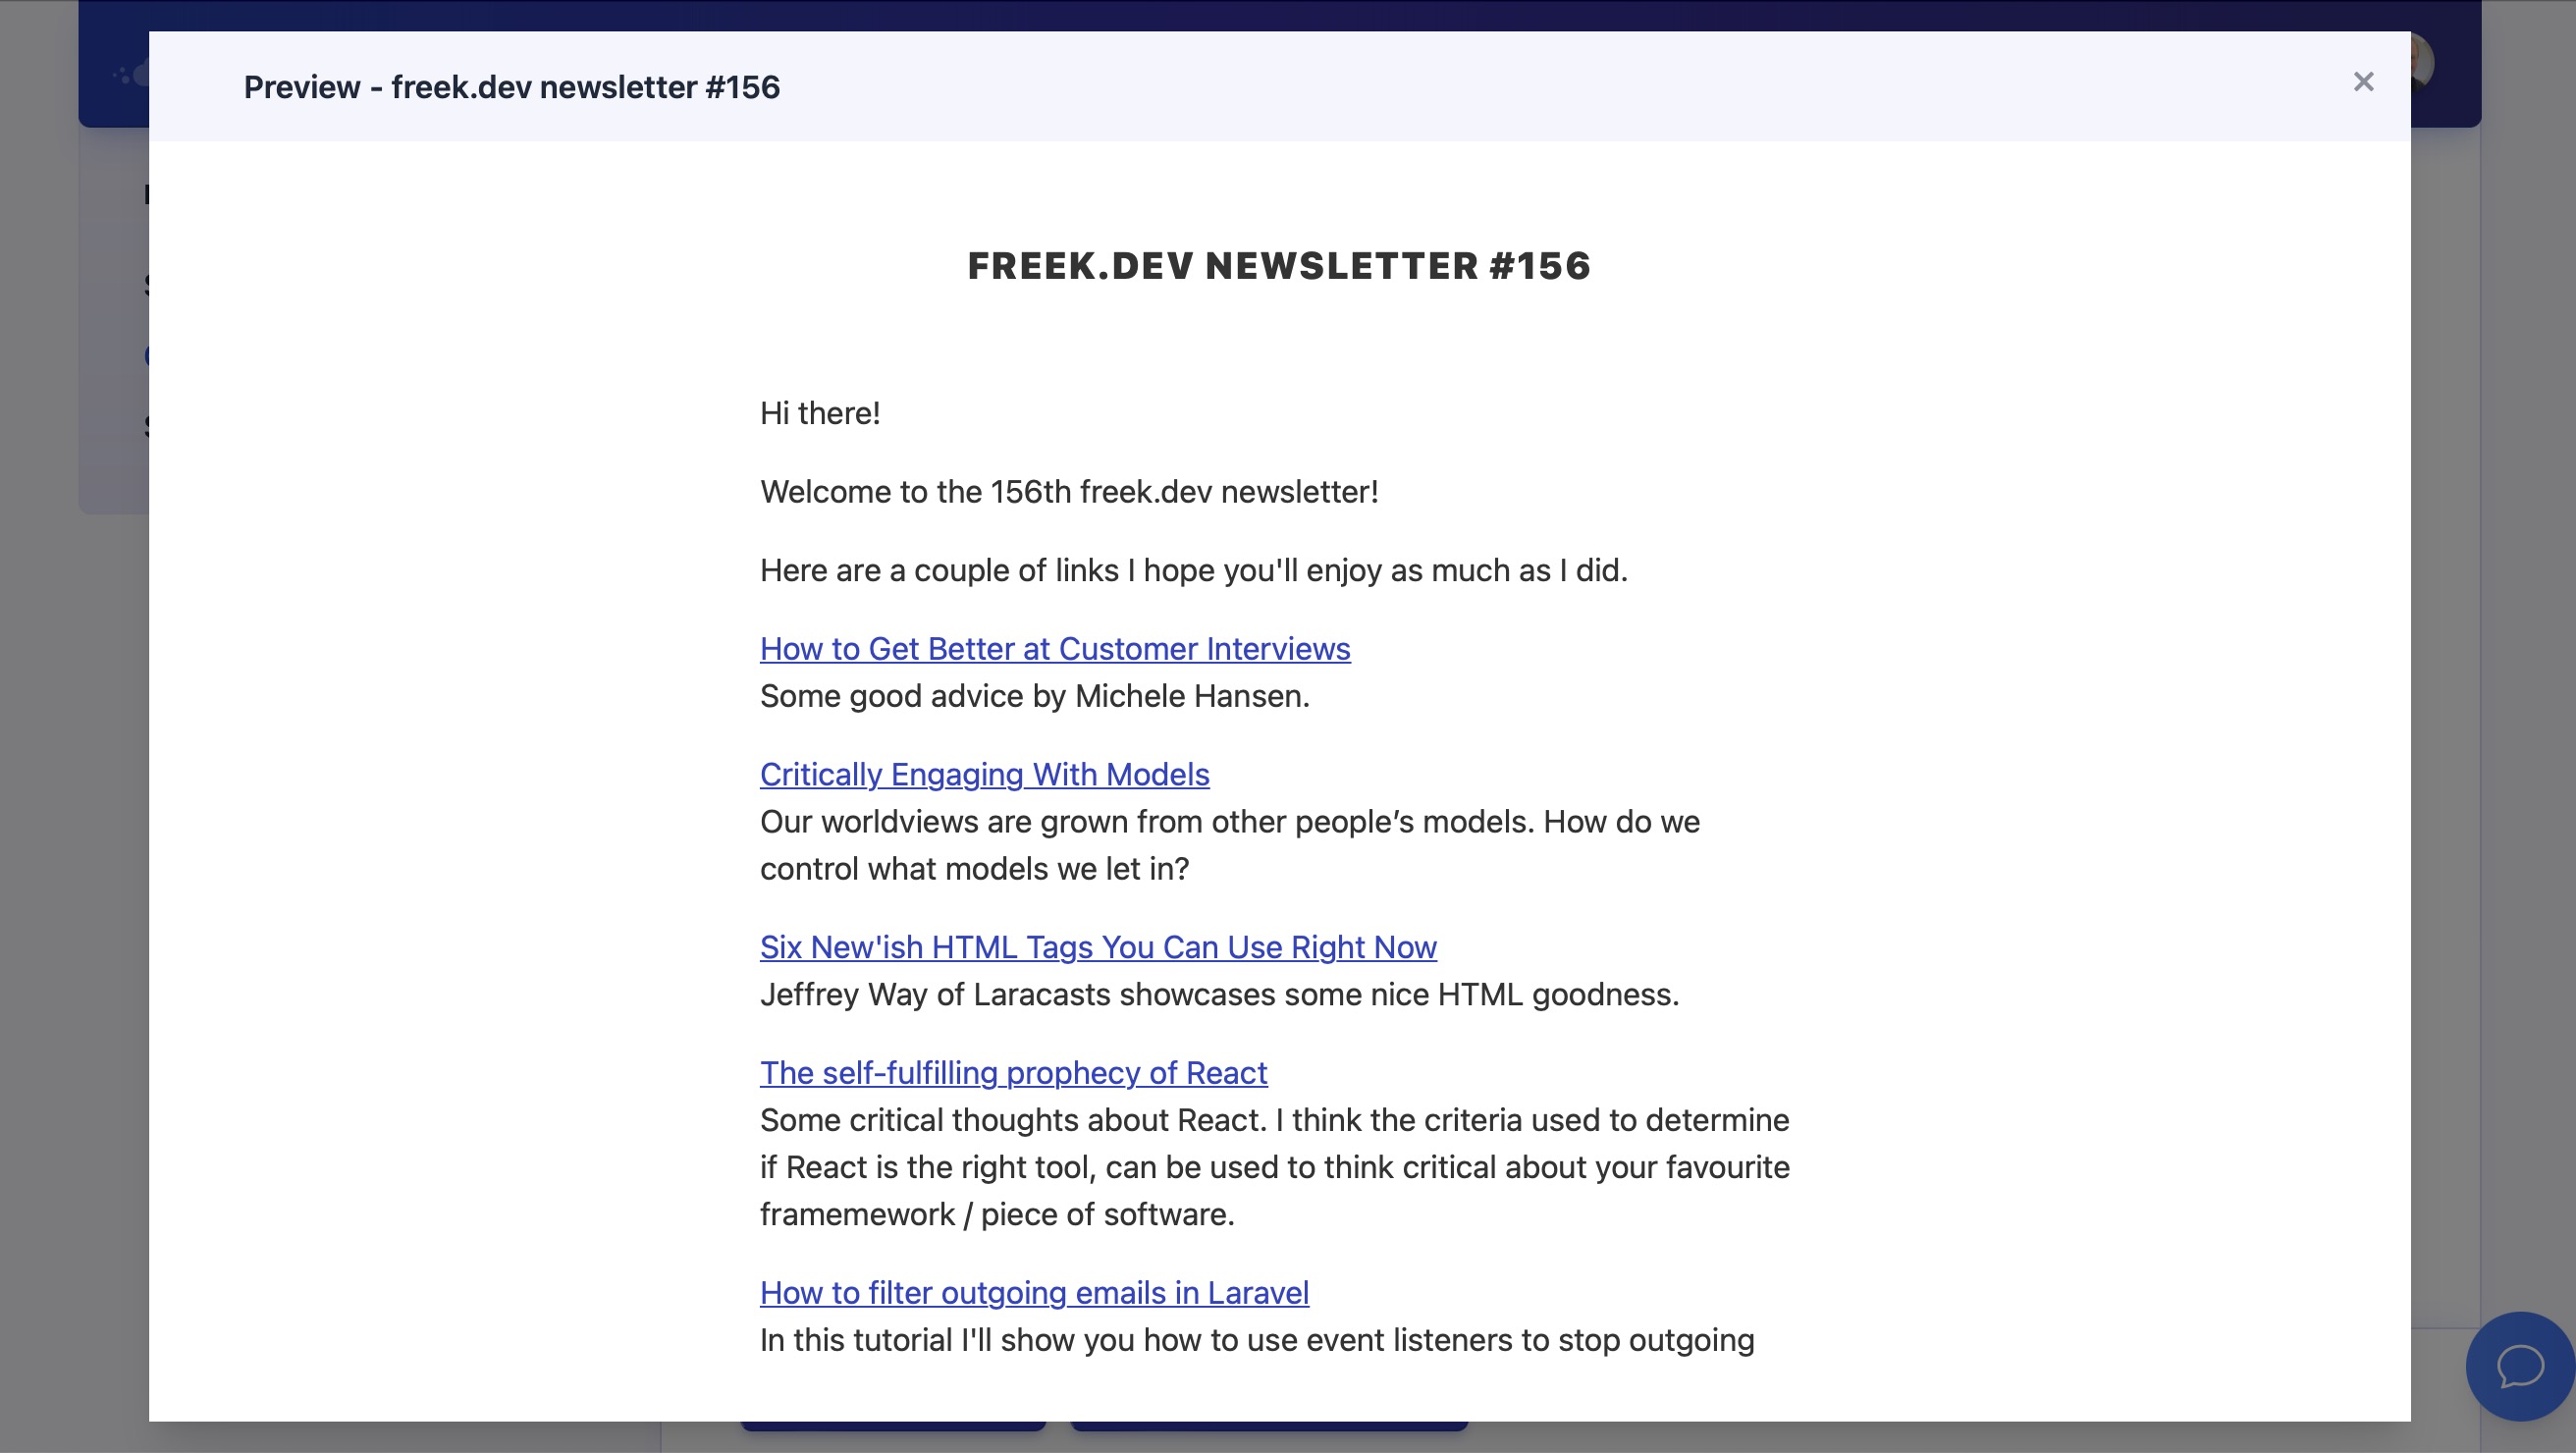
When you preview your campaign, you can see that the Markdown is converted to the HTML, and the code is, of course, highlighted too.
I think using a base template and Markdown works really well. This allows me to concentrate on just writing good content without caring about HTML markup.
Automatically generating content
Most authors will manually write the content of their campaign manually. And that’s fine. Alternatively, you could also use the Mailcoach API to push content. Let’s take a look at an example.
Besides a personal intro, my own newsletter contains links to other people’s blogs. These other links are in the database of freek.dev. Instead of typing these links manually in the content of my newsletter, I generate the content using an Artisan command and use the Mailcoach API to create a newsletter with that content.
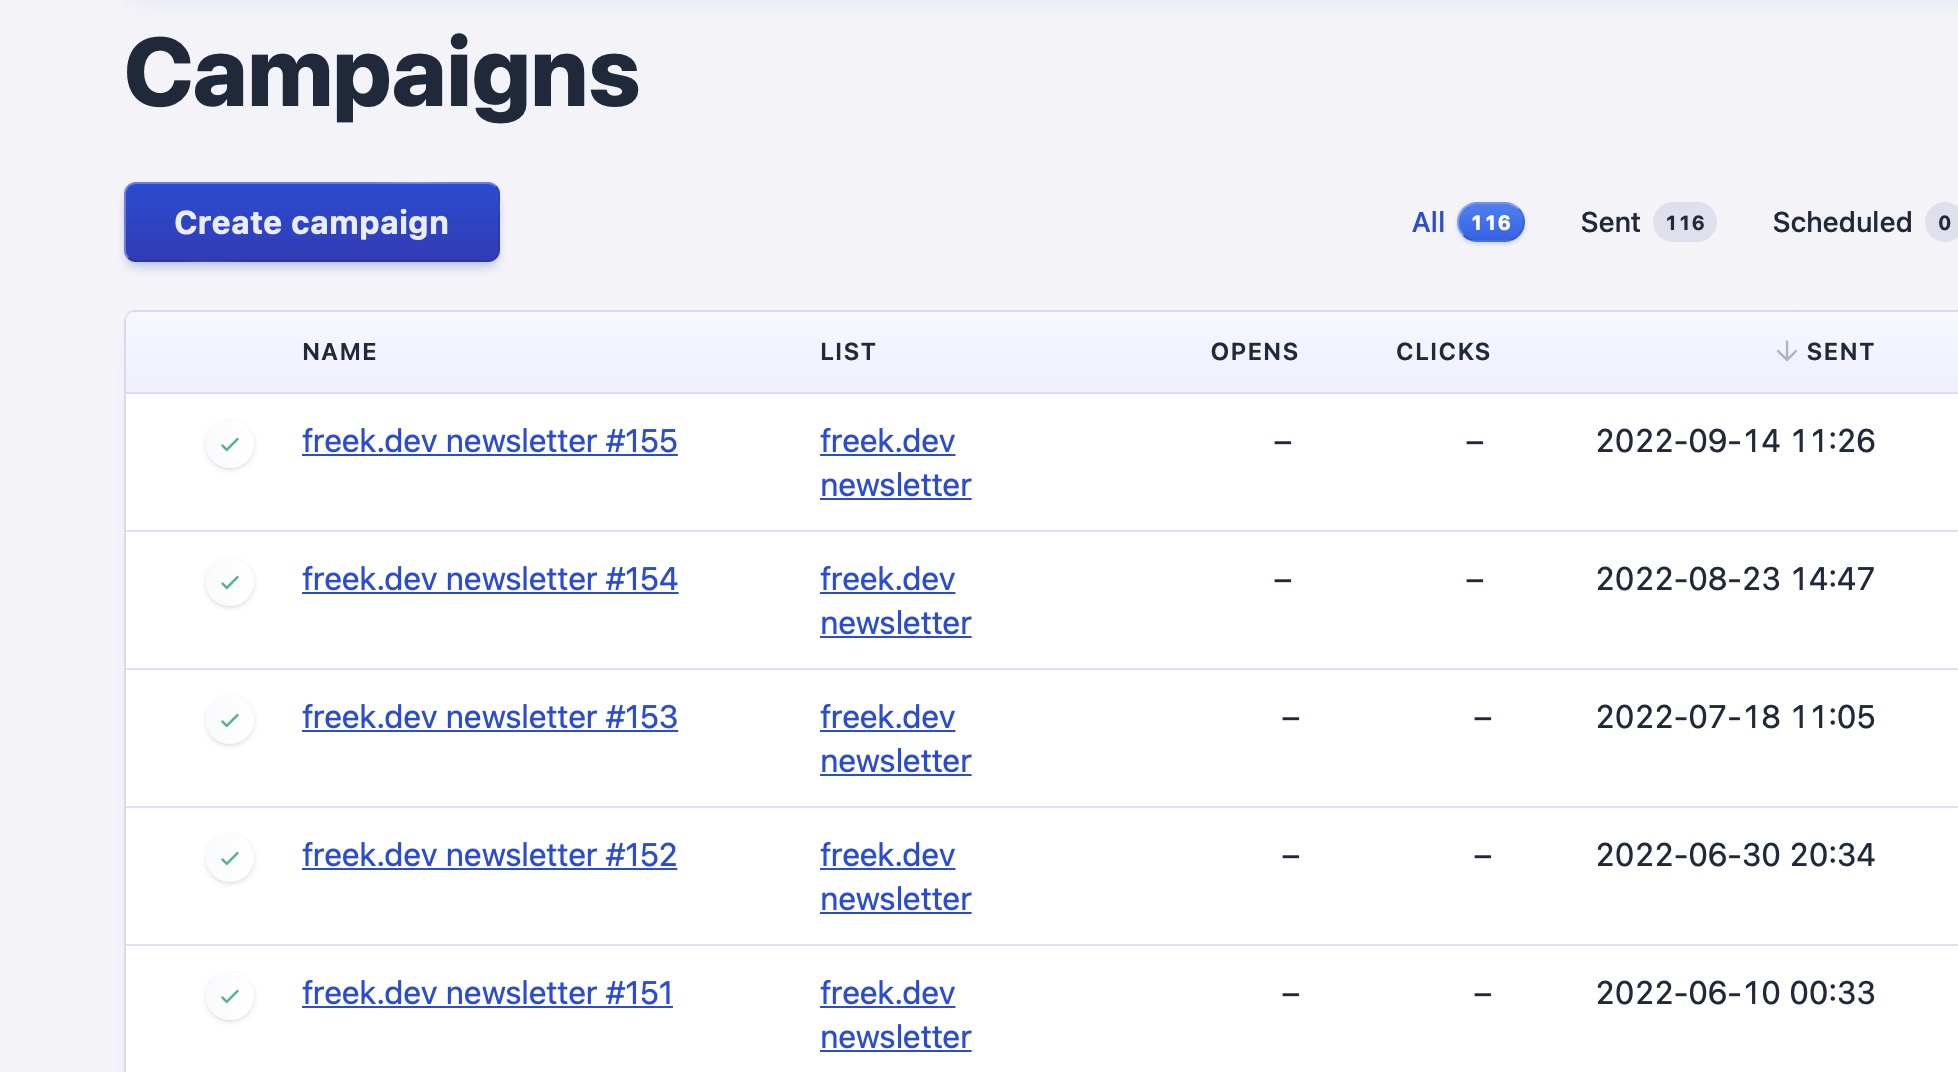
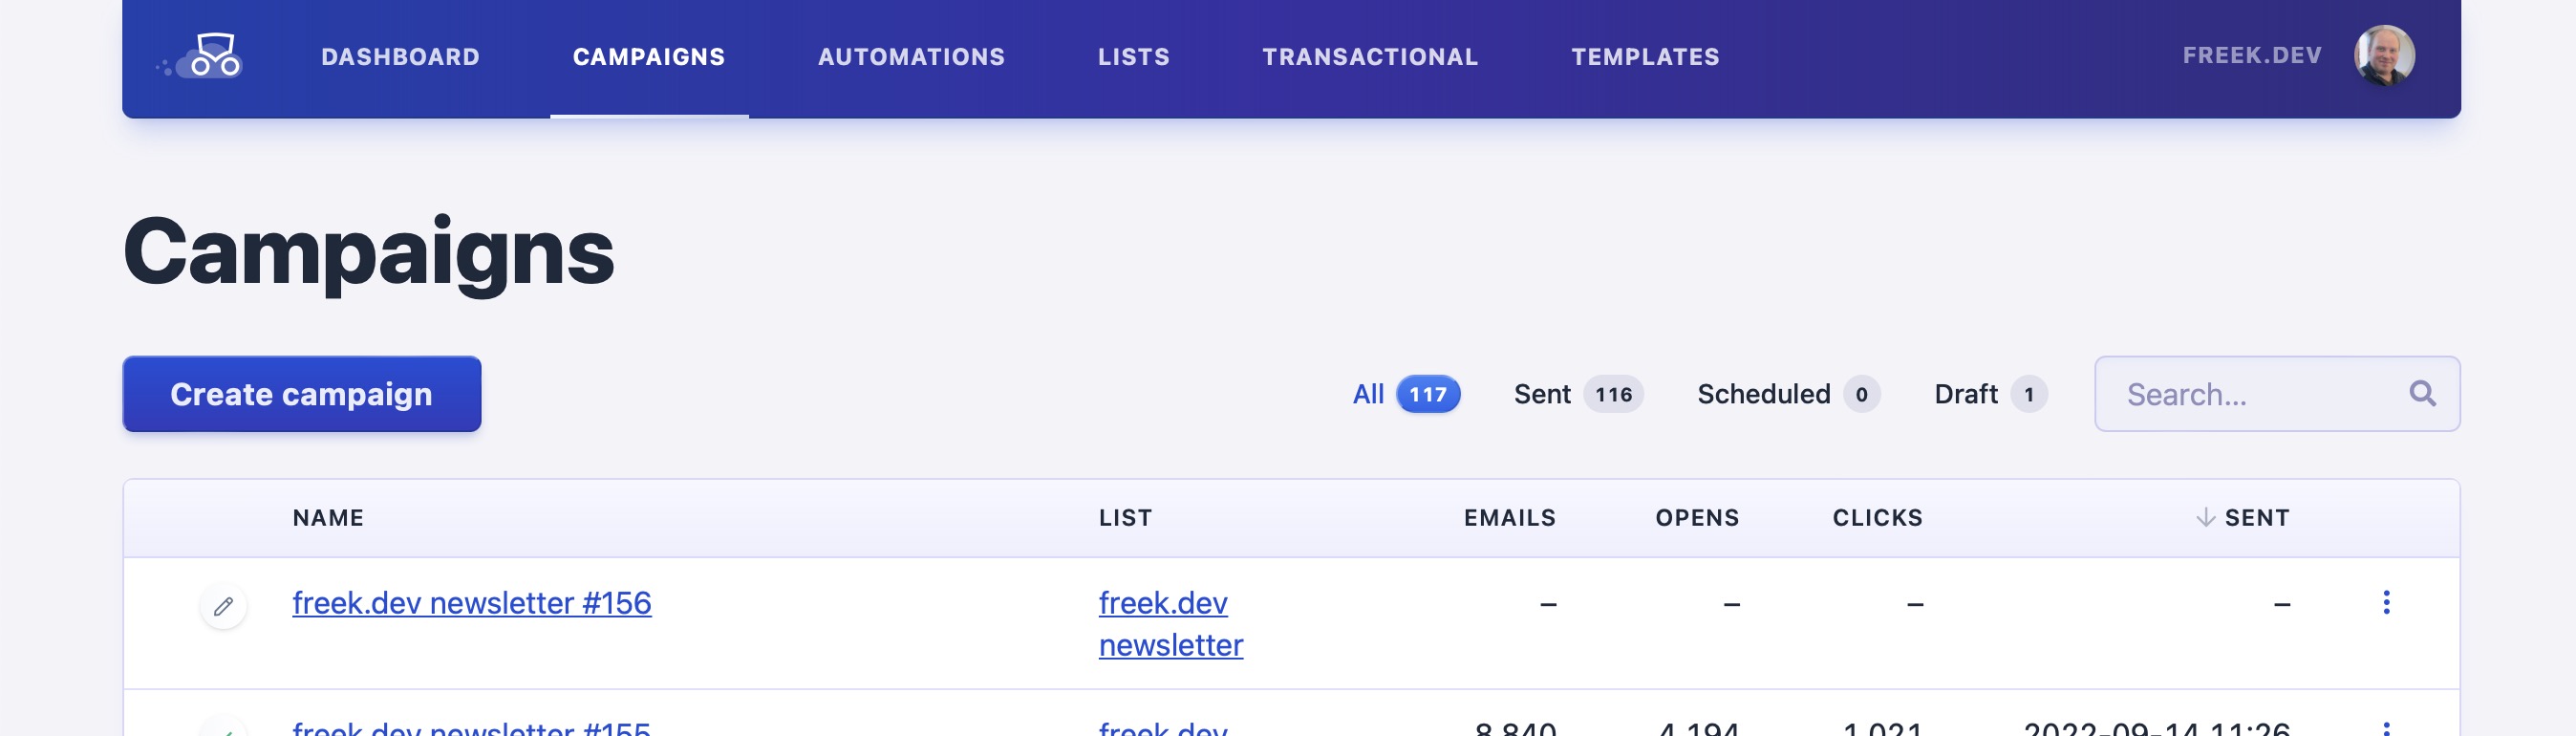
Let’s look at the newsletter I’ve already sent using Mailcoach. You can see that my newsletter uses an incrementing number in the name, and you can also see the date when it’s been sent. Let’s keep those two things in mind.
In the codebase of my blog freek.dev (which is open sourced), you can see that I have a minimal Mailcoach client in the codebase.
class Mailcoach
{
    public static function get(string $url): Response
    {
        return self::base()->get($url);
    }

    public static function post(string $url, array $payload = []): Response
    {
        return self::base()->post($url, $payload);
    }

    protected static function base(): PendingRequest
    {
        return Http::withToken(config('services.mailcoach.api_key'))
            ->acceptJson()
            ->baseUrl('https://freek-dev.mailcoach.app/api/');
    }
}
Using this client, I get get the latest sent newsletter in Mailcoach.
$campaigns = Mailcoach::get('campaigns')->json()['data'];
$latestCampaign = $campaigns[0];

$latestCampaignName = $latestCampaign['name'];
$latestEditionNumber = (int) Str::after($latestCampaignName, '#');

$latestCampaignCreatedAt = Carbon::parse($latestCampaign['created_at']);
Inside my code base, there’s also a NewsletterGenerator that can generate the content of the newsletter. As input, it needs the number of the newsletter and a date. It will generate links for each blog post in the DB after that date.
$newEditionNumber = $latestEditionNumber + 1
$startDate = $latestCampaignCreatedAt->addDay()->startOfDay();

$markdown = (new NewsletterGenerator(
    startDate: $startDate,
    endDate: now(),
    editionNumber: $newEditionNumber
))->getMarkdown();
That newsletter generator use a view to generate the Markdown. Here’s a part of the view.
Hi there!

Welcome to the {{ $editionNumber }} freek.dev newsletter!

Here are a couple of links I hope you'll enjoy as much as I did.

@foreach($recentPosts as $post)
@if ($post->original_content)⭐ @endif[{!! html_entity_decode($post->title)  !!}]({{ $post->promotional_url }})<br/>
{!! html_entity_decode($post->newsletter_excerpt) !!}

@endforeach

<br />
Using the Mailcoach API, we can use the content generated by NewsletterGenerator to Mailcoach.
$markdown = (new NewsletterGenerator(
    $startDate,
    now(),
    $newEditionNumber
))->getMarkdown();

$title = "freek.dev newsletter #{$newEditionNumber}";

Mailcoach::post('campaigns', [
    'name' => $title,
    'fields' => [
        'title' => $title,
        'content' => $markdown,
    ],
    'from_email' => 'freek@spatie.be',
    'from_name' => 'Freek Van der Herten',
    'subject' => "freek.dev newsletter #{$newEditionNumber}",
    'email_list_uuid' => config('services.mailcoach.email_list_uuid'),
    'template_uuid' => config('services.mailcoach.default_template_uuid'),
]);
All of the code above comes from the GenerateNewsletterCommand , which can be viewed in its entirety here.
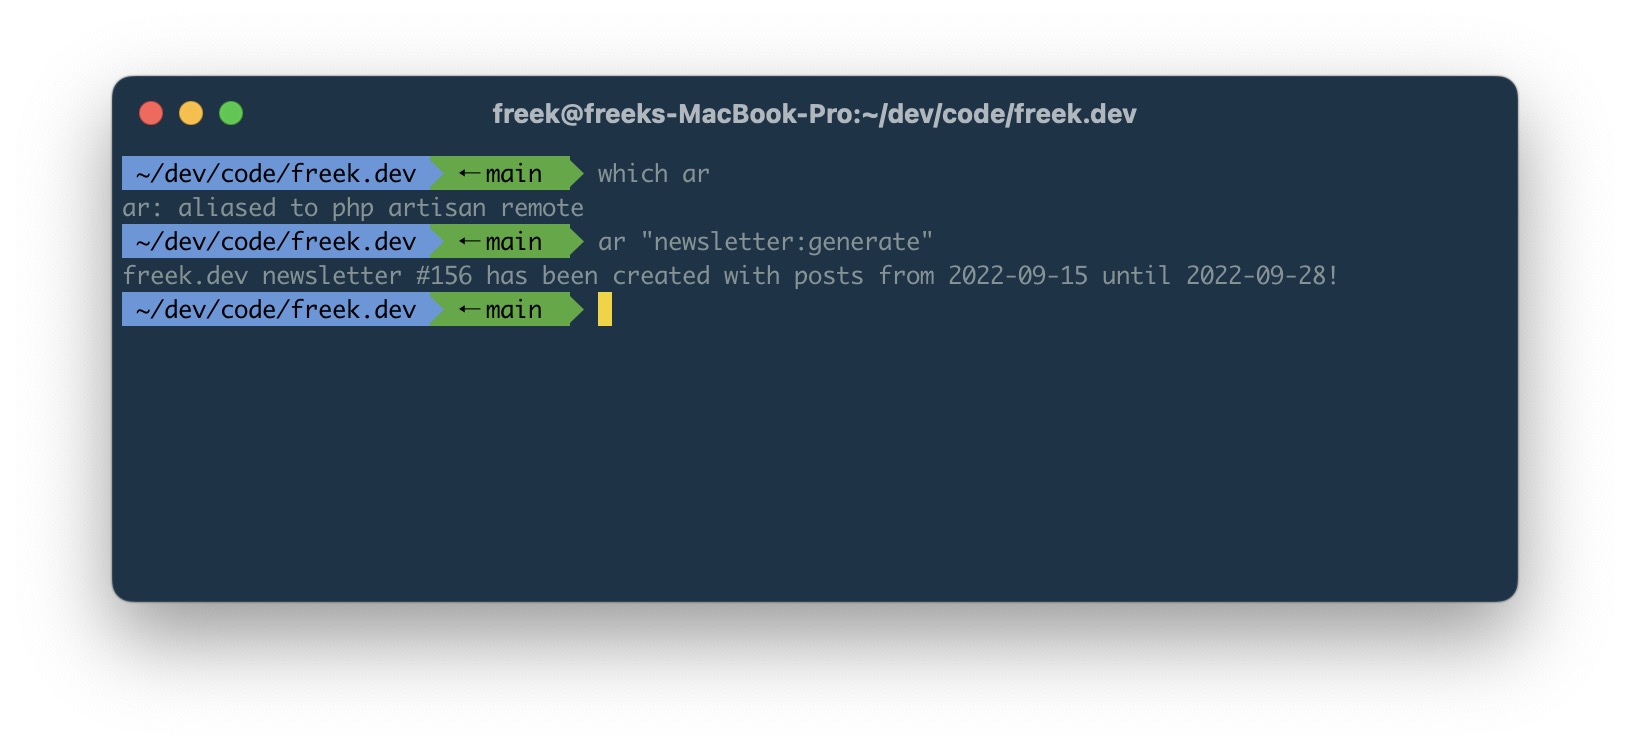
Let’s now execute this command. ar stands for “artisan remote”, so that it executed that command not on my local machine but on the freek.dev server (where the DB with all blogposts is located).
Let’s now take a look at the campaign list in Mailcoach. A wild new campaign appeared!
Inside that campaign, you can see the Markdown for the newsletter, including all interesting links. Usually, I edit the intro manually here, to give the newsletter a personal touch.
When we preview the newsletter, you can see it all looks good and is ready to be sent!
In closing
You can see that Mailcoach and Markdown are best buddies. If you’re a developer that wants to send some content (or a power user that knows Markdown), you’ll love it.
As we’ve seen above, you can use the Mailcoach API to push generated content to our platform and send it. For me, this workflow is a real time-saver compared to my previous manual workflow.
Mailcoach is the best service for sending out email campaigns. We also offer email automation that allows you to quickly build a drip campaign. You can manage your content and templates via powerful HTML and Markdown editors. Start your free trial now.