We have released a new package called spatie/filament-markdown-editor. This package contains the Markdown editor from Mailcoach and makes it easily installable in Filament, a powerful admin panel for Laravel apps.
In this blog post, I’d like to tell you all about it.
The Mailcoach Markdown editor
To write content in Mailcoach, we provide multiple editors. There’s a WYSIWYG editor for users without any technical knowledge. If you want to have fine-grained control, we offer an HTML editor.
If you have a developer background, you’re probably familiar with Markdown, a simplified version of HTML. Mailcoach offers a powerful Markdown editor that features image uploads and automatic code highlighting. In this blog post, you’ll see an example of how you can easily use and generate markdown for your Mailcoach-powered newsletter.
Under the hood, the Mailcoach Markdown editor is powered by SimpleMDE with some modifications to get the code highlighting to work.
Using the Mailcoach Markdown editor in Filament
At Mailcoach, we use Filament as the admin panel. This blog post you are reading has been typed up in Filament. As we often publish technical blog posts with code snippets and images, we wanted to use our own Markdown editor inside Filament.
That’s why we extracted our editor to a new package called spatie/filament-markdown-editor.
Once installed, you can use the Spatie\FilamentMarkdownEditor\MarkdownEditor just like any other form element.
Here’s how you can use it in a Filament resource’s form function.
use Spatie\FilamentMarkdownEditor\MarkdownEditor;

public static function form(Form $form): Form
{
    return $form
        ->schema([
            // other fields ...

            MarkdownEditor::make('text')
                ->fileAttachmentsDisk('admin-uploads')
                ->fileAttachmentsVisibility('public')
                ->required(),
        ]);
}
Optionally, you can tack on the standard Filament methods fileAttachmentsDisk, fileAttachmentsVisibility, … to configure the image uploads.
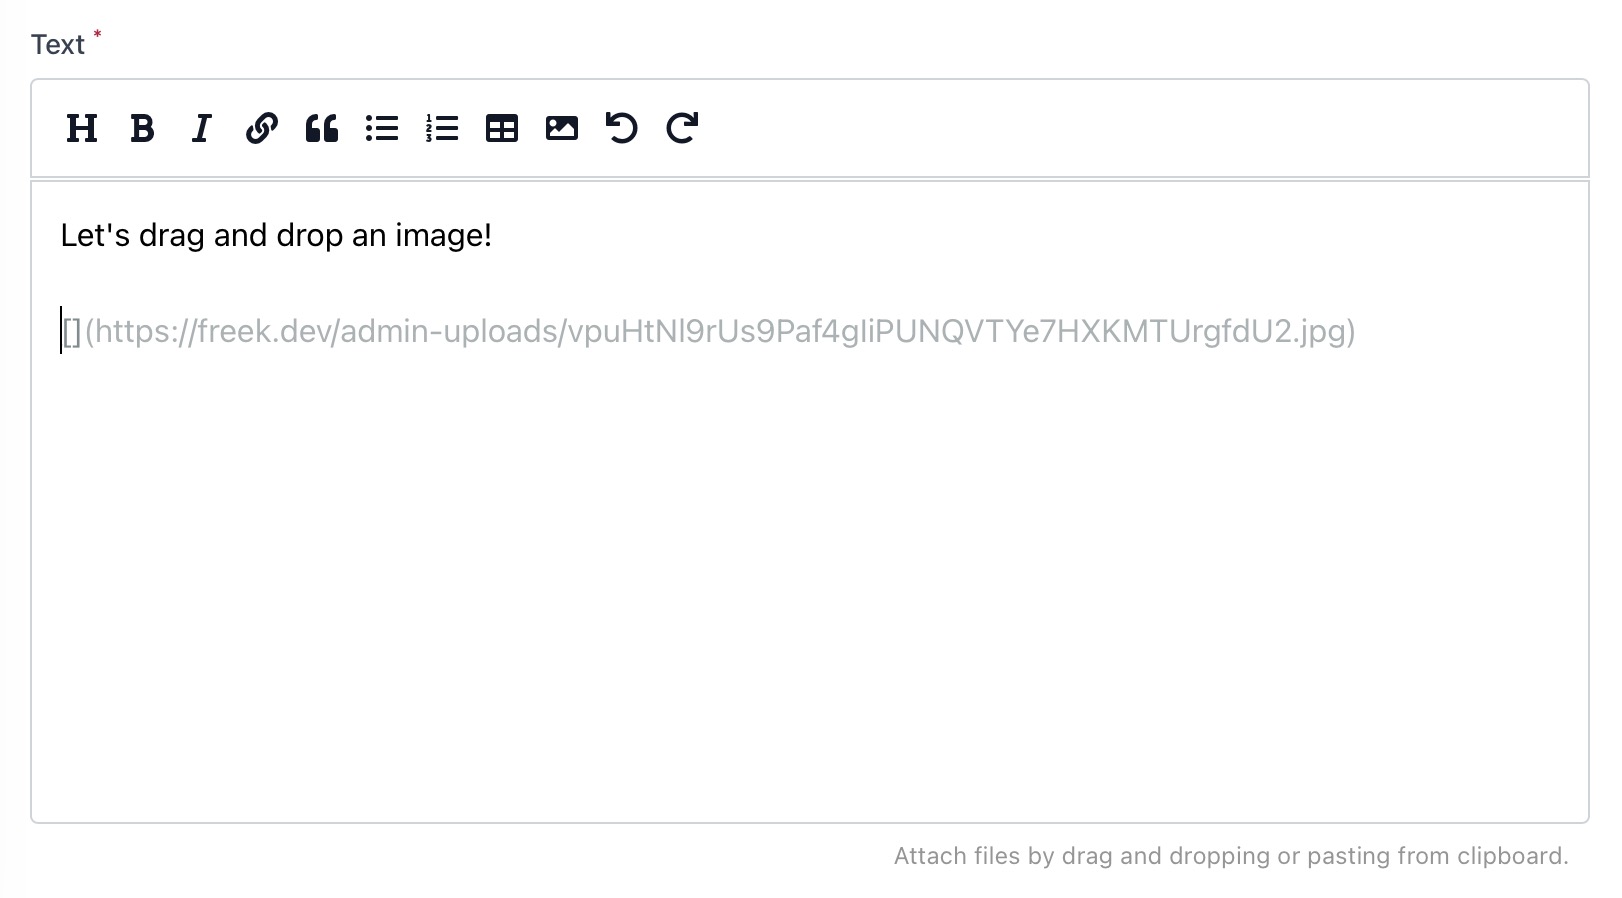
Here’s what that field looks like in the browser:

To add an image, you can simply drag and drop an image onto the editor. The image will be uploaded, and an image tag that references your upload will be inserted.
In closing
If you’re already using Filament, I’m sure you’ll enjoy managing your content using our editor. If you use Laravel Nova, feel free to use our package as inspiration to create a similar editor.
I want to thank my colleague Rias for having created this editor and Dan Harrin for his help integrating Filament’s image uploading features.