Today, we’re adding some very powerful features to both the hosted and self-hosted versions of Mailcoach: split testing (also known as A/B testing), MJML support, Livewire 3 support, suppression lists, new datables, and much more!
All these new features are available now for users subscribed to the hosted version of Mailcoach. If you’re using the self-hosted version, you can upgrade to the new major version, v7, which is free for everyone holding an active license.
In this blog post, we’ll discover Mailcoach’s new features in more detail.
Flexible split testing
When creating email campaigns, you might wonder which subject line would result in the most opens? Or you may be trying to figure out which copy of a link in your mail would result in the most clicks.
Instead of making those decisions beforehand and hoping for the best, you can now use Mailcoach’s flexible split testing. You might also know this as A/B testing, but as Mailcoach allows for more than two variations, we call it split testing.
Let’s dig into how this works. Imagine you want to send an email campaign about a new feature in your product. In Mailcoach, you can create a new campaign, pick a template, and start typing your subject line and content. At the top, you’ll see a new button, “Add split test”.
When clicking that button, we’ll copy over your content to a new variant of your mail. In that variant, you can make as many adjustments as you want.
We only have two variants in this example, but you can have as many variants as you want.
With the content ready, we can now start sending our variants. This is where the magic will happen. On the “Send” screen, you can configure how the split test will work.
Let’s explain these settings, and the whole split testing sending process. When your email campaign split testing, the sending process will have these steps:
-
The test stage: we’ll start sending emails to a small percentage of your list. These people will get a random variant. When those emails are sent, we’ll wait a couple of hours (you can decide how many hours) and start counting opens, clicks, and unsubscribes for those sent emails.
-
Deciding the winner: After the test stage, we will look at each variant’s number of clicks, opens, and subscribes. We’ll determine the variant with the best metrics and send that variant to the remainder of the people on your list.
When your mail is sent, in addition to the statistics of your entire campaign, you’ll see the statistics of each variant.
This is a very powerful feature that will significantly help you send the best content to your audience.
Powerful data tables
In previous versions of Mailcoach, all lists of data (all your subscribers, your campaigns, etc…) were rendered using a simple component of our own.
We replaced our simple component with Filament’s feature-reach Table Builder component.
Here’s what it looks like in Mailcoach (I’ve blurred out the mail addresses).
This table packs a lot of features. The filters are especially powerful. We’ve added many more options: you can now search for subscribers who have opened or clicked a campaign.
After you’ve filtered or manually made a selection of subscribers, you can add/edit/remove any tags on them in one go using our new bulk actions.
Improved segmenting of lists
When you have a large email list, chances are that you won’t always send all email campaigns to the entirety of that list.
In the previous version of Mailcoach, you could create segments of that list based on the tags subscribers have (or do not have). You can then send a campaign with dedicated content for the subscribers in that segment.
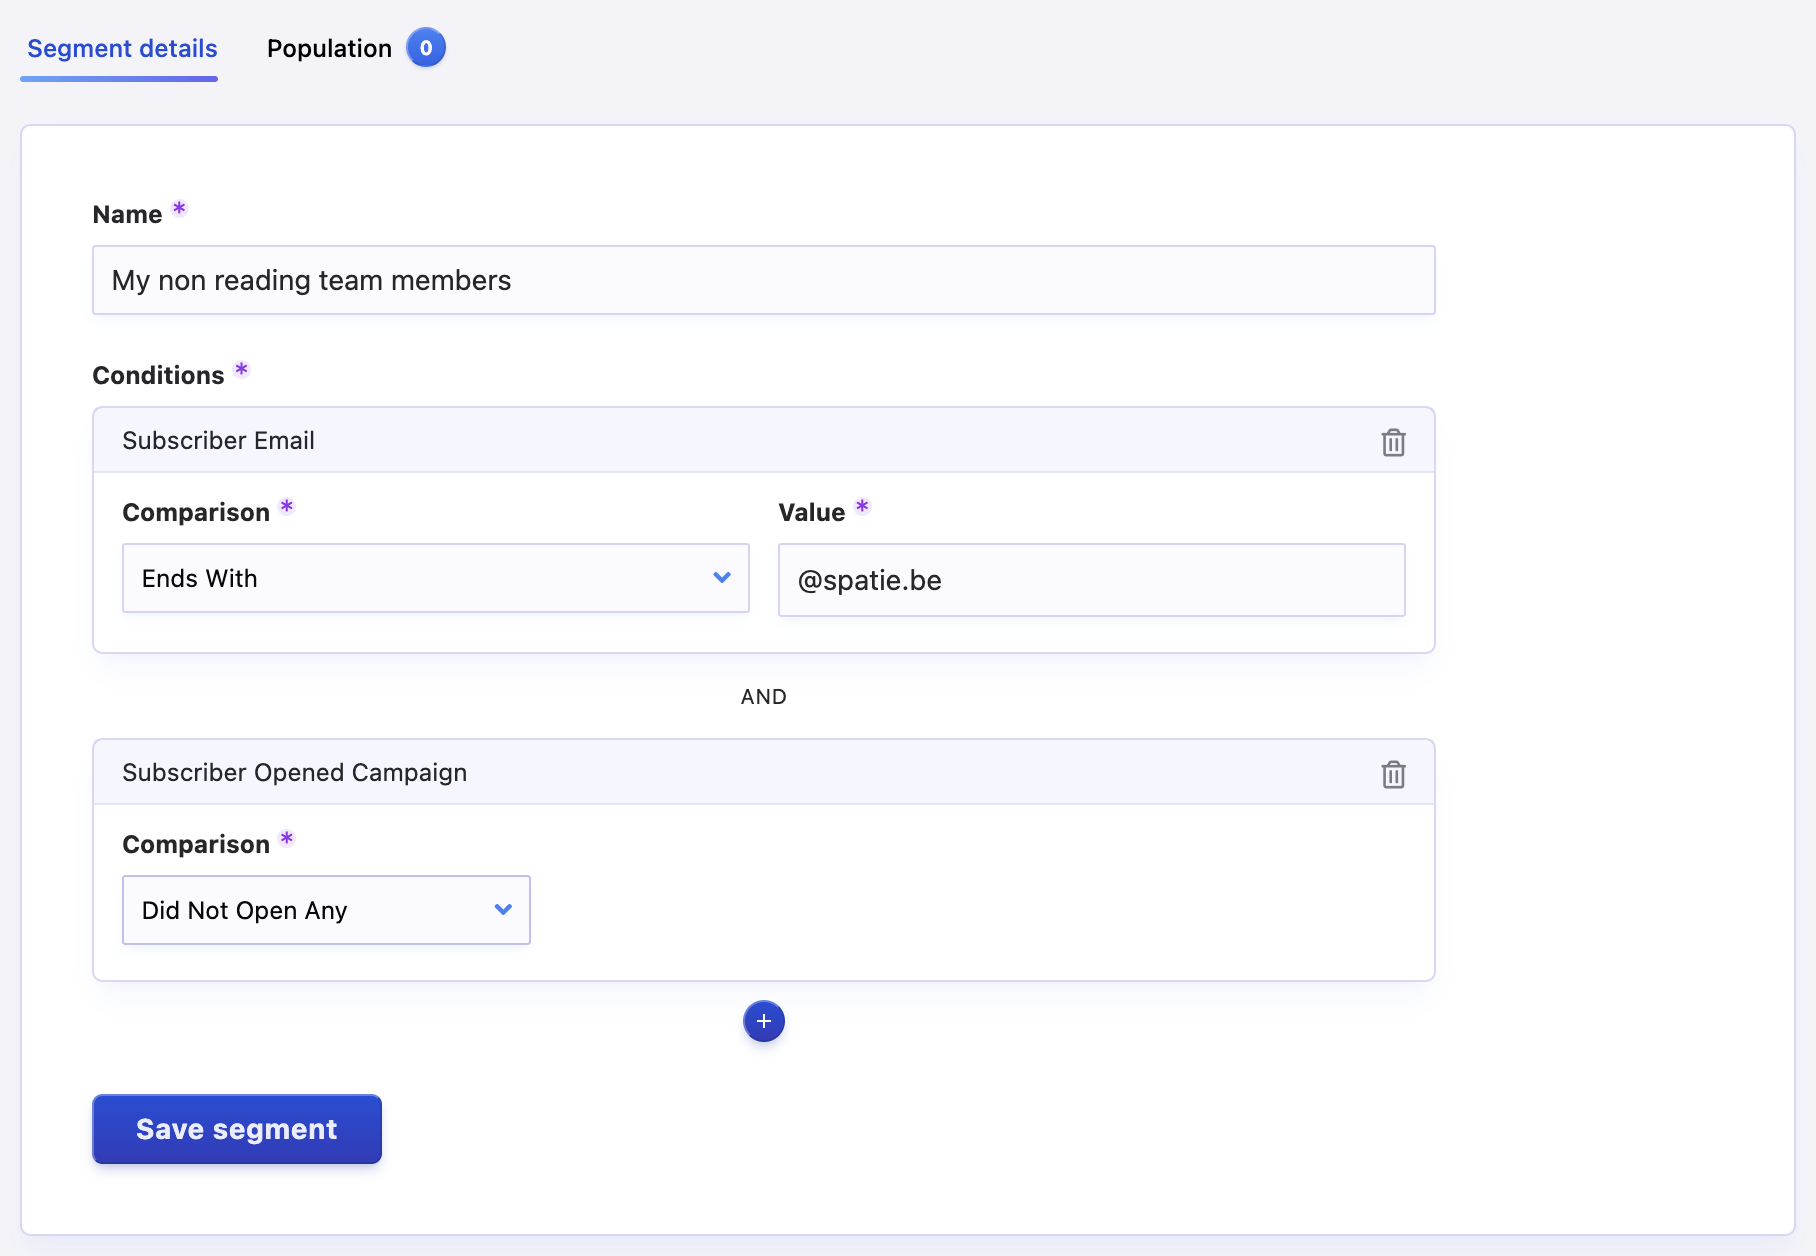
We’ve made these segments much more people now. You can now create a segment that contains people who opened a previous campaign or clicked a specific link.
Here’s what the new segment creation screen looks like.
Craft mails using MJML
If you’ve ever tried to build an HTML email from scratch, you know that it’s not easy. Email clients don’t support modern HTML and CSS niceties and have a lot of quirks to be mindful of. Conveniences like CSS Grid or even Flexbox are unsupported, leaving us to rely on table tags. Achieving a polished look across various devices and browsers can be challenging.
To make crafting emails a lot more enjoyable, the folks at Mailjet created a solution called MJML, which stands for “Mailjet Markup Language.” It’s an easy-to-use abstraction layer over HTML.
MJML looks very much like HTML but with “mj” tags. Let’s take a look at some valid MJML.
<mjml>
  <mj-body>
    <mj-section>
      <mj-column>
        <mj-text invalid-attribute>Hello World</mj-text>
      </mj-column>
    </mj-section>
  </mj-body>
</mjml>
In the code above, you can see that there are many mj components that you can make use of. I won’t explain them all as they are described in the extensive documentation. In those docs, you’ll also find a complete example of an entire mail.
When converting the MJML to HTML, this is the result:
<!doctype html>
<html xmlns="http://www.w3.org/1999/xhtml" xmlns:v="urn:schemas-microsoft-com:vml" xmlns:o="urn:schemas-microsoft-com:office:office">

<head>
  <title></title>
  <!--[if !mso]><!-->
  <meta http-equiv="X-UA-Compatible" content="IE=edge">
  <!--<![endif]-->
  <meta http-equiv="Content-Type" content="text/html; charset=UTF-8">
  <meta name="viewport" content="width=device-width, initial-scale=1">
  <style type="text/css">
    #outlook a {
      padding: 0;
    }

    body {
      margin: 0;
      padding: 0;
      -webkit-text-size-adjust: 100%;
      -ms-text-size-adjust: 100%;
    }

    table,
    td {
      border-collapse: collapse;
      mso-table-space: 0pt;
      mso-table-space: 0pt;
    }

    img {
      border: 0;
      height: auto;
      line-height: 100%;
      outline: none;
      text-decoration: none;
      -ms-interpolation-mode: bicubic;
    }

    p {
      display: block;
      margin: 13px 0;
    }
  </style>
  <!--[if mso]>
    <noscript>
    <xml>
    <o:OfficeDocumentSettings>
      <o:AllowPNG/>
      <o:PixelsPerInch>96</o:PixelsPerInch>
    </o:OfficeDocumentSettings>
    </xml>
    </noscript>
    <![endif]-->
  <!--[if lte mso 11]>
    <style type="text/css">
      .mj-outlook-group-fix { width:100% !important; }
    </style>
    <![endif]-->
  <!--[if !mso]><!-->
  <link href="https://fonts.googleapis.com/css?family=Ubuntu:300,400,500,700" rel="stylesheet" type="text/css">
  <style type="text/css">
    @import url(https://fonts.googleapis.com/css?family=Ubuntu:300,400,500,700);
  </style>
  <!--<![endif]-->
  <style type="text/css">
    @media only screen and (min-width:480px) {
      .mj-column-per-100 {
        width: 100% !important;
        max-width: 100%;
      }
    }
  </style>
  <style media="screen and (min-width:480px)">
    .moz-text-html .mj-column-per-100 {
      width: 100% !important;
      max-width: 100%;
    }
  </style>
  <style type="text/css">
  </style>
  <style type="text/css">
  </style>
</head>

<body style="word-spacing:normal;">
  <div style="">
    <!--[if mso | IE]><table align="center" border="0" cellpadding="0" cellspacing="0" class="" role="presentation" style="width:600px;" width="600" ><tr><td style="line-height:0px;font-size:0px;mso-line-height-rule:exactly;"><![endif]-->
    <div style="margin:0px auto;max-width:600px;">
      <table align="center" border="0" cellpadding="0" cellspacing="0" role="presentation" style="width:100%;">
        <tbody>
          <tr>
            <td style="direction:ltr;font-size:0px;padding:20px 0;text-align:center;">
              <!--[if mso | IE]><table role="presentation" border="0" cellpadding="0" cellspacing="0"><tr><td class="" style="vertical-align:top;width:600px;" ><![endif]-->
              <div class="mj-column-per-100 mj-outlook-group-fix" style="font-size:0px;text-align:left;direction:ltr;display:inline-block;vertical-align:top;width:100%;">
                <table border="0" cellpadding="0" cellspacing="0" role="presentation" style="vertical-align:top;" width="100%">
                  <tbody>
                    <tr>
                      <td align="left" style="font-size:0px;padding:10px 25px;word-break:break-word;">
                        <div style="font-family:Ubuntu, Helvetica, Arial, sans-serif;font-size:13px;line-height:1;text-align:left;color:#000000;">Hello World</div>
                      </td>
                    </tr>
                  </tbody>
                </table>
              </div>
              <!--[if mso | IE]></td></tr></table><![endif]-->
            </td>
          </tr>
        </tbody>
      </table>
    </div>
    <!--[if mso | IE]></td></tr></table><![endif]-->
  </div>
</body>
</html>
That’s a lot of HTML you didn’t have to develop yourself. As you can see above, some code is added to ensure it renders well in older email clients.
Mailcoach now supports MJML out of the box in your templates and email campaigns. We even have code completion suggestions in our editor.
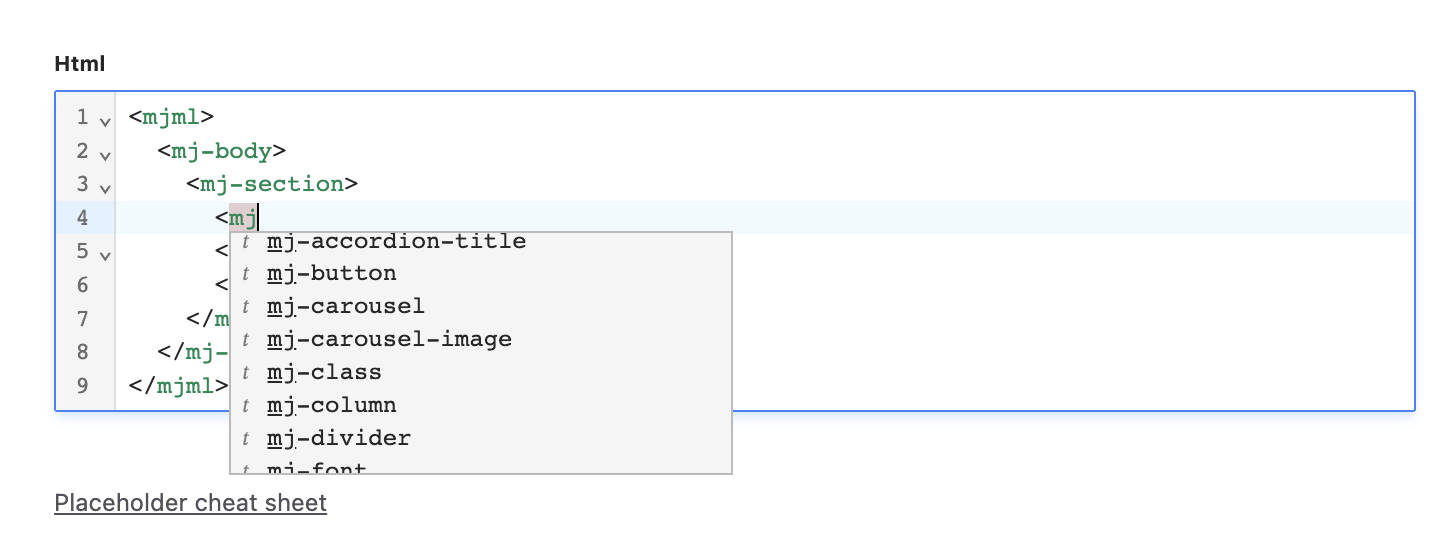
Support for MJML makes it much easier to create beautiful emails that look good in any email client.
The new suppression list
We’ve implemented a minor but much-requested feature: the suppression list. This is a list of email addresses to which we will never mail.
You can manually add people to this list. We’ll also automatically add an entry for any email that hard bounces. A hard bounce is usually caused by an email address not existing (anymore), and our thinking is that none of your lists should try sending to that address anymore.
Powered by Livewire 3
Behind the scenes, Mailcoach’s hosted and self-hosted versions extensively use Livewire to make the UI interactive.
If you’re using the hosted version, this is just a minor detail that doesn’t affect you much. However, many users of the self-hosted version requested support for the latest and greatest version of Livewire, v3. We’re happy to share that we now use v3 of Livewire everywhere.
In addition to having rewritten our components to use the Livewire v3 specific features, we’re also using Livewire’s new navigation feeling to make our UI feel more speedy.
This navigation feature works by fetching the page’s content when hovering over a link. Livewire will replace the current DOM’s content with the fetched page’s content. Because the browser gets the content faster and does need to re-evaluate everything, the entire app feels much faster.
And lots more…
In addition to those prominent features, we’ve also made many small improvements.
-
we’ve rewritten our docs for clarity
-
Substack imports are now supported
-
there’s a new automation action that will hold any mail until the next workday
In closing
We’re very proud of these new features and hope you’ll like them too. What started as a simple Livewire v3 upgrade ended as a meaty release featuring a lot of powerful new features.
Of course, we’re dogfooding ourselves and use Mailcoach at Spatie, too, and we’ll probably use the split testing on all content we’ll send out from now.
Mailcoach is an email marketing platform with a focus on privacy and an affordable solution for all email marketing: campaigns, automations, and transactional mail. You can use our mail infrastructure or connect your email service account (Postmark, SES, Sendgrid, Mailgun, Resend, and more…) to have more control.
Create a free trial account to test these new features; no credit card is needed!