One of the most important things to take care of when building a SaaS is the onboarding experience for your users and potential subscribers. It’s a common mistake to assume that your audience already knows the entire feature set of your product or SaaS.
One way to teach your audience the features you offer is by creating a drip campaign about all the features your platform offers. Better knowledge of all features hopefully leads to better conversion rates.
In this blog post, I’d like to show how you can use Mailcoach to create such a drip campaign.
The Mailcoach onboarding drip campaign
Mailcoach has a free 10-day trial period. During that period, we’ll send a mail after two days that explains an interesting use case for Mailcoach.
This drip campaign is powered by Mailcoach’s powerful automations feature, which makes it easy to create any email flow you’d like.
Here’s what our onboarding flow looks like.
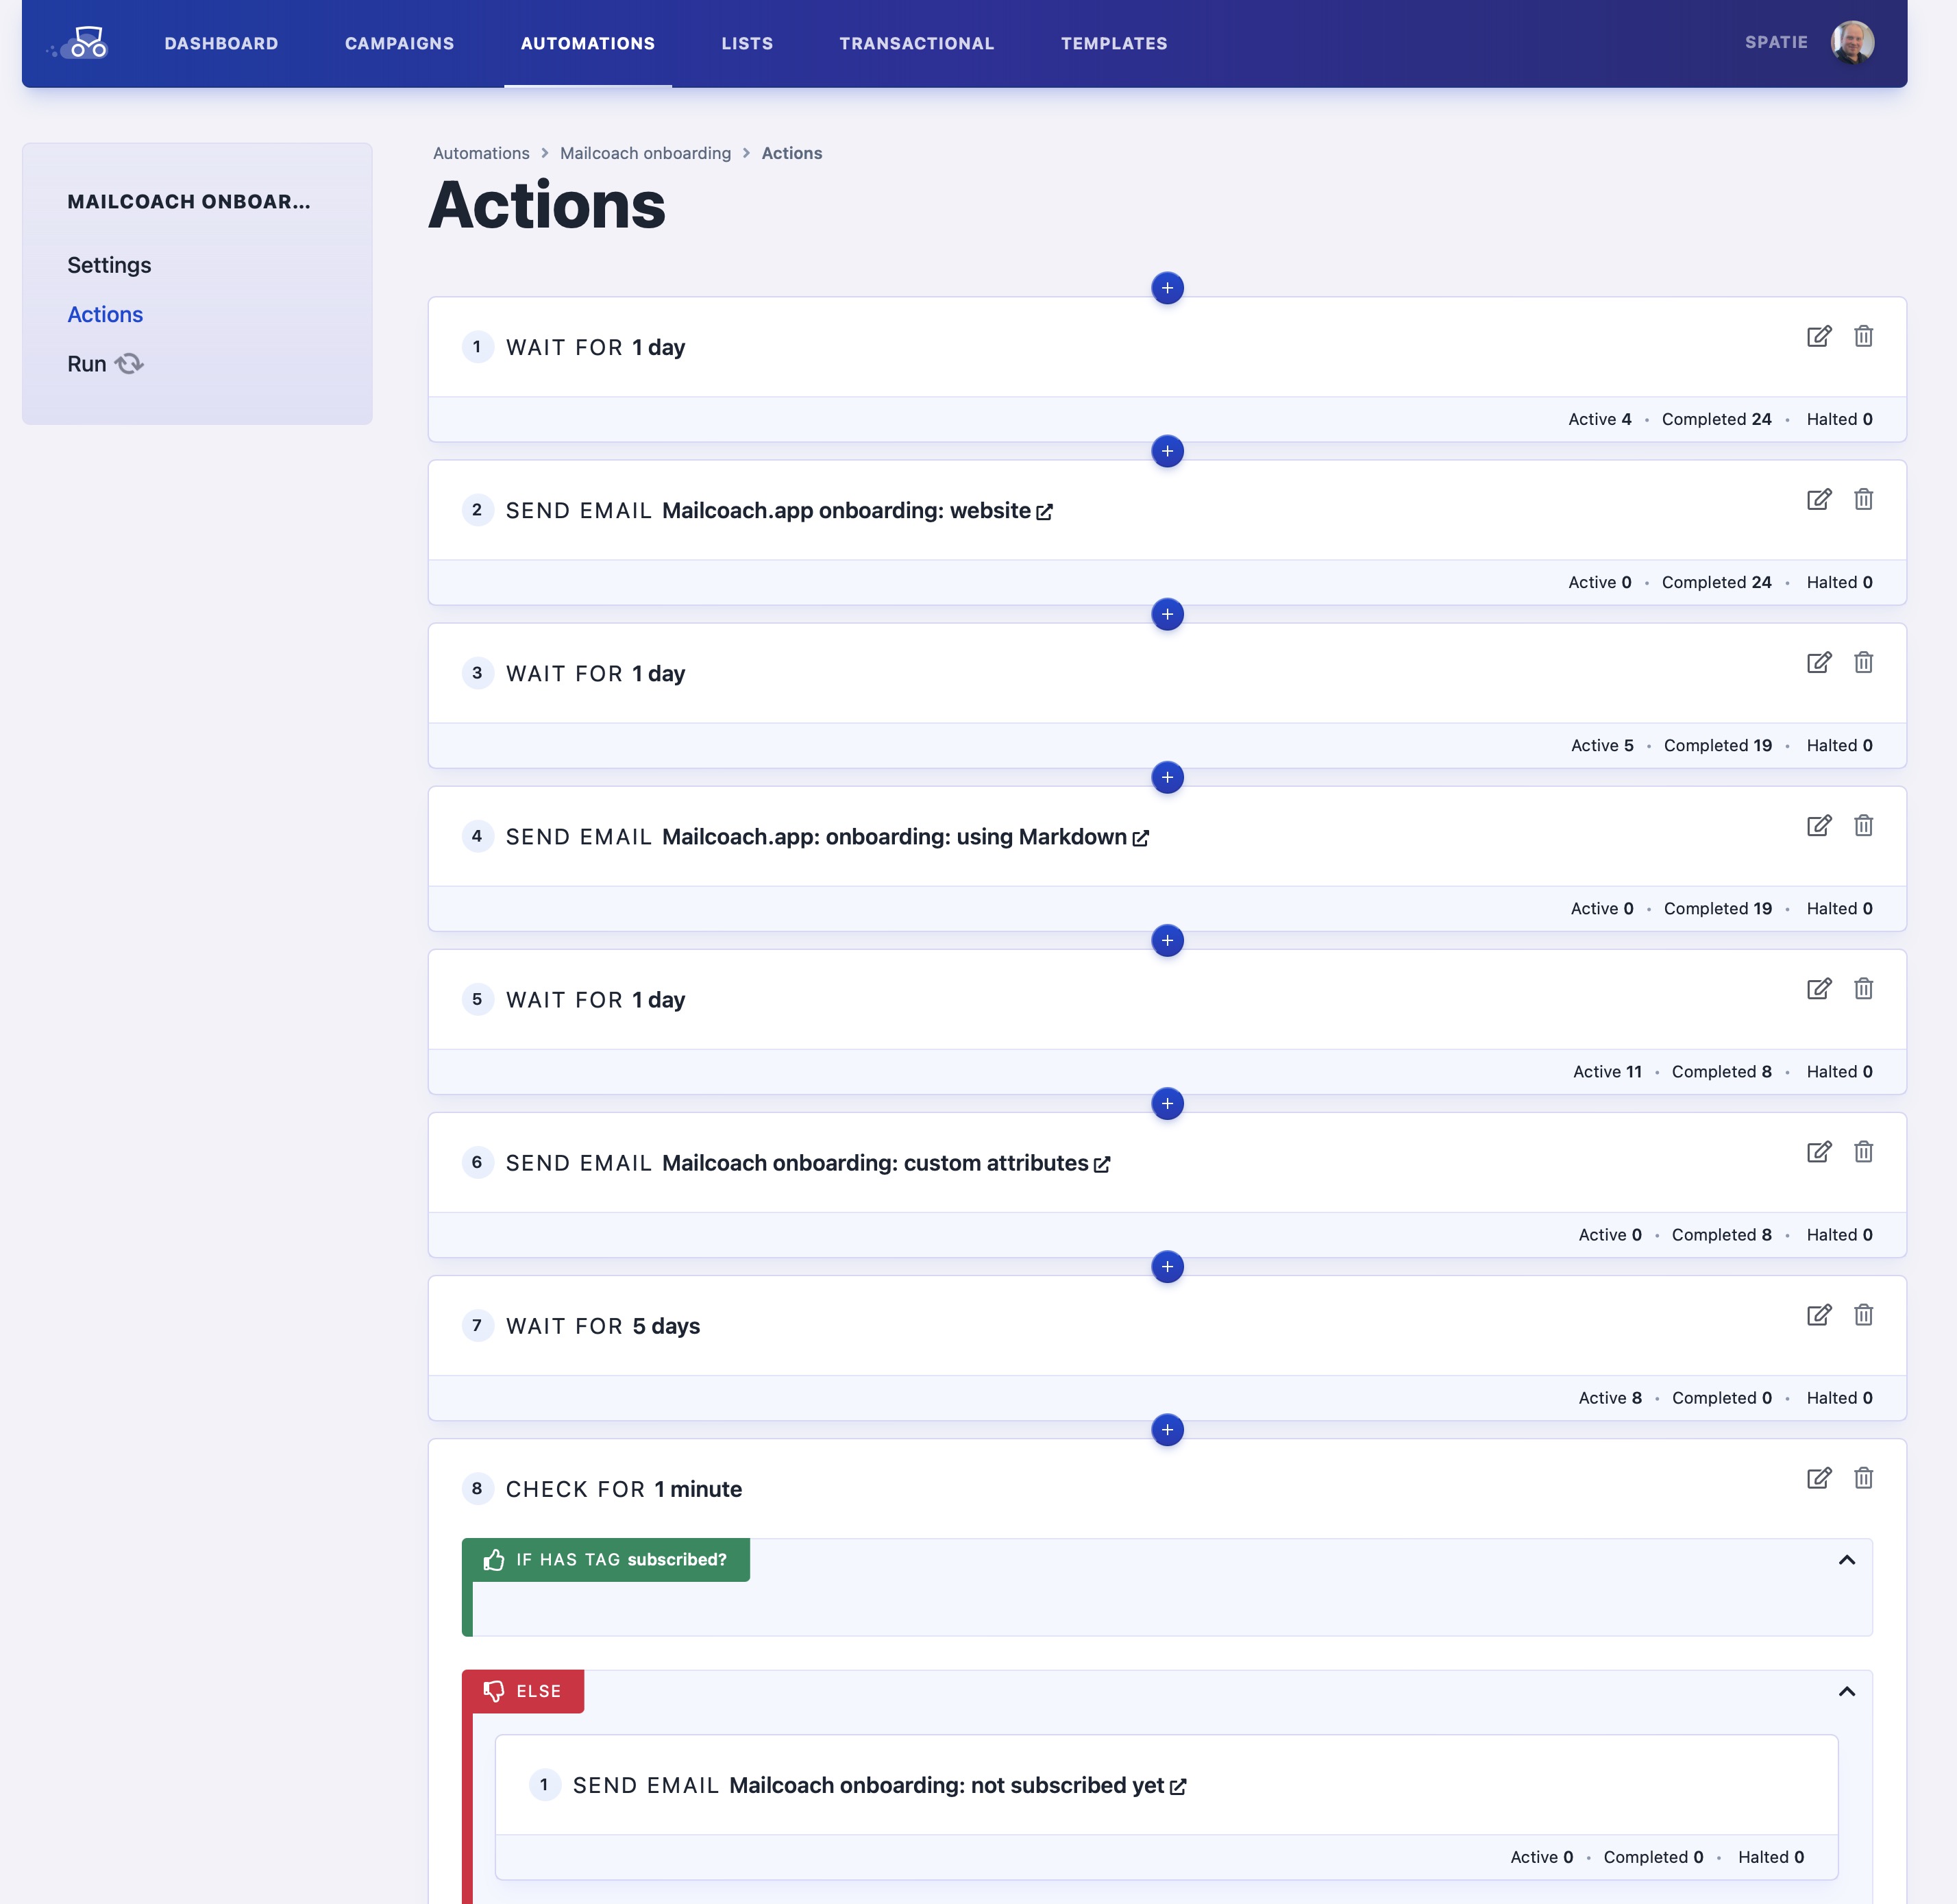
As you see, we send a daily mail, and when the end of the trial nears, we will send an extra mail that summarises all our features. If the user has the subscribed label, we’re not going to send that mail. Later in the blog post, we’ll look at how we add that tag.
The content of the emails used in this flow is administered in Mailcoach. Here’s the content of the first mail in the flow.
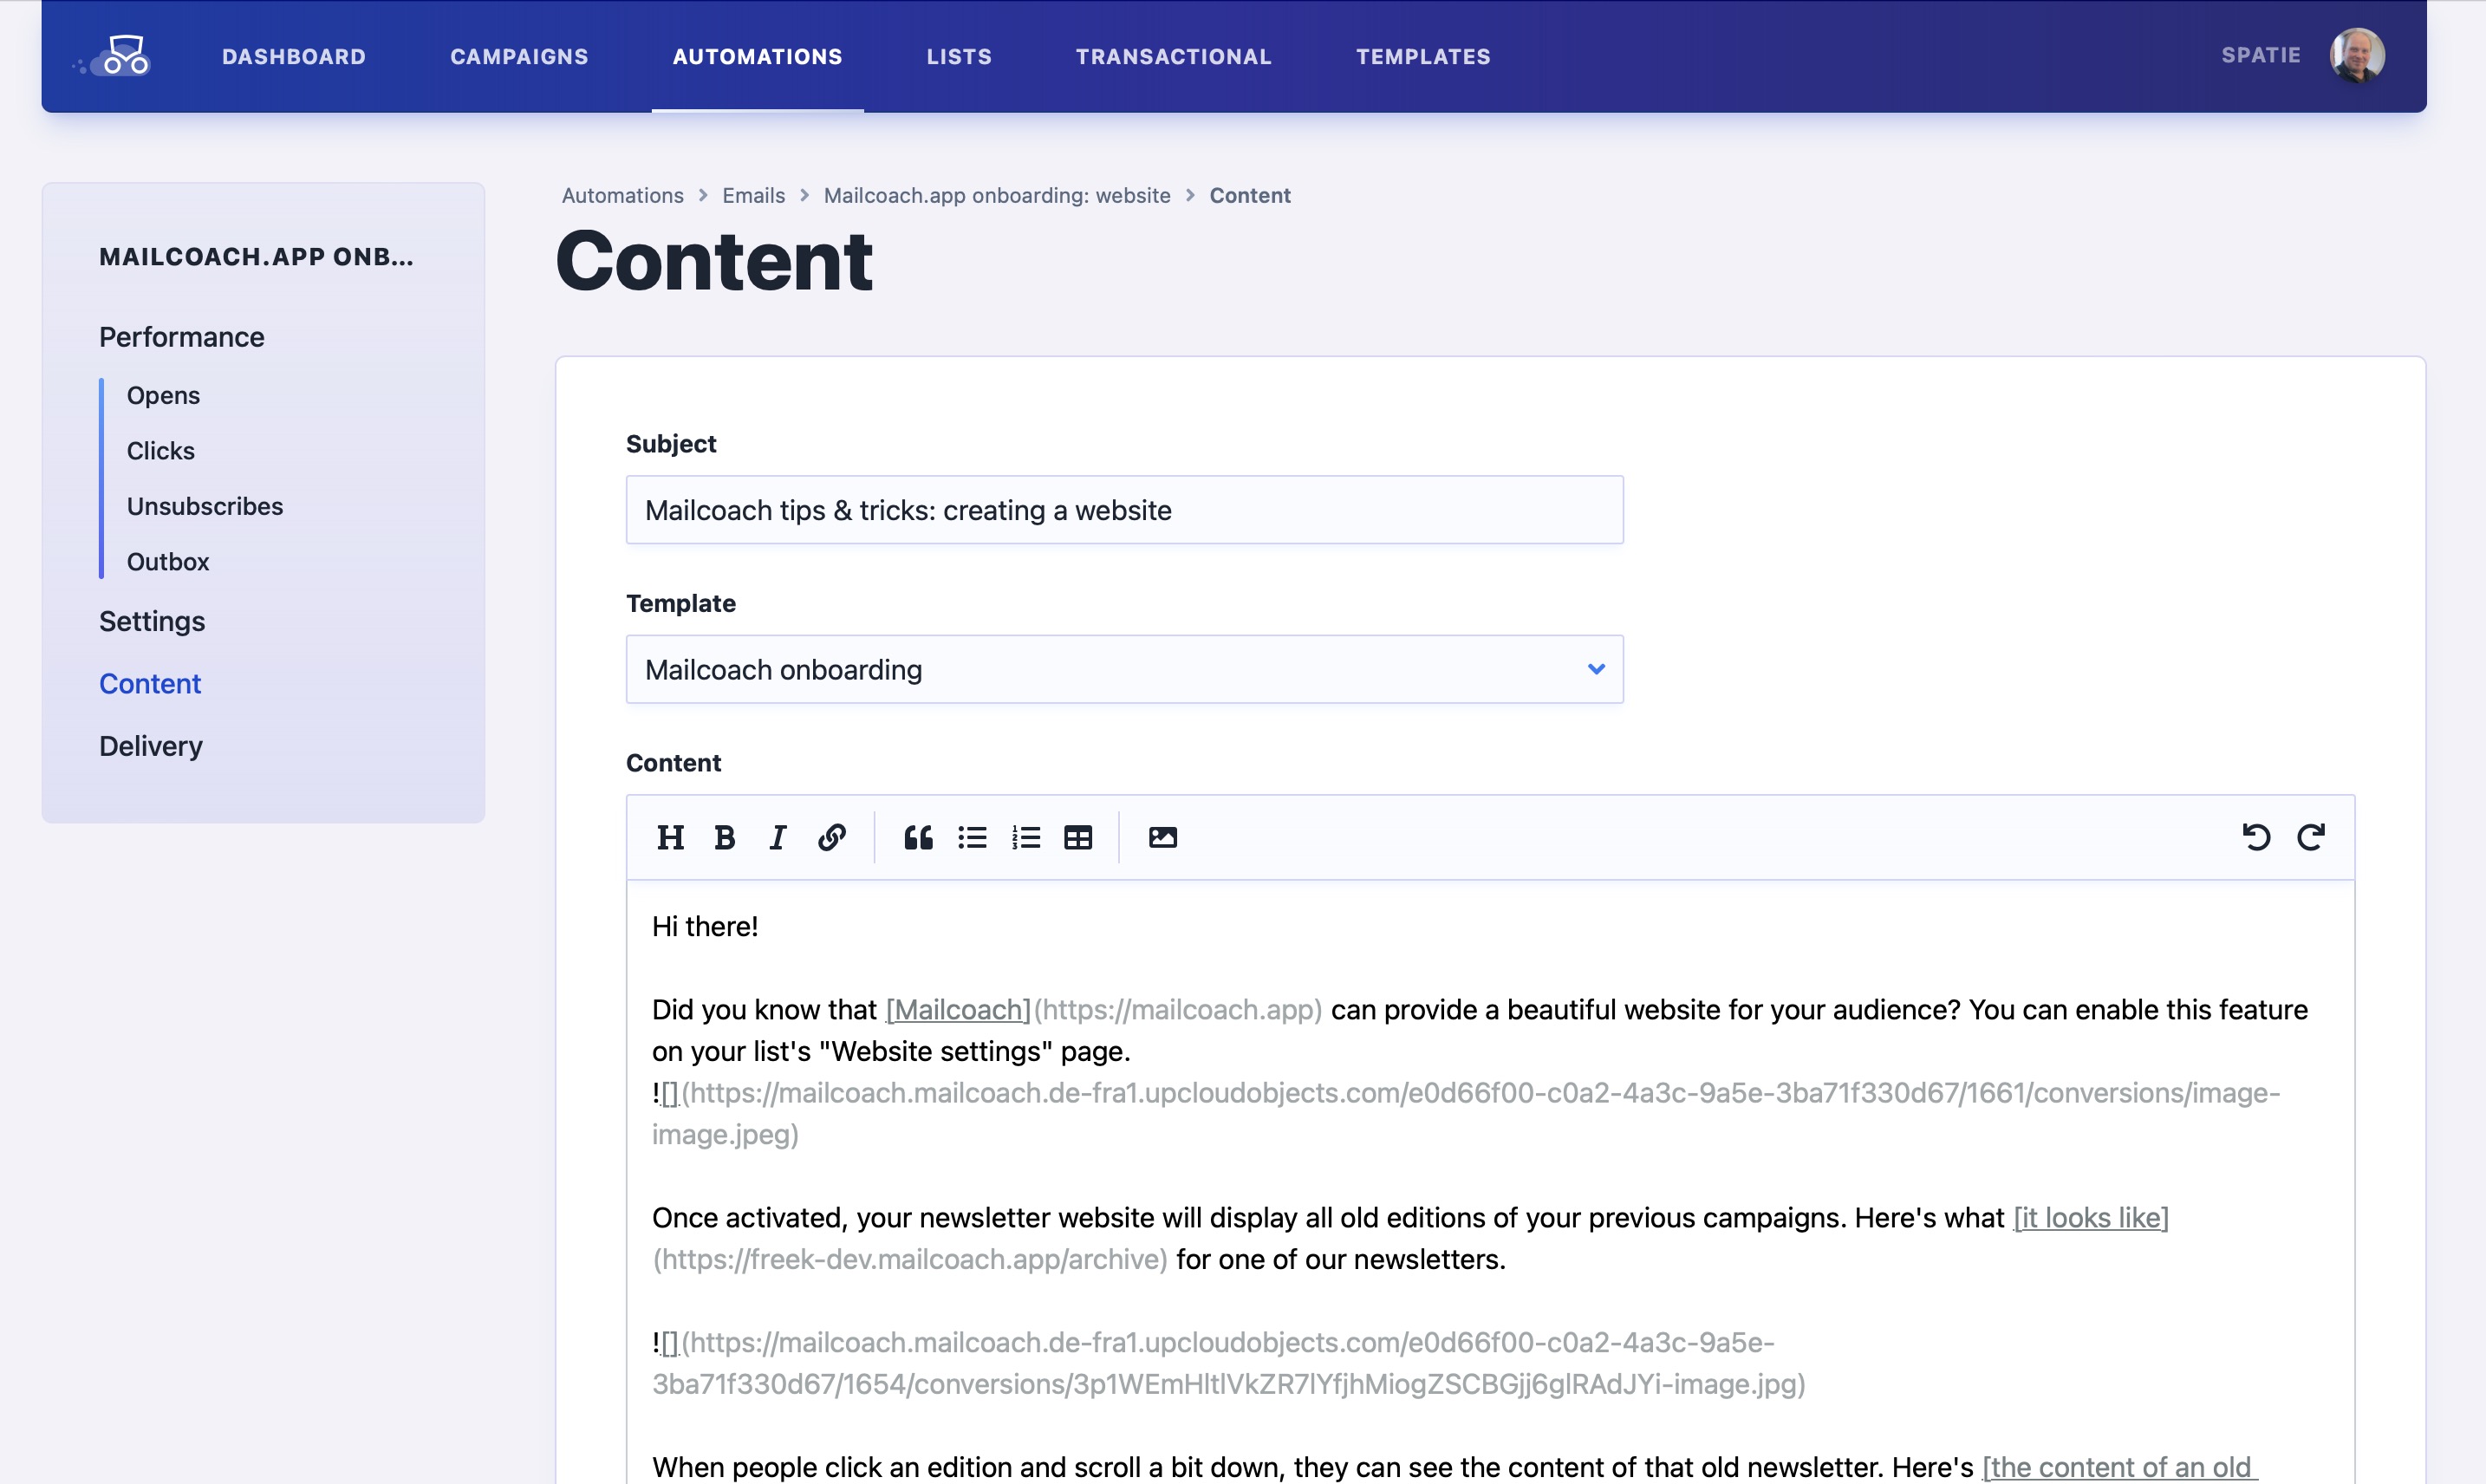
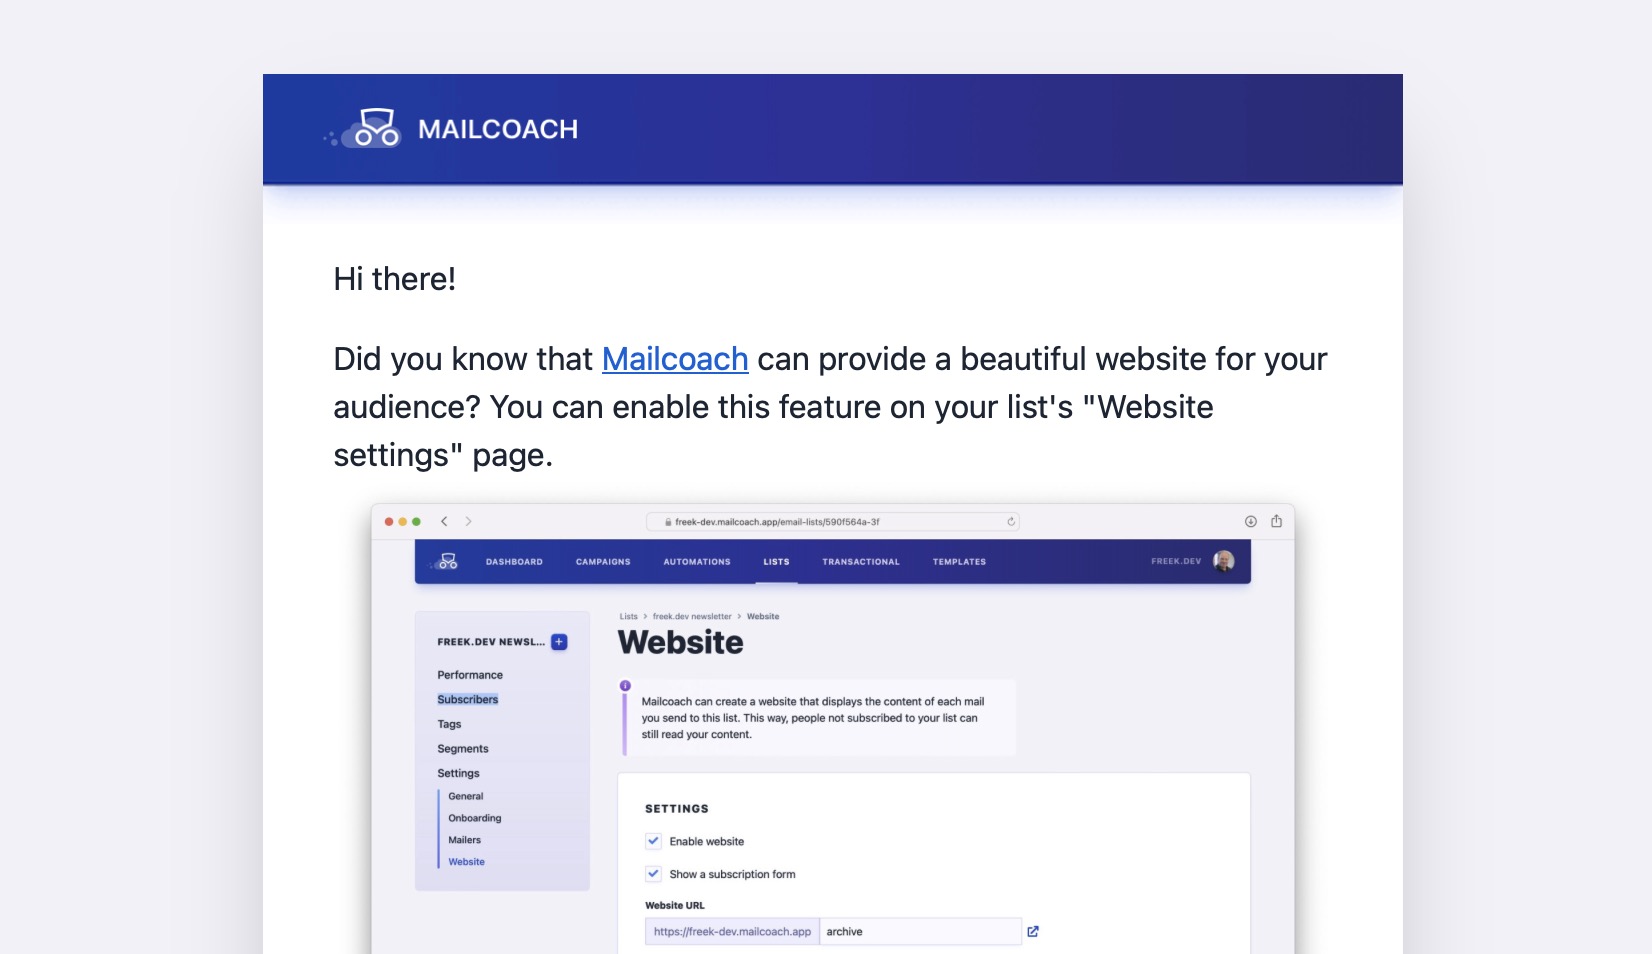
As you can see, we can type our content using Markdown, a simplified version of HTML. This mail uses the “Mailcoach onboarding” template that contains the general layout of the mail. Here’s the rendered mail.
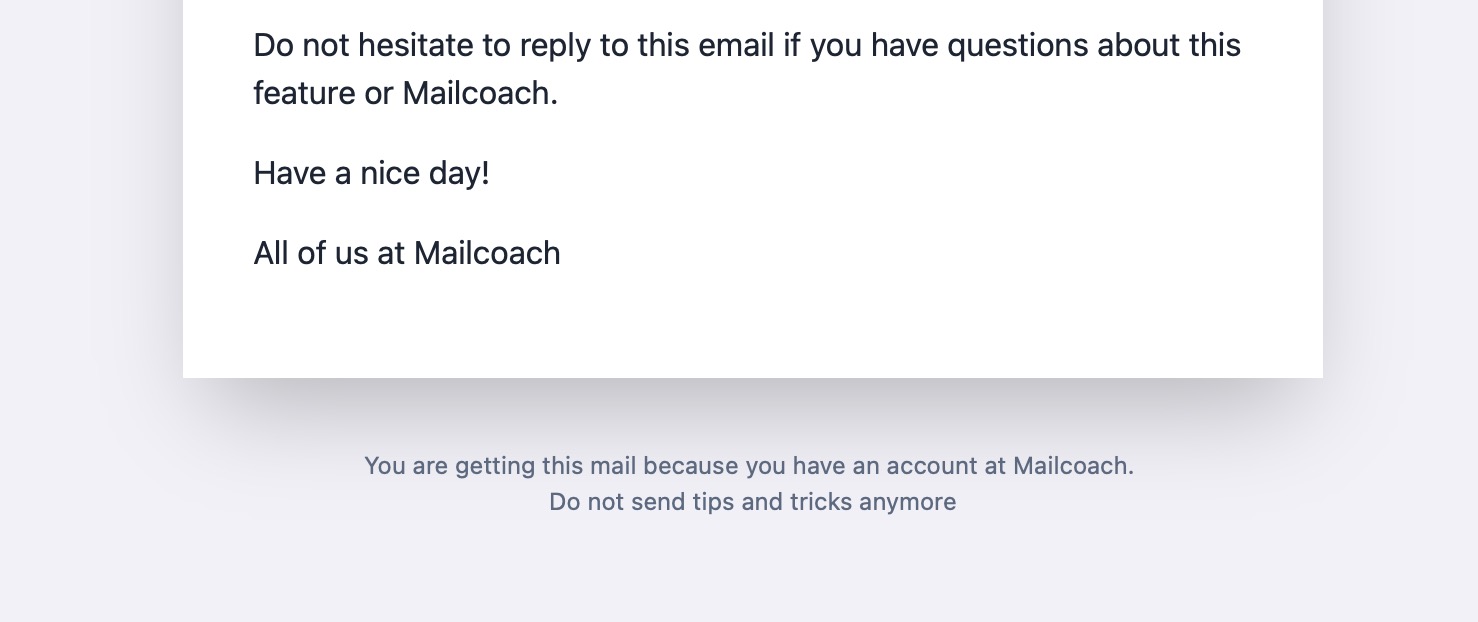
In the footer of the mail, we’ve used the ::unsubscribeUrl:: placeholder, so people can easily opt out from getting future tips.
A benefit of not hard-coding such emails in your app, but having them editable in the Mailcoach UI instead, is that non-technical people on our team can create and modify the emails without needing any help from our programmers.
Creating an onboarding drip campaign for your SaaS
In the screenshot above, you saw the onboarding email flow that we ourselves use for Mailcoach. Of course, for your Saas, you can create the perfect flow suitable for your audience. Our automation feature makes it dead easy.
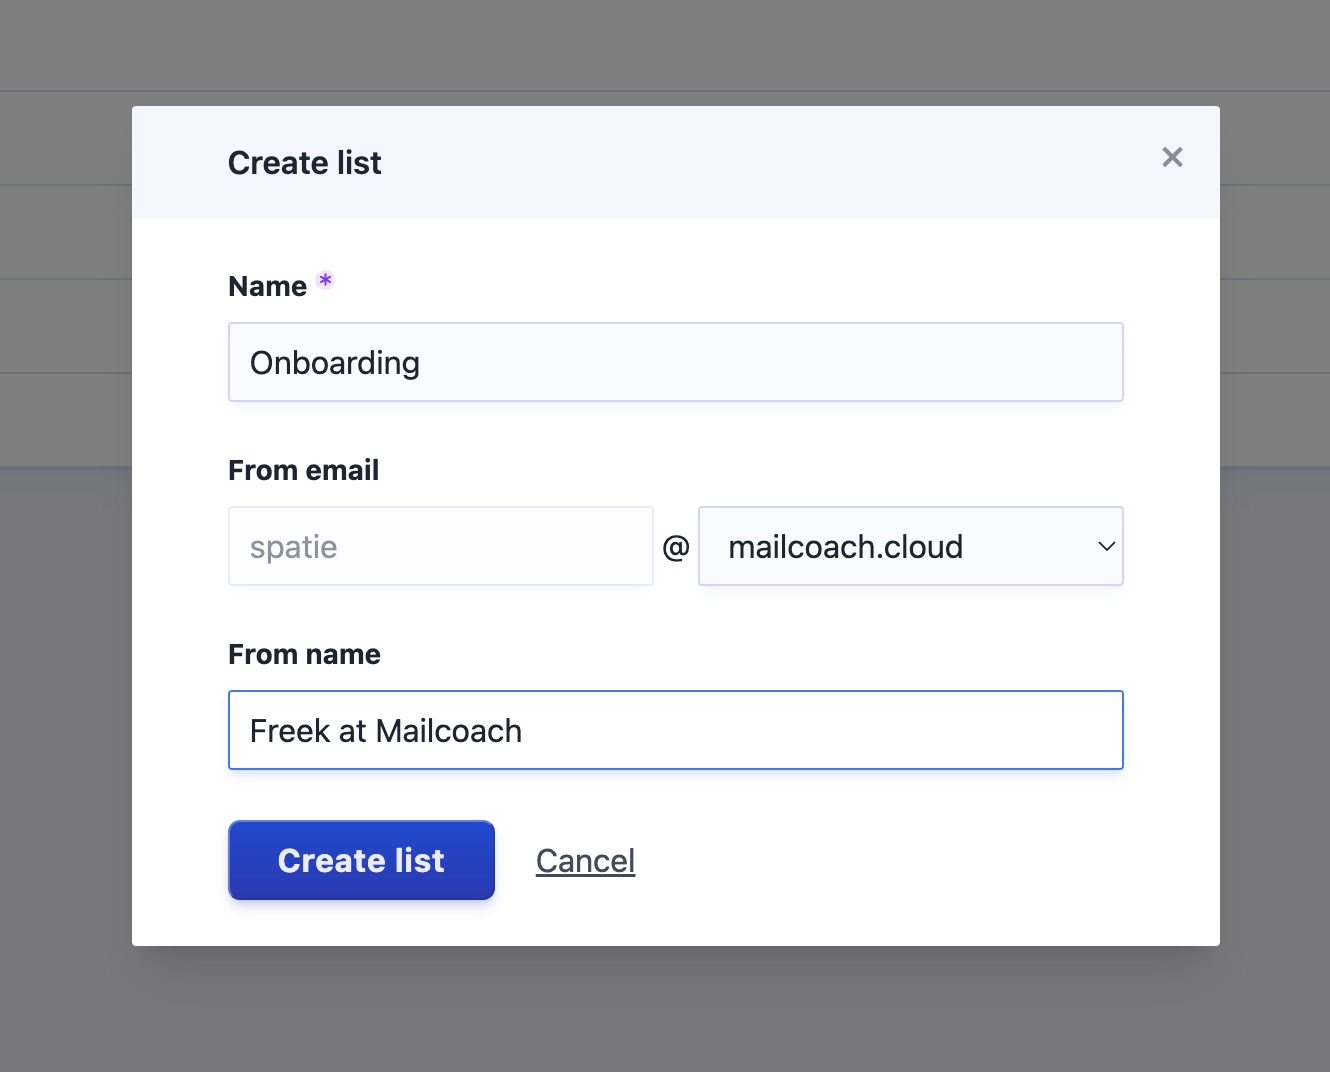
To get started, first create an email list at Mailcoach.
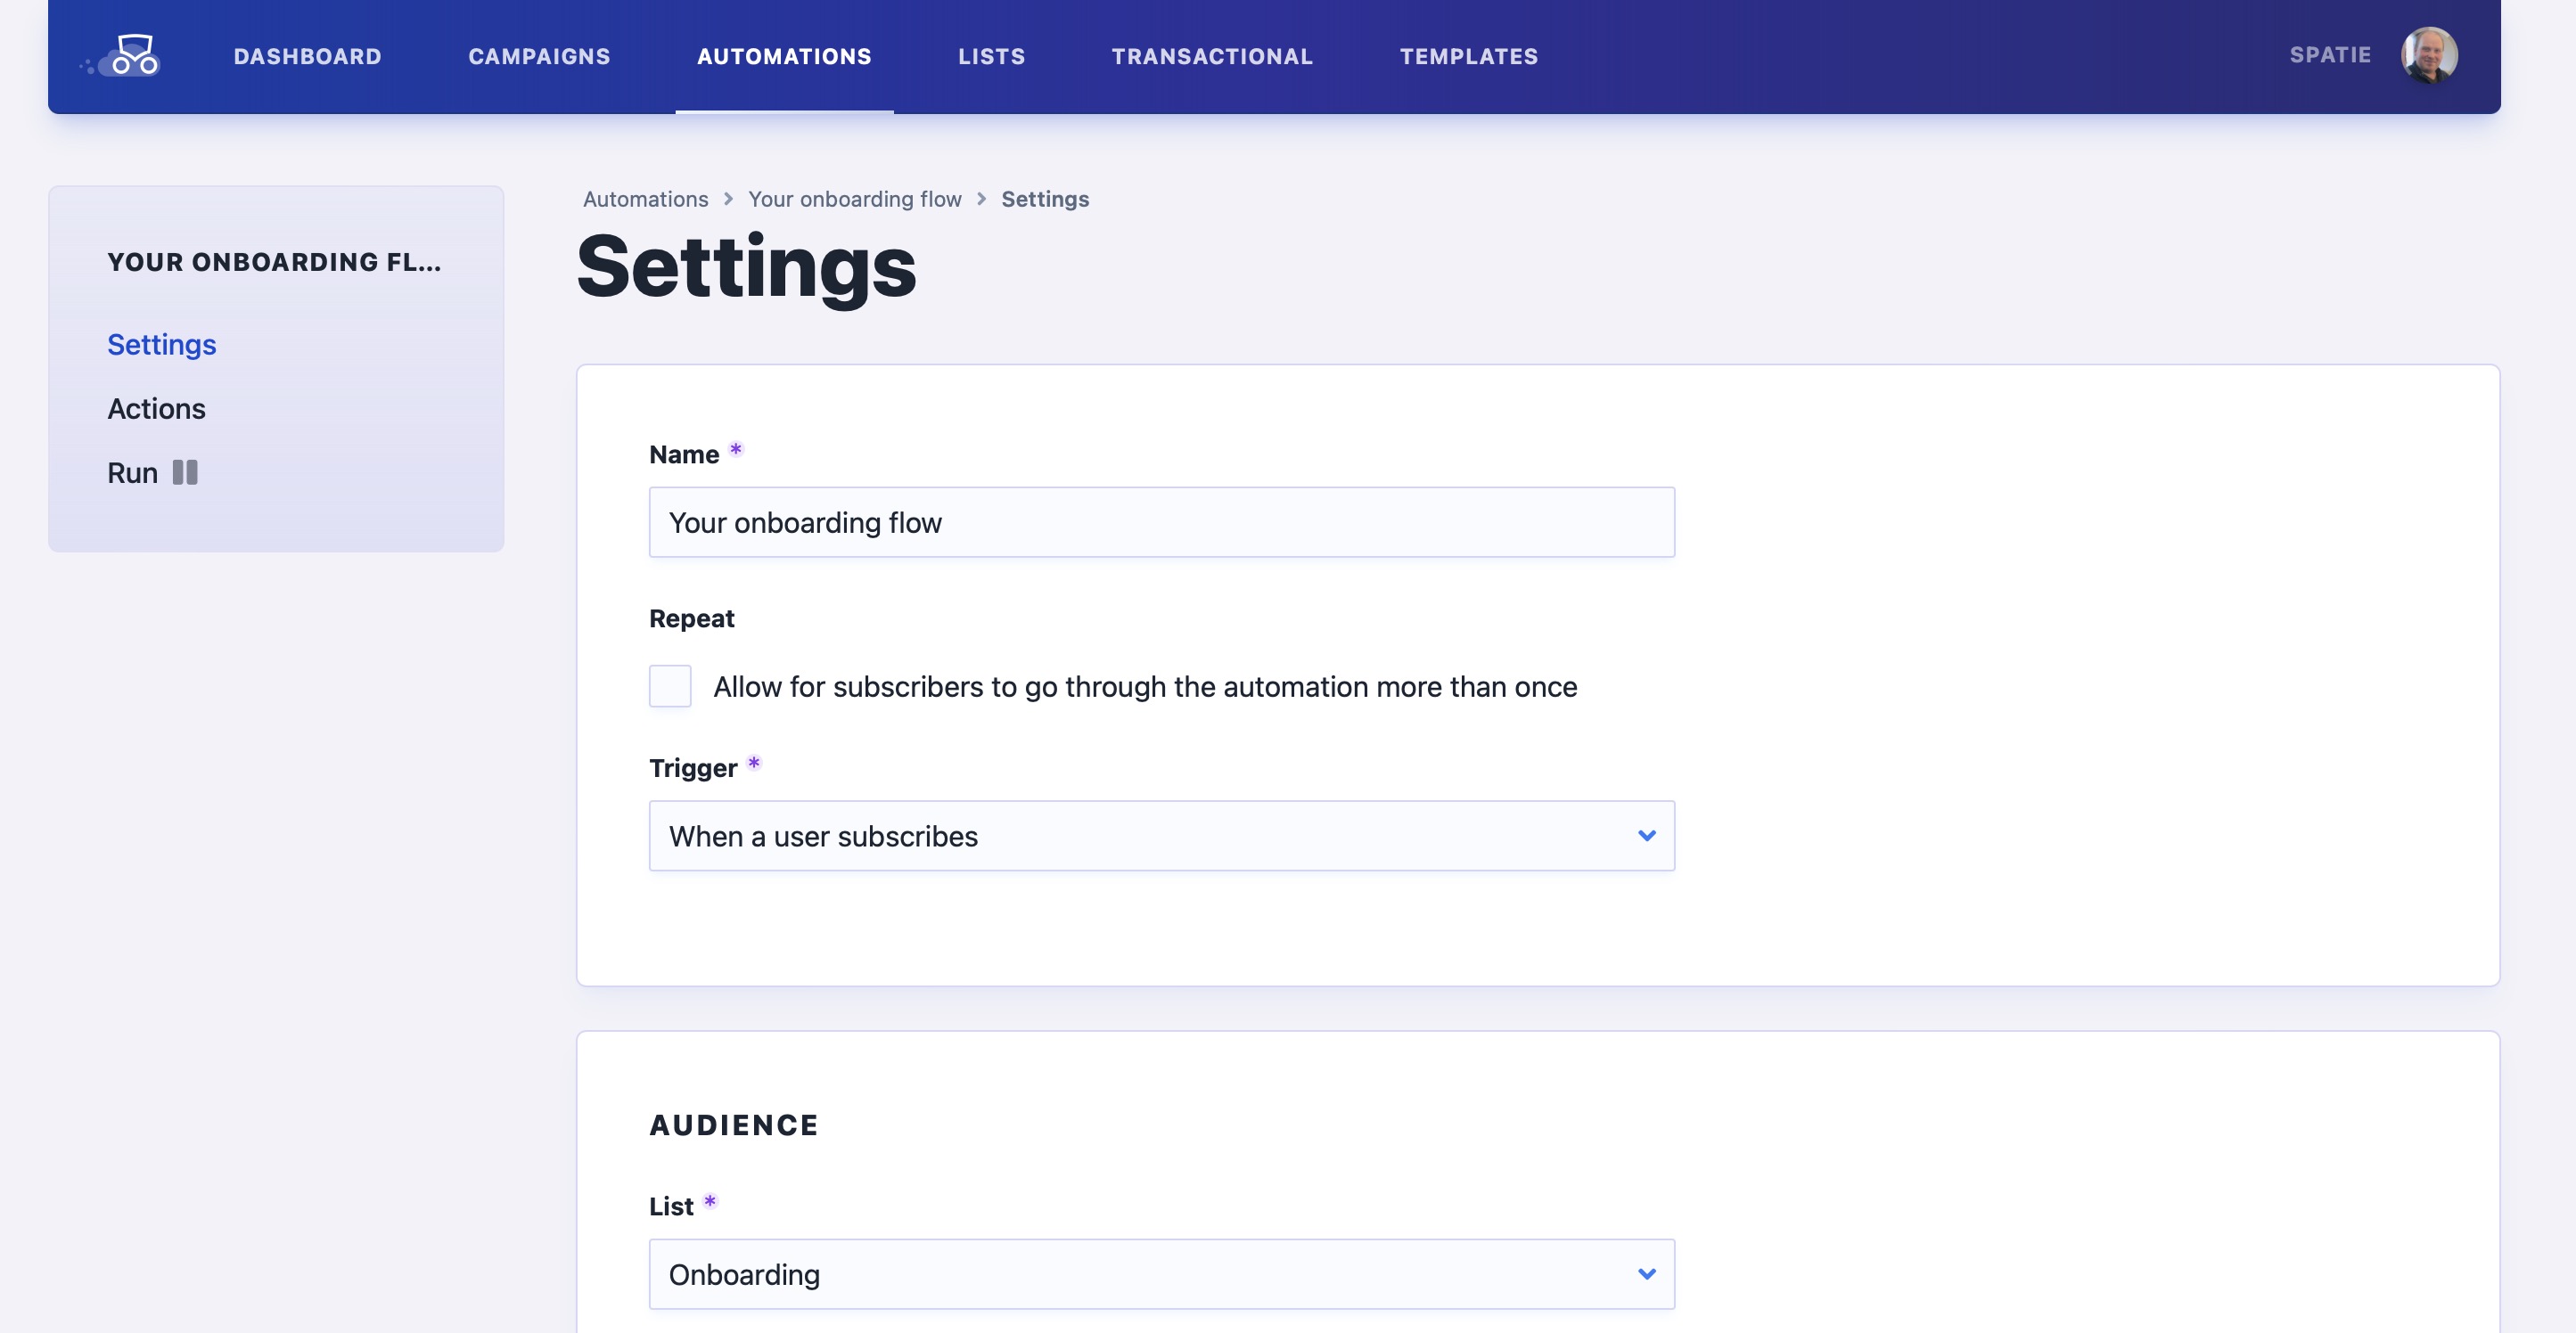
Next, create a new automation and let it be triggered when somebody subscribes to the list.
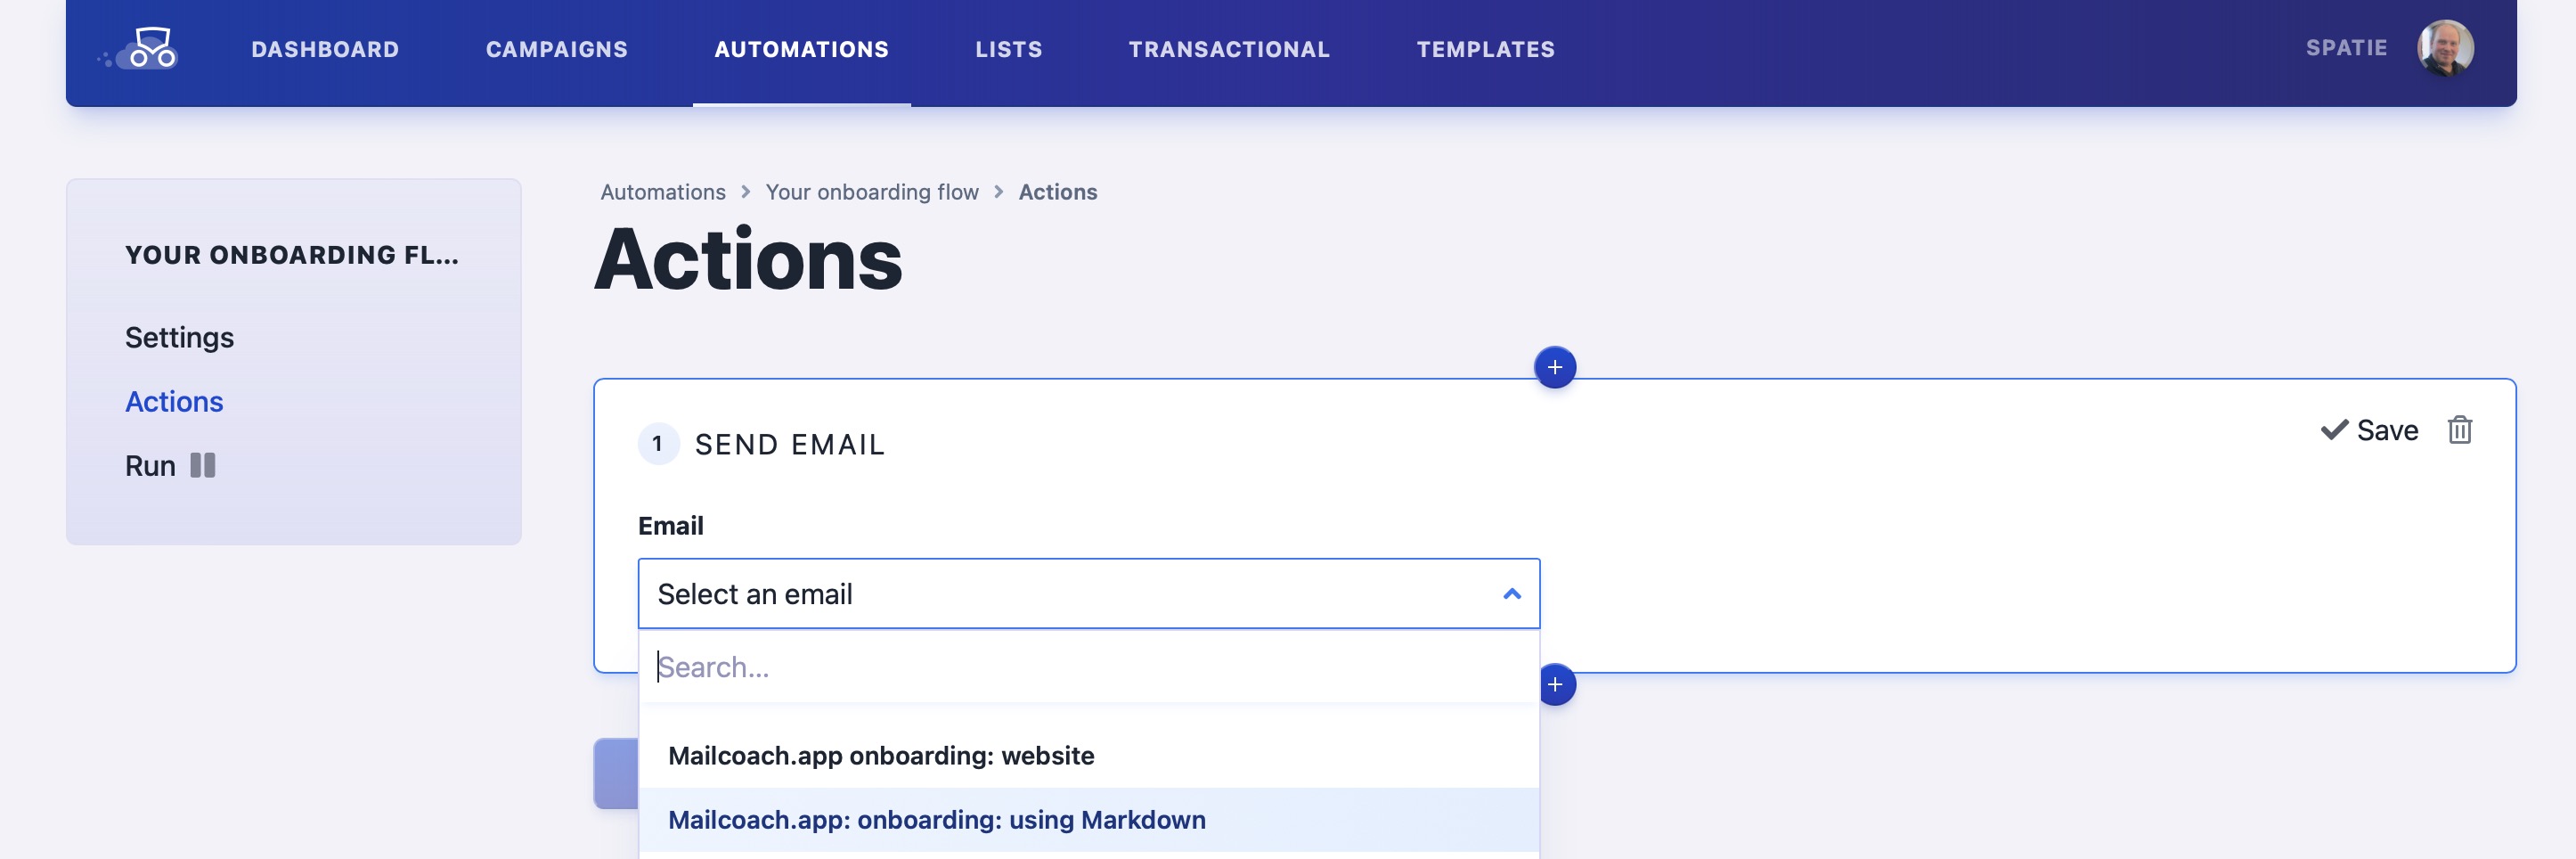
After that, you can create the content of the emails and use them as steps when defining the actions of your flow.
Now that the emails and the flow are defined, the final thing we need to take care of is getting people subscribed to that list, triggering the automation flow.
You can do this using our extensive API. In the following example, we will use the API via our spatie/mailcoach-sdk-php package.
Here’s the code for a OnboardingMails class that will subscribe someone to the email list of the automation. It also has a method to add a tag subscribed.
namespace App\Support;

class OnboardingMails
{
    public static function start(string $email): void
    {
        self::mailcoach()->createSubscriber(
            config('services.mailcoach_onboarding.list_uuid'),
            ['email' => $email],
        );
    }

    public static function markAsSubscribed(string $email): void
    {
        $list = new EmailList(
            ['uuid' => config('services.mailcoach_onboarding.list_uuid')],
            self::mailcoach(),
        );

        $subscriber = $list->subscriber($email);

        if (! $subscriber) {
            return;
        }

        $subscriber->tags = ['subscribed'];

        $subscriber->save();
    }

    protected static function mailcoach(): Mailcoach
    {
        return new Mailcoach(
            config('services.mailcoach_onboarding.api_token'),
            config('services.mailcoach_onboarding.api_endpoint'),
        );
    }
}
The code above assumes it’s being used in a Laravel application. Laravel’s config function will load up the necessary values defined in the services config file. If you’re using another framework, you’ll have to adapt the code slightly to how config values are being handled there.
Here’s the code you would typically add in Laravel’s services config file.
// in config/services.php
'mailcoach_onboarding' => [
    'api_token' => env('MAILCOACH_ONBOARDING_API_TOKEN'),
    'api_endpoint' => env('MAILCOACH_ONBOARDING_API_ENDPOINT'),
    'list_uuid' => env('MAILCOACH_ONBOARDING_LIST_UUID'),
],
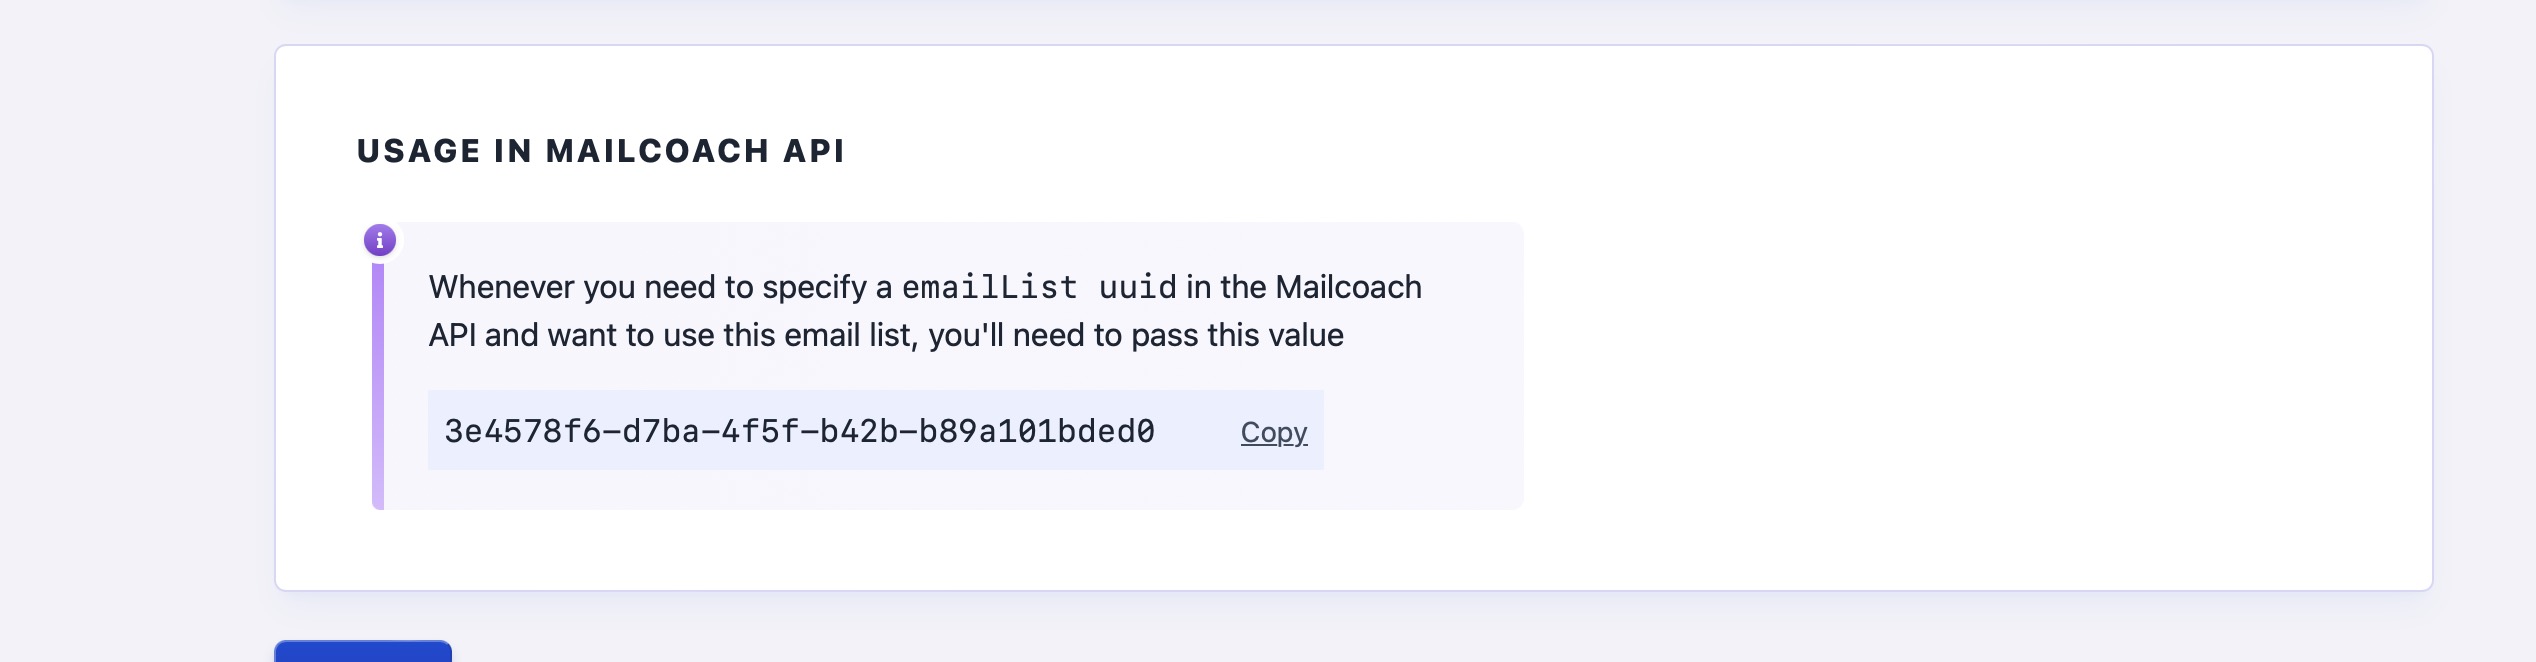
You’ll find the API Token, endpoint, and list uuid in the API settings and email list screens at Mailcoach.
You can add this to your application right after a user is created.
// right after creating a user

App\Support\OnboardingMails::start($emailOfCreatedUser);
This will kick off the drip campaign for any new user.
In the piece of code that handles a subscription to your SaaS being created, you can add this to add the subscribed tag to the email list at Mailcoach.
// right after creating a subscription

App\Support\OnboardingMails:: markAsSubscribed($emailOfSubscribedUser);
And with this in place, you have a beautiful drip campaign to onboard your users.
In closing
Mailcoach makes it easy to create drip campaigns of any kind.
Should you create a drip campaign of your own, ensure the emails’ content is non-spammy and relevant for your audience. Also, always add a clear link to let users opt out of future emails.
Mailcoach is the best service for sending out email campaigns. We also offer email automation that allows you to quickly build a drip campaign. You can manage your content and templates via powerful HTML and Markdown editors. Start your free trial now.