As a standalone app
On this page:
If you don’t know Laravel, but have basic PHP knowledge and know how to deploy to a server, you can follow these instructions.
You can create a new Laravel application with Mailcoach preinstalled into using Composer. This application will also have authorization screens (login, password reset) and user management.
Getting a license
In order to install Mailcoach, you’ll need to get a license first.
Creating the application
You can create the application with Mailcoach pre-installed using this command
composer create-project spatie/Mailcoach
During the execution of this command Composer will ask for a user and a password. The user is the email address
of your spatie.be account. The password is the key of your Mailcoach license.
Creating the database
Next, you must update the values of the DB_* entries in .env so they match your db. After that run php artisan migrate to create all tables.
Creating the first user
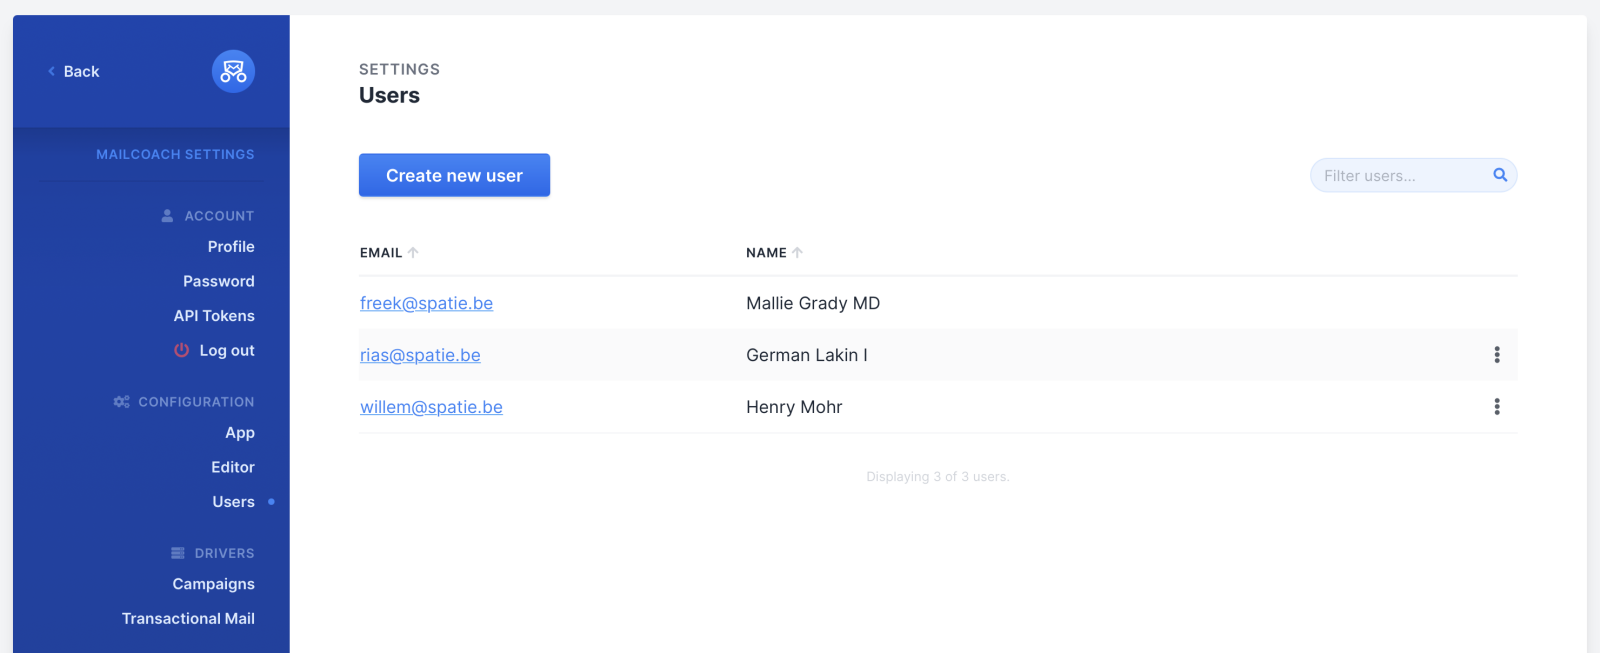
After that you can create an initial user by executing php artisan mailcoach:make-user. You can use the created user to login at Mailcoach. New user can be made on the users screen in mailcoach.
Configure the email sending service
Now that you are logged in you must configure the email sending service you’d like to use. Here are set up instructions for
Running Horizon
This package handles various tasks in a queued way via Laravel Horizon. The horizon.php config is already preconfigured. You only need to make sure that Horizon runs.
Running The Scheduler
This package relies on the laravel scheduler, be sure to schedule the execution of php artisan schedule:run to run every minute.
Making sure everything works
Before sending out a real campaign, we highly recommend creating a small email list with a couple of test email addresses and send a campaign to it. This way, you can verify that sending mails, and the open & click tracking are all working correctly.